Showing posts with label paper mailbox tutorial. Show all posts

Friday, February 7, 2025

Adorable Valentine's Day Mailbox Printable, Step By Step Tutorial and Free Lovable Gnome Scrapbooking Mini

Welcome to The Cherry On Top.

I've got a super, craft-a-licious blog set for you. First, a mega awesome pack of Valentine's Day printables that includes this paper mailbox template printable. There's some cheeky Anti Valentine's Day printables in the shop, a new gnome themed digital scrapbooking kit freebie, Chai 18 Designs new newsletter freebie and a scrapbook page from a friend that I just had to share.

mailbox template and tutorial


Y'all! This mailbox template took me hours to design and get together. What do they call it? A labor of love? Hehehe...It's not too tricky to get together and the tutorial will definitely help. As I always advise, any time you start a paper craft, breeze through the tutorial first, then get started. This way you can gauge the difficulty of the project and see that ya have everything you need for it.

This is no longer free. If ya miss it, you'll have to grab it from my shop. It is available alone as well as a part of this huge printable bundle, shown below.

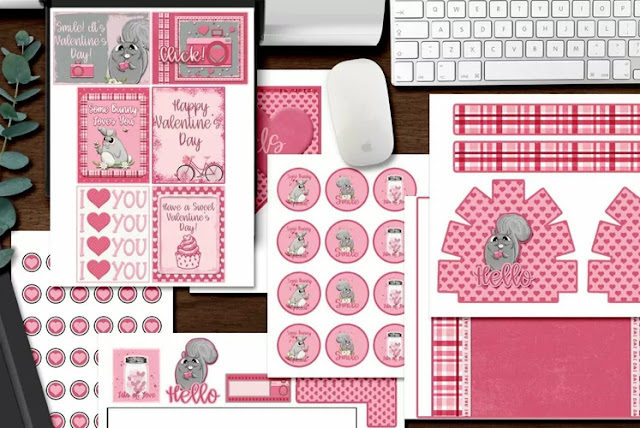
printable Valentine's Day goodies

I've put all things related to love and Valentine's Day on sale at 50% in my shop. How about showing The Cherry some love and grabbing something you've always wanted?

I designed the stickers and cards below for my boys. It is most fitting and a great way to be more objective about February 14th. This sassy shark with Love Bites quote is great for boys and girls.

love bites design
An Anti Valentine's Day Twist for Those Not So Kind at Heart

I wanted to offer you something special for the holiday besides my mailbox template and had these cute gnome designs in my stash. Ya gotta watch out for that Ai stuff. I'm tell'n ya! There's always something off. The eyes and hands are the first place you need to look. These designs were quite ok. I hope you like them as well.

free valentine's day gnome scrapbooking kit

Click on the preview, grab the download and show us what you create in the group.

cute valentine gnome freebie

I've got a lot of free designs on the blog that are ideal for sublimation projects. Here are a few examples of what you can do with today's new Valentines Gnome Freebie. Cards would be super simple.

printable card design idea

Speaking of freebies. Isn't Chai 18 Designs new newsletter freebie so cute? I just love the little mice. I used one of the designs to make a paper. It'd be easy to whip up a paper pack, journal cards, printable stickers and cards of course. Join her newsletter and get the cool free stuffs.

chai eighteen designs

Cute, eh?

how to use digital designs

Here's my friend's page. I laughed so hard when I saw her post.

super silly scrapbooking page

Let me leave you with a few Valentine's Day scrapbook page ideas from the Love Bug Collection in my shop that's also 50% off for a few days.

ladybug template

Above, is my page with my youngest. This page scrapped crazy fast. I simply clipped in the papers to the template and added my photos. 5 minutes is all you need. If you know nothing about digital scrapbooking, you need to check out this video. There are plenty of videos to get ya go'n.

valentine's day printables
truck template

vintage truck template

digital scrapbooking

I hope you enjoyed today's freebies. Let me know in the comments if ya do.

I'll be back with more travel blogs and more free Dutchie freebies, as promised.


Friday, January 26, 2024

Adorable FREE Valentine's Day Printables for Kids and Adults

Welcome to Freebie Friday.

I've got fun freebies, great printables and an amazing paper mailbox project. These are all great for any age. The paper mailbox might make an awesome school project or homeschool project.  Keep reading to see more and get the free download.

free valentines day printables

free Valentine's Printables

I designed these last year for my Design Bundles shop, Kreative Design Studio and I'm giving a sweet sample of them away for you.

printable bundle for Valentine's Day

I've always wanted to do this mailbox project. Click on the image for the full, step by step tutorial.

paper mailbox template

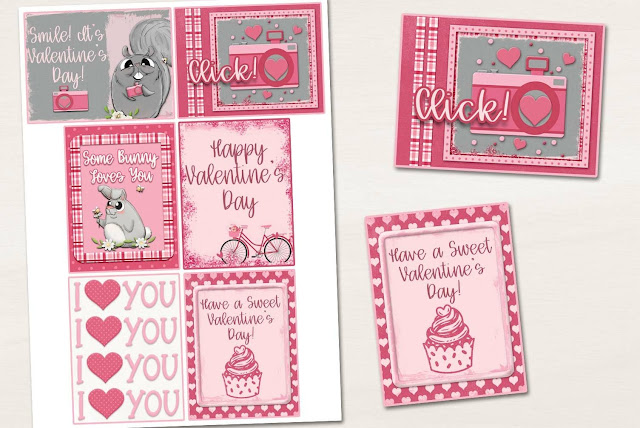
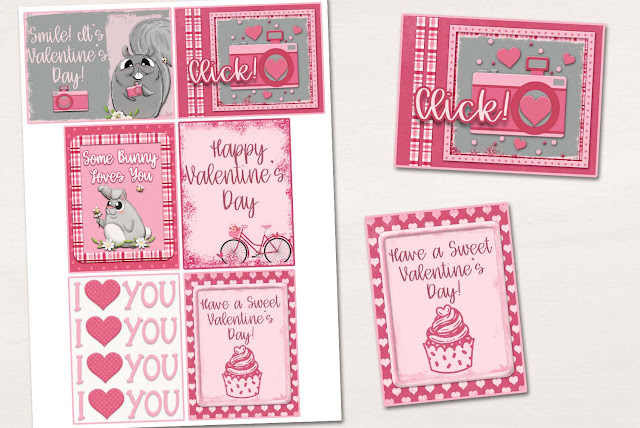
See how versatile these are. Some are just general and others more romantic. These are ALL included in your freebie. Cool, eh?!

Printable Valentine's Day Cards

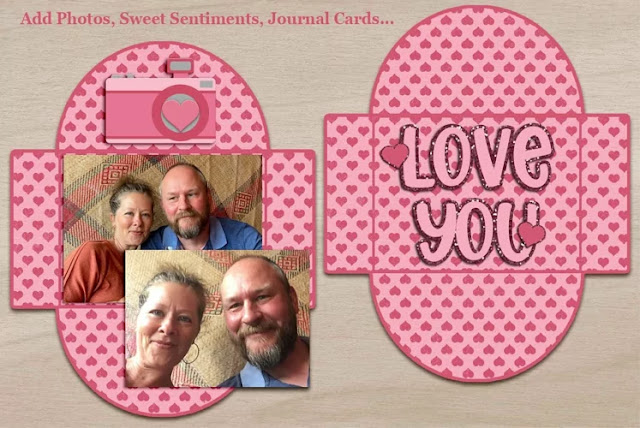
Below is a printable envelop and or mini scrapbook I deigned for Plus when I worked for them. You can still get it. This envelope is mega simple and you can use it with so many projects.

cute mini scrapbook

I also designed this exploding box card/mini scrapbook for Plus and it's been downloaded well over 1,000 times. Whoo hoo! It's also a mega easy project and can find a full step by step tutorial for it at Plus. What a great gift idea for your sweety or loved one. Even mom might like it! There are alternate pages, too.

exploding box card

I've designed many paper packs for Plus. Here's just one of many Valentine's Day paper packs for you.

valentine's day scrapbook paper

Click here for the free printables and consider supporting us by shopping our shop, Kreative Design Studio.

Thanks for stopping by. We'll see ya, next week.

Happy scrapping!


Monday, January 9, 2023

Valentine's Day Paper Mailbox Template Tutorial

Welcome to The Cherry's Kreative Design Studio.

I've put together a pictorial for our printable mailbox template.  It's fairly simple to put together and ya don't need a lot of tools.  Scissors and glue is all you need.  Follow along and put together this really cute and fun Valentine's Mailbox.  The kids can use it for school.  You can take it to the office.  Use it as a gift box.  Put it on the mantel or in your tiered tray.

I've got this for sale in the shop and I've put it in a huge printable bundle as well.  So if you're looking for more Valentine's Day fun, you'll love it.  The bundle is great for school, scrapbooking, planners and much more. Oh!  It's all 50% off!

printable Valentine's Day template
Here's the mailbox. It is sold separately and in the bundle.

valentine's day printables
Super fun printables! Kiss stickers, toppers, a banner...

cupcake toppers
Printable stickers and or cupcake stoppers.

Valentine's Day printables
Easy to Print and Cut Valentine's Day Cards or Journal Cards

Without further ado, here's the step by step on how to put this mailbox together.  It's really not that difficult and an older child or student can probably put it together.  Maybe with a little help. Only scissors and glue are needed.  It took me about 15 minutes going really slow and careful.  As usual! (wink wink)

Download the goodies from our shop, The Cherry's Kreative Design Studio and print out the sheets you want.  There are three for the mailbox.  I'd use rigid paper for this project.  Especially, if you are using it for a box to hold something heavier. You'll love how easy the shapes are to cut.

step 1

These are the basic easy shapes you need. I used one of the designs on my door before printing.  So can you!  Cut the easy shapes.

step 2

Gently fold the tabs, apply glue to them and run the border around the door shape.  Put the border right to the edge the door shape and cut off any excess if you have it.  (Consider putting the strip over the door and body for the back closure.)

step 3

Here is what it will look like.

image

If you're not fully satisfied with the shape of your door, give it an extra hard pinch all around the edges and especially the bottom fold.  It's will hug the door better and make it more rigid.

image

You may have a little bit over.  No worries.  It's better to have a little too much than not enough.  I never know just what materials you'll use in regards to weight of paper and type of adhesive.  So, I often leave a little room to play with my templates.

image

There's more than one way to put this box together.  I might try putting both "doors" on the base first and then hug the main body over the top.  I'd leave the second strip, for the back and adhere that over the top as well.  For the front door, you'll have to do the strip around the door as shown, above.

The base is a little bigger than you need.  Again, more is better.  After you've glued the body to the base, you can cut off the extra.  You can measure where you'll glue and cut first, if you prefer.  Those two small strips are my extras.  You can use the print out base because it's the bottom, but I wanted a coordinating color and more rigidity so I grabbed a matching paper from my stash and used the base as a template.

image

Fold where indicated on the main body of the template, like shown and glue as shown, to the edge of the long part of the base.  Cut off the extra. (I LOVE this glue stick.  You can carefully take adjust with it and it dries fairly quickly.  My layers rarely move.

image

You can fold and glue the door either before or after gluing the body. Play a bit first with the parts and decide what will work best for you.  Read a bit further for an alternate idea for construction.

image

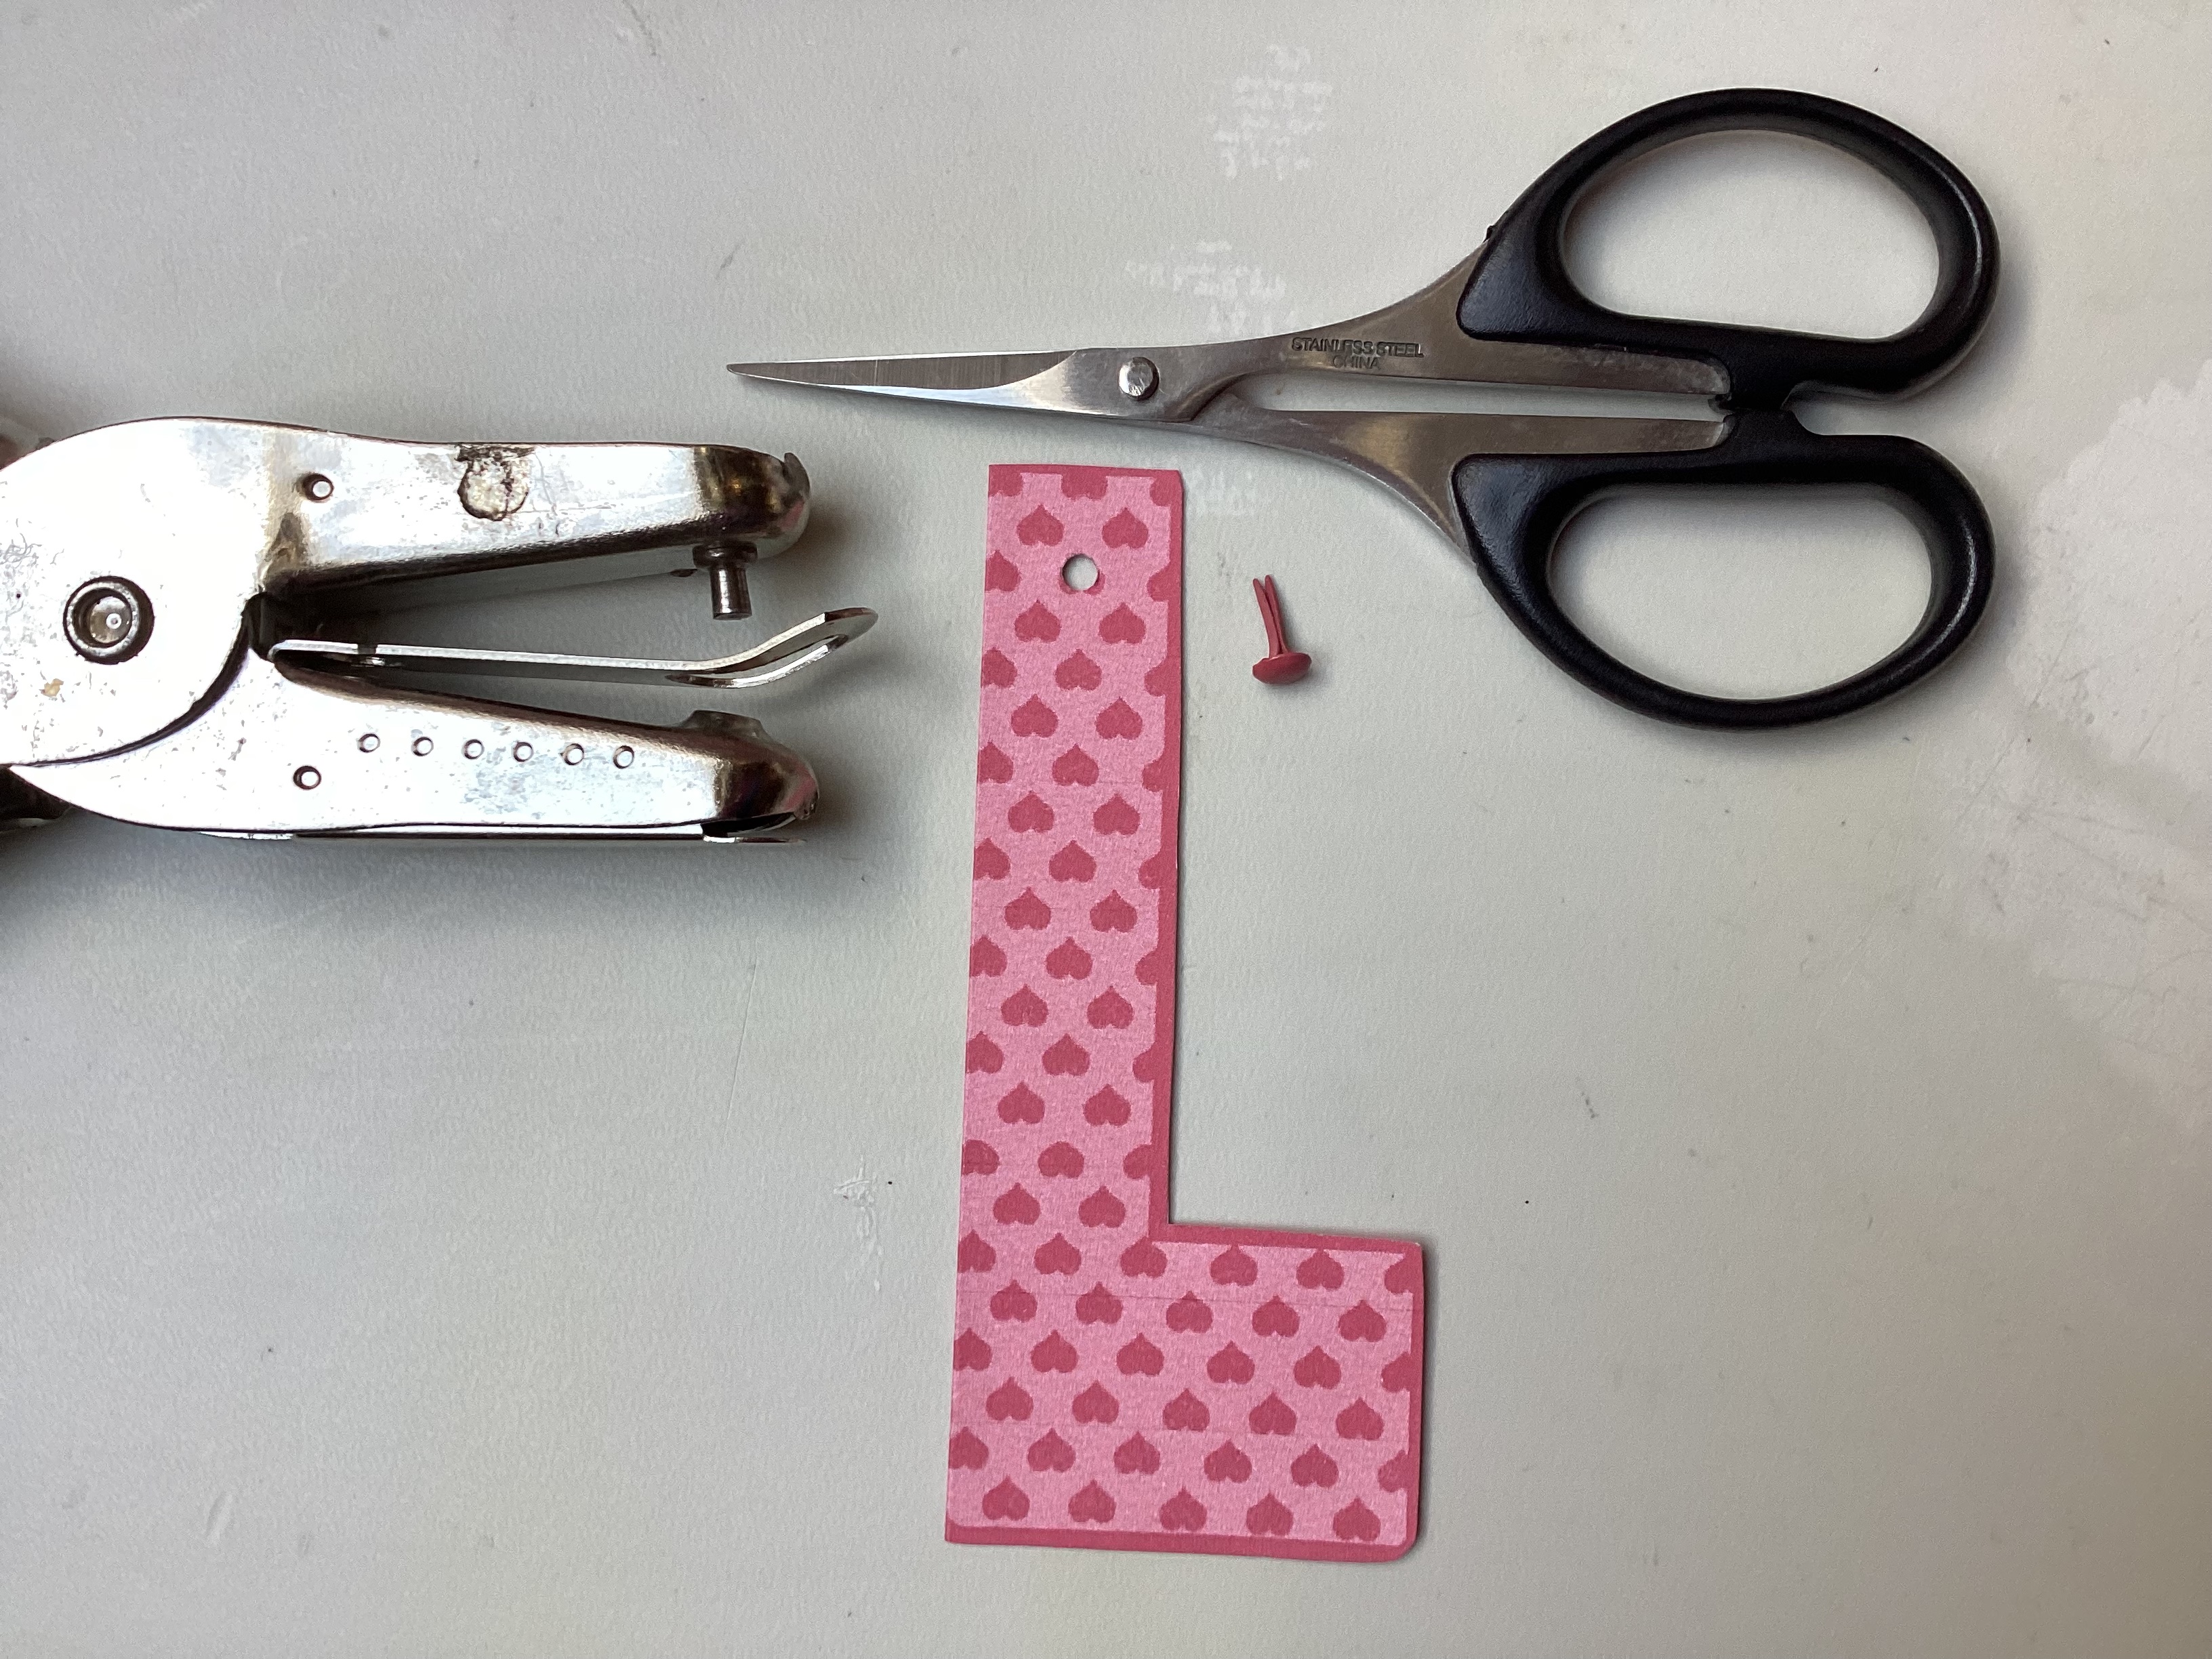
Cut out the flag.  Fold it in half.  Adhere the halves together. Use a hole punch or a pointy instrument to make a hole for the fastener if you are going to use one, like this pink brad.  If you glue it down, you won't be able to lift the arm.

step 5

Punch a hole in the body of the mailbox.  Add your flag exactly where ya like it.  (Keep that border along the door in mind.  I'd close the door first to gauge where to put your flag.) I had to pinch my brad really tight to make the arm more rigid.  If my hole was smaller I might not of needed to do this.

step 6


image

In the download for the mailbox are extra images.  You can customize the mailbox to your liking by adding any of the images or perhaps something from your own stash.  You could add it digitally and then print, like I did or add it last.  One of the extras has a space for a name or sentiment.

printable alternative

A super handy tip for paper crafting is using a dot of glue at the tip of a rigid scrap.  Gently and carefully slide the glued tip under the spot that needs some extra adherence.  I needed it around some of the plaid edging.  Notice how it is a little raised in some places.  If there's a little room, it might do this.  If you applied this strip over the top of the body and the door shape, it might come out better.  You can only do this for the back door unless you don't want the front door to open.

gluing tips

See how much better?

image

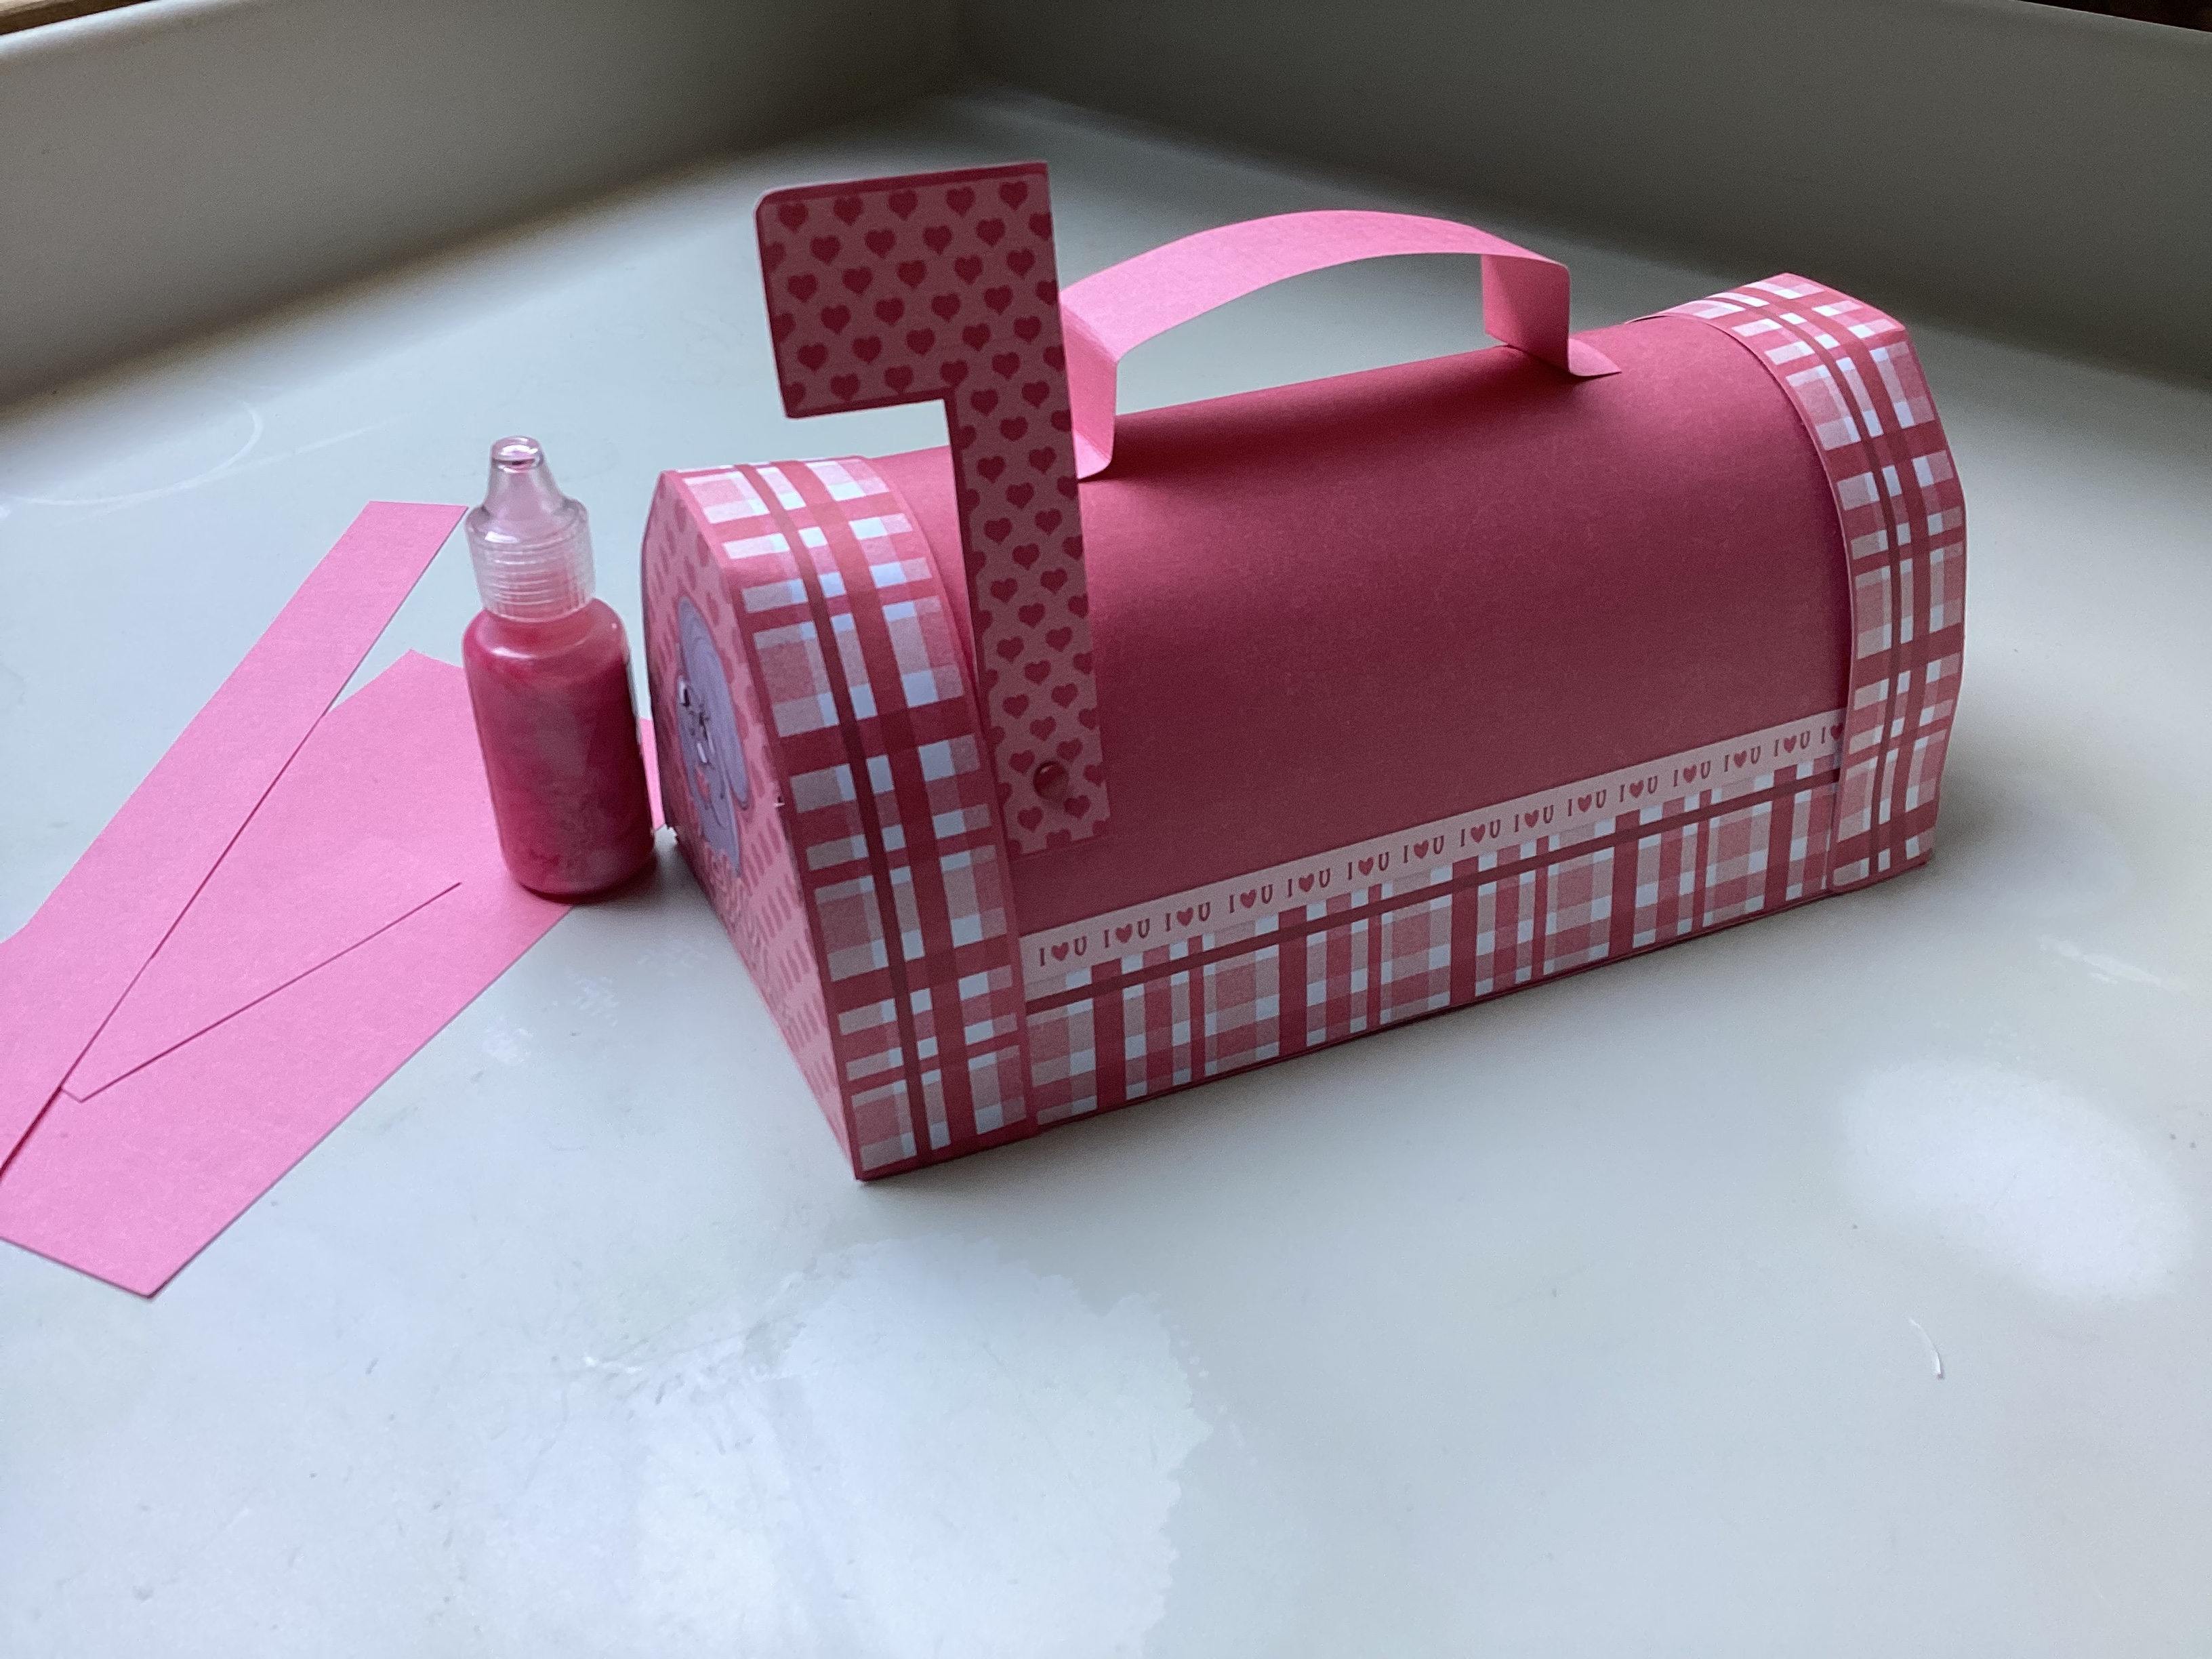
Another addition you can add to the mailbox is a handle.  This is ideal if the kids are taking it to school or if you're using it as a box.  It is super easy!  Take the extra strip from an extra you've got.  Cut it just how you like it and fold it just like I did below, here.  You can either glue it to the top of your box or use more of those brads that you used for the flag for cohesion.  Keep that door in mind, again when placing the handle.

image

I often use a tiny glue dot to keep a door "closed".  It's so small, that you can still open the door. A tiny dot of glue will do as well. If you've never tried this before, do a test on some scrap paper.

glue dots

Here are some images of the finished product.


Take your time and have fun with the cute project for Valentine's Day, Romantic occasion or any day.

Feel free to peruse our blog.  It's full of crafty projects, scrapbooking inspiration, hybrid projects, recipes, printables, freebies of all kinds and so much more.