Welcome to The Cherry On Top.
Saturdays are for hybrids. We take digital designs, print them out and build up beauties. Today, we've got this awesome paper wallet that you can give as money and gift card holders. I've made a couple of different versions so you get the idea of just the kind of things you can create with our template.
Keep reading to see all of our examples, get inspired, check out the tutorials, see the actual finished projects and if you like, grab our template and start designing your very own wallet. You can even add a tiny album to your wallet.
I used Daddy's Day from Crazy 4 Monograms to design my first wallet. (This store is longer live. :() I thought it'd be perfect for a man's gift. The top image is the outside front and back. Just cut around the outside and fold. You could just cut out the second rectangle with all of the pockets and make slits for goodies to stash. Adhere it around the sides and bottom edges to the outside cover. Of course, you could print front to back if your savvy enough, but then you'll have problems with the pockets, but you could just use it as a typical card.
Once again, I'm featuring Minecraft and MagsGraphics awesome kit, Pixel Miner. I've used this for several other projects such as bookmakers and invitations. Both my boys are Minecraft crazy! This will be perfect to put in a couple of bucks and a gift card for his favourite gaming store. I know Liam is going to love it.
Maggie also has these fun, dimensional effect journal cards that'll look totally cool stuffed into the pockets. Click here to get her kit.
I wanted to do something feminine, too. I was a bit perplexed over what kit I would use when I remembered this free kit I download a couple of months ago from One Of A Kind Designs. Isn't it totally Lisa Frank, frig'n awesome?! And it's FREE! I've got the link a bit further down.
Click on the image to get this awesome kit for FREE.
Here's a closer look at the template which comes in two parts. This way everything should come out printed perfectly, but you should check the size for certainty. It will print out at 8" in length if all goes well. Make sure to check your settings! I couldn't get all of the parts on one page. Check out this illustration. It's all very easy.
This second page is the pockets. Clip in your desired papers, print, cut and adhere the pockets. Remember, don't glue all around the edges. Leave the top open. For the large pocket, consider gluing just the left and bottom, like a real wallet.
We'll be inserting a mini album into one of the wallets. If you want the inserts for that, you'll need the third page. Copy the background for as many pages as you want.
Let's get some glue on our fingers and see how this whole thing can be put together.
Once you've clipped in all of your goodies on the computer, you're ready to print and cut.
You can see the wallet to the right and the cards to the left are for the mini album insert.
Choose to either glue, double sided tape or even sew the inside of your wallet to the outside. I cannot believe I didn't think to change the color of the stitching. Clip in a background just like you would for any other part of the template or just ditch them entirely. Total duh, moment.
How the inside will look.
How the outside will look.
There are so many ways you can do this project. You could print out just the inside and outside without the layers like illustrated here.
Cut off any edges that aren't perfect.
Either glue, tape or sew the outside to the inside and you'll have just a card. This is the easiest and fastest way to finish your project. You can always just fold the money and put it in like you would a normal card.
Cute inserts, eh? Tip: Look at the slight discolouration in the centre fold. That's because I used 300 weight paper. It's doesn't look so prominent when you use a lighter grade. I used three different grades of paper and they all worked great.
I had an audience when I was fashioning my photos. My boys couldn't wait to get their hands on these wallets.
Keep it really simple by just using the inside and outside as a typical card and it'll just "look" like a wallet or...
Use all of the pieces of the template and layer up a real wallet! Your's will come out on more than one sheet of paper as instructed. I saw that this way it was on the small side and improved the template.
Print and cut out all of the desired layers you wish to have for your wallet.
I used super thin double sided tape for this one. I layered the bill section on top of the inside layer. I used tape on three sides, leaving the top open for the paper money.
Then taped two sides for the largest pocket that goes on the left side of the wallet.
This is a nice size space for you to put some goodies.
The next step is to layer up your pockets. I used three. Start with the largest pocket as instructed.
Go from largest to smallest. It's that easy. Don't forget, leave the top open for your inserts. This is so cool!
Tip: A short cut you can take to this project is simply slicing where each pocket is BEFORE you adhere the inside to the outside of your wallet. This works really great and will save you time from all of that layering.
My simple paper cutter worked just great. You could also use an exacto. I didn't cut all of the way across. Think of an actual wallet during your construction.
This image shows you just what it should look like. You could also make the same kind of slits across the smaller pockets so you can insert your gift cards and what nots. You HAVE to do this BEFORE you adhere the inside to the outside of your wallet.
I'm also showing you how to put in a mini album to make this project even more fun for the recipient.
Scrap up a couple of inserts using a kit of your choice. The template is provided for you. This way they all come out the same size. Keep it simple like you see here, to save some time. These only took me a couple of minutes to comprise.
I glued them back to back. Switching out an image, then a picture, then an image and then a picture and the end page is the plain, coordinating yellow piece from my paper scraps.
After gluing your pages together, back to back, score them all in the same place. As shown here, below. I strongly advise, folding each score so the pages turn easier once attached.
I'm trying out good double sided tape for this mini as a way of binding it to the wallet. You could sew or glue gun, too.
Make sure you are gluing the correct side! I almost made a boo boo. Hehehe...
Don't forget those folds.
All in place!
So cute!
With extra folds, your album will open up splendidly.
So there you have all kinds of inspiration and THREE ways you can use this template. As a typical card, layered up or with simple slits.
Click here to get to our shop for the templates.
If you want to see more of projects we invite you to scroll through or hit up our Pinterest Boards where you can catch all of our freebies and projects.
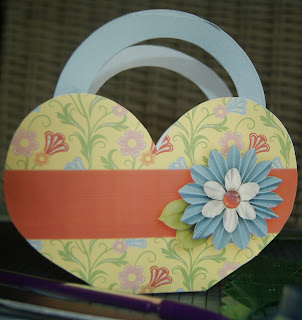
Here are some recent projects related to hybrids like you see here.
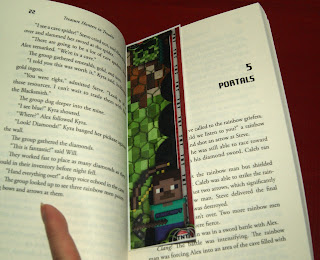
You can grab this fun Minecraft book marker for free. Click on the image.
We've got a tutorial on how to make this Creeper piñata. It's mega easy, made in under an hour and you won't even need to buy anything if you have a decent stash.
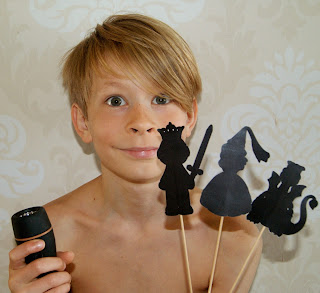
These shadow puppets are also free. Click on the image to get them.
Click on any of these images to get the tutorial and freebies.
Thank you so much for checking out The Cherry! Join us on Facebook, Follow us right here and or check us out on Pinterest to keep up with all of the paper and digital fun as well as daily freebies.
Tah!