Showing posts with label planner. Show all posts

Friday, August 23, 2019

Happy Trails Travel Themed Digital Scrapbooking Templates and a Free Journal Card


Welcome to The Cherry On Top.

I don't know about you, but I'm so bummed to see the summer on its way out.  Belgium and Germany doesn't exactly have the greatest weather and I so love the long, warm, sunny days.  Putting away the sandals and bringing out the boots totally brings me down, but these new templates brightened my day and I hope they do the same for you.

Thanks to some fabulous Commercial Use products from Wishing Well Creations and GS Creations, I could make some really fun, large shaped templates for you.  I had such a great time designing these, that I made an extra one.

Keep reading to see how I and my fabulous team used the templates and check out my, off the page idea with them as well.  It's in the form of a freebie


The first four pages I've done myself.  I couldn't wait to play with ALL of them.  They will make a totally awesome travel album, paired up with some of our other goodies.

Goodies from the Sweet Shoppe.

I knew that when I designed this page, it would be THE one that most of the ladies would play with and I was right.  That never happens!  Hehehe...It seems, I'm not the only one who is just crazy about notebook style pages.

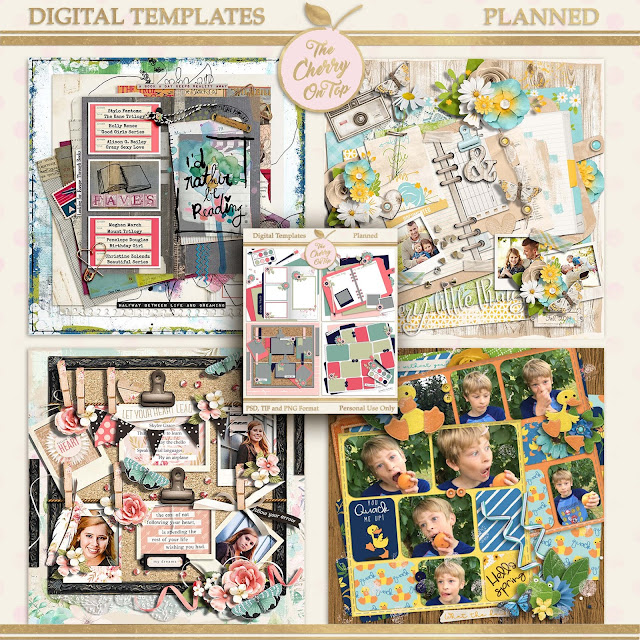
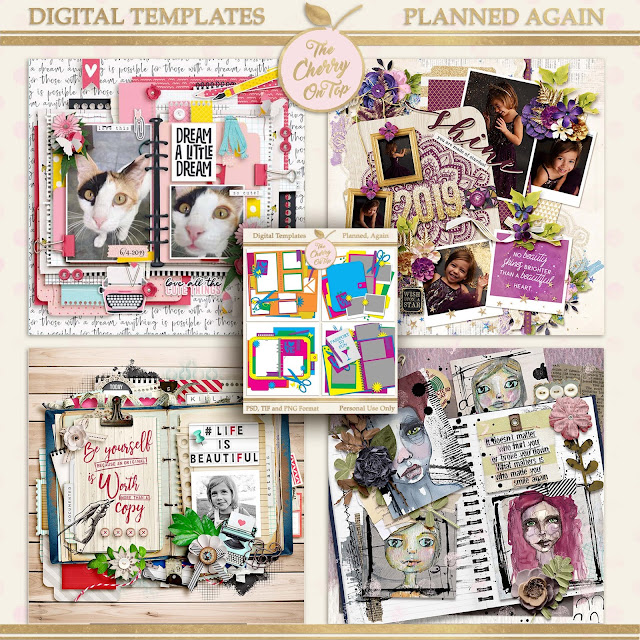
We've got two packs of planner/notebook themed templates and I designed another pack that will be hitting the shop soon.

 Planned Tempaltes

 Planned Again

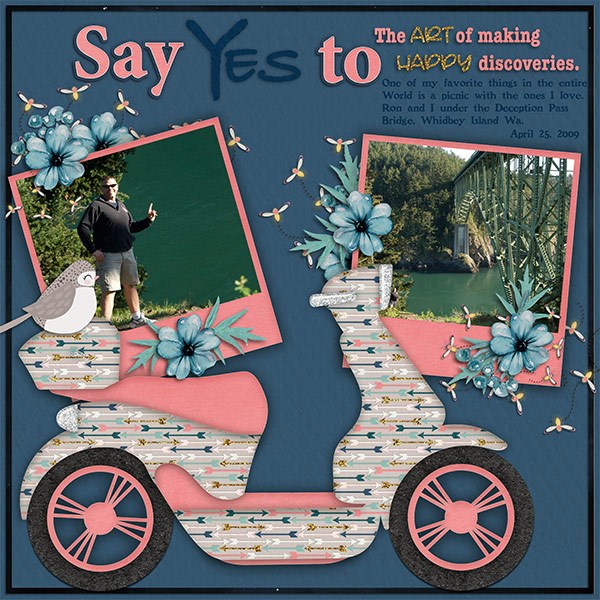
I may have went a little nuts with my next page.  In Belgium, scooters are used a lot.  My hubs has one and I used to ride around one as well.  I've got my eyes out for an electric model for in the near future. I used Paty Greif's kit, Flamingos for my page.

 Happy Trails Templates

I used Puffy Styles to get this more dimensional look of my scooter.  These are recent pictures of silly ole me in our visit to Beilstein, Germany.  It's only a few minutes away from our place, but we never stopped there.  Boy, was it worth the trip.  It's tiny, but beautiful and there is a ruin of a castle at the top of the mountain (that you have to climb) with a look out tower and a restaurant where I could most pleasantly indulge in a Paulaner from the tap.  Mmmmm...

That's me enjoying the hike back down the mountain after a liter of beer.  Hehehe...

 Happy Trails Templates

If this collection looks familiar it's our collaboration, Adventure Awaits with Made By Keuntje and Throwing Some Scraps Around.  There you can see the castle ruins, stunning views and the hubs and I.  The airplane is all mine.  Whoo hoo!  I simply added an outline and a few basic shapes over the cooking cutter shaped airplane in PSE.  I thought with the map background and map design on the plane, it kind of blended nicely.  You might choose to decrease the size of the plane and increase the size of the notebook with pictures.

 Happy Trails Templates

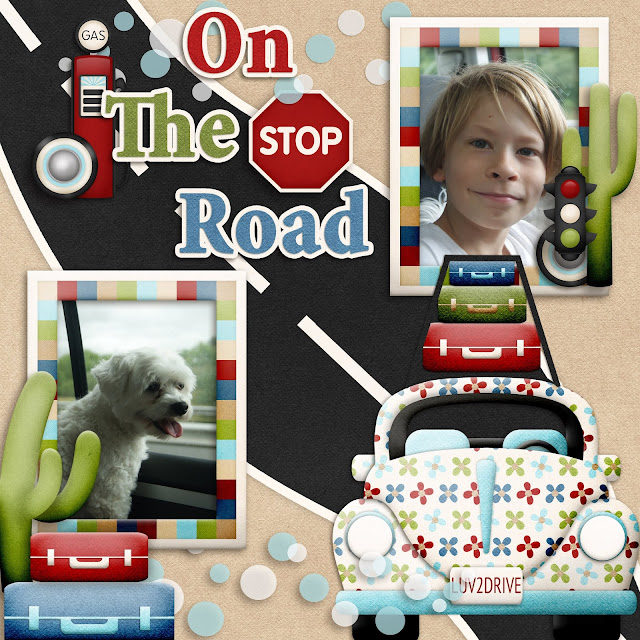
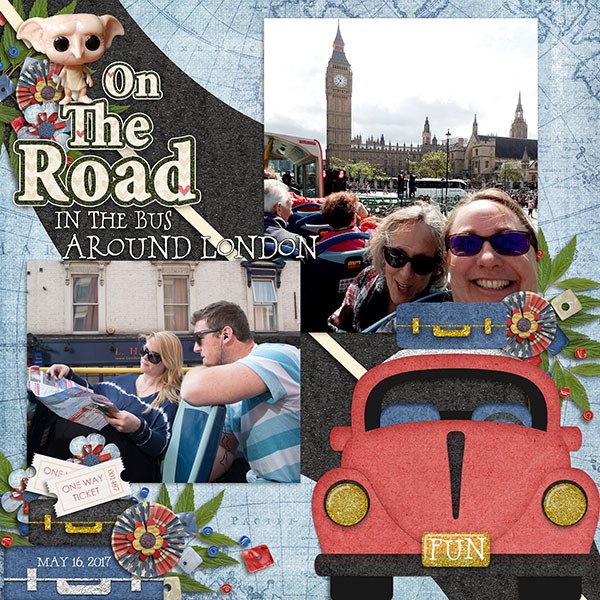
The suitcases are also all mine.  I'm ok with the results.  To make the funky beetle a little more Cherry, I added the roof rack and suitcases.  I used On The Road from Kim Cameron Designs.  That's my oldest and his best friend on the way to the south of France a few years ago.

You can move the word art all around your page and change up the colors and outlines with patterns or whatever you choose.  I kept it all separate for the most versatility for you.

Most talented Cindi played with our templates.  She used goodies from Just Because Studio.  You can find them at Gingerscraps.

 Happy Trails Templates

Jarmila turned the template into a more, classic look.  Simplette's goodies shown here.

 Happy Trails Templates


 Happy Trails Templates


I just love the school twist Hilary gave her page with the template using goodies from Meagan's Creations at the Sweet Shoppe.

 Happy Trails Templates

Rachelle from Bits N' Pieces used a cute kit, too.

 Happy Trails Templates

Tia gave it a more traditional twist.  Can't ya just feel the paper?  Melissa Lerin's kit, Kenya.

 Happy Trails Templates

Tammy worked her magic with goodies from the Sweet Shoppe.

 Happy Trails Templates

Let's just say this is a sneak peek of something coming from us, very soon.  Theresa scrapped it up.

 Happy Trails Templates


 Happy Trails Templates

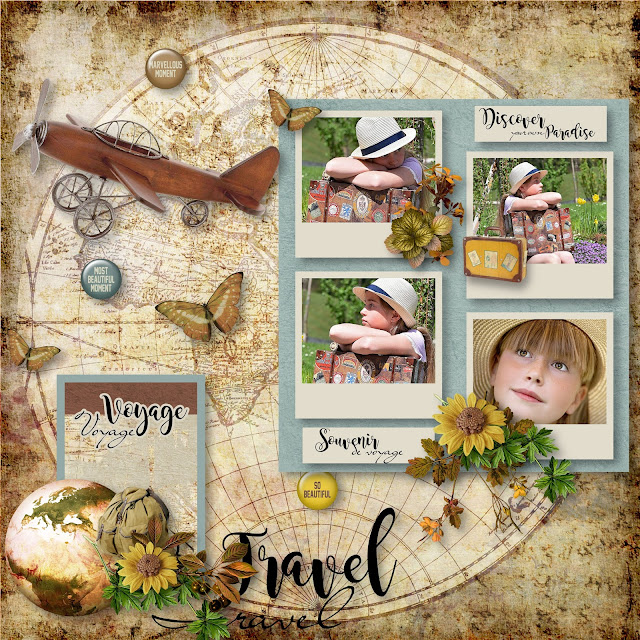
Ngoc is showing off Amanda Yi's and Wendy P, Around the world.  Most appropriate a match! 

 Happy Trails Templates

This is my last page and I wanted to show you another idea for these templates.  Since the shapes are so large and kind of the feature, you could manipulate them singularly and make your own Personal Use elements for your pages.

I used Aimee Harrison's beautiful collection Tree of Life.  You can grab it at Gingerscraps.

 Happy Trails Templates

I simply scaled down the globe and fit on this 3x4 journal card.  I wanted to play with the concept of actually using the template for the flowers and leaves.  Tammy used actual flower and leaf elements on her page, way up there.  She also changed up the journaling.  Just think how beautiful your globe will be!

 Free Journal Card, Happy Trails and Tree of Life

Here is the free journal card.  Simply click on the preview to download and enjoy!

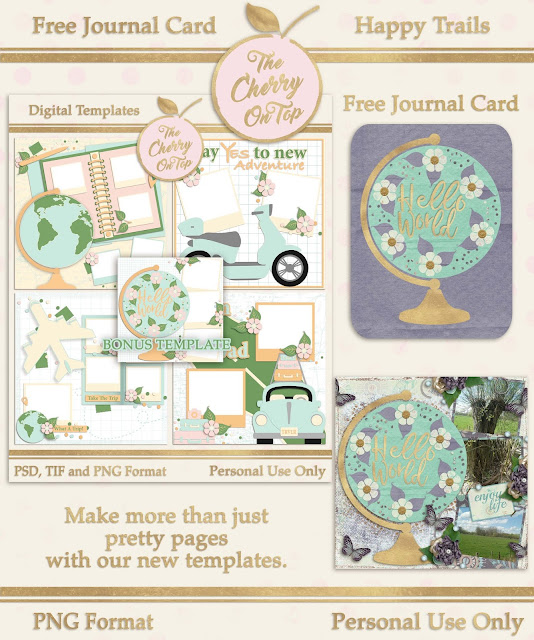
I hope you'll take advantage of the special price for these FIVE templates.  It's discounted for one week only.  

Feel free to jump over to our group if you have any questions about the pages or digital scrapbooking in general.  The ladies over there are super happy to help.  If you're curious about digital scrapbooking, we can get ya started in a matter of minutes and for free!  Find out how on this blog entry and join our scrapalicious group.  We'd love to see you there.

Thanks for hanging with The Cherry.

Happy scrapping!

Sunday, May 1, 2016

May's Freebies Are Here

Welcome to The Cherry On Top.

Here are your May free goodies.  We've got your free planner inserts as well as some fun printables for in your journal, planner or wherever you like.

If you are digging our doggie theme this month, you'll want to get your hands on our free kit!  We will make it available in pieces, on separate days for this coming weekend's iNSD.  Yay!

Stay tuned for a lot more furry freebies!


Our freebies are always for personal use ONLY.  You may not claim them as your own or resell them.

What other monthly goodies have you missed?  Check them out here:

free

 free

 free

 free

 free

Thanks for checking us out!  Make sure you come back for more creative inspiration and freebies!


Saturday, January 9, 2016

Build Your Own Planner With The Stash You Already Have and Our Freebies

Welcome to The Cherry On Top.

We've got that planner we promised along with a pretty super, simple step by step tutorial and of course some free inserts so you can start building your very own planner, too.

I save just about everything from my crafty stash.  Even the packaging?  Especially, the packaging!  Often times it very rigid.  More rigid than the paper we can buy for our projects.  Like the backing for some templates I bought years ago.  I often use cereal boxes and other kinds of boxes when I need something very rigid for covers of projects like this one.


The first step is to cut out your cover pages.

Use whatever inserts you plan on using as a guide to design your front and back covers or use our free ones we are providing you.  They should print out to the traditional, American planner size of 8.5 by 5.5 inches.  However, depending on your printer, you can always make the jpg smaller or larger to fit your needs.

I traced around my planner insert leaving plenty of room around the edges for the holes of which we will fasten our project.


I cut both sides because it was that thick and very dense.  Just perfect for this!


Then trace your first cut out to make your second so they are exactly the same.  If they are not perfect, no worries.  You'll have all of those pages in between and if it's just a little off, you won't even notice.


Due to the thickness of my cover boards, I had to go back and smooth a couple of places around the edges.  Do this carefully with scissors or even a nail file.


The next step, is to cover those cover pages.  I'm using Echo Parks, For the Record 2.  The colours are bright, versatile and very fun.


Check out all of the goodies that come with this pack. Letters, stickers galore, beautiful papers, journal cards...


Find your favourite papers and adhere them to your cut boards.  Make sure you figure out exactly where you want to cut, then use your covers as a template.


Once your paper is cut, adhere it.  I used both double sided tape as well as glue.


The black and white is my inside cover for the back page.  The large flower motif is my cover page.


The small flower motif is my outside, back cover and the fun advertisement page is my inside cover page.

Consider where your holes will be before punching.  If you are using some kind of ringed binder, then make sure your holes will line up right.  I'll be using individual rings for mine.  I measured the distance between my holes so that it was even on the margin.   


The hard covers were just not hard enough so that I could get a standard hole punch to work.  Thank goodness for that.  I don't have any other tools and would have had to use something else by means of rigging.  Hehehe...If this is your problem, you could use a pencil or other share pointed object to get a hole started then insert a pencil and gently twist until you have a nice smooth-ish hole. I often use that technique.


You may choose to use washi on your project.  I chose the one that fit best with my papers.  Washi is great for hiding slight imperfections, it will reinforce your edges that may get a lot of wear and tear, it's a fun contrast to your project or perhaps a cohesive element if you use it repeatedly and it helps keep your paper covers in place if the glue fails to do so.


Line up your washi and set it so that you can fold it over the edge and apply the other half of the washi to the opposite page.  Just like pictured here, below.


Look at that!  All washied, the holes are punched and we are ready to try out some binding ideas.


I wanted to see what it would like with metal rings.  I use these for so many projects.  I must always have them on hand.  They come in a variety of sizes and sometimes colours, too.  You can find some with soft, colourful coatings and also without the hinge.


If you don't have the metal rings, consider using ribbon.  I thought it looked so darn pretty with the ribbon.  It added a lovely, soft textural touch that complemented those pretty flowers.  The thing is, your pages won't turn quite as easy and every time you have to add another insert, you'll have to untie, rethread....but it is only once a month and it does look pretty smashing.


I threaded it through the holes to get this look.  You can decide where the bows will go, front or back.
If you do decide to go with the ribbons like this, don't tie them too tight or your pages won't turn properly.  Leave a bit of slack and it will work great.


Stingy, stingy me.  I very often use the covers of my scrappy stuff.  Sometimes for the opposite side because it's usually a lovely, plain white and more than often to cut out all of those lovelies.  Just look at that pretty flower, doily, sewing machine!  Dying to be used, right?!


Although there are awesome, rigid sticker cut outs in this collection exactly like the ones on this cover, they are larger. Too large for my project, in fact.  The ones from the cover of the collection are smaller and fit perfect.  Get out those fussy scissors and use it all.


 So, that's the cover.  Fun bright, layered up, textured, blinged out and ready to go.  Plan your clusters and play with the layering before you start gluing.  Consider using foam tape or thick glue dots to give your project dimension.  It may  not be practical, but it's pretty!  Hehehe...It's more than likely that these elements may get a bit torn, twisted or even fall off, but we'll see how it goes.


If you are looking for practicality, then by all means, skip the layers.  To get the butterfly to pop out, simply cut it out and fold it gently right down the middle. I added three tiny adhesive pearls to the middle.  I thought those metal looking bird and bird cage would go nicely with the metal rings.  I also used a touch of black here and there for cohesion and dabbed around the edges of all of my elements with a white ink pad for even more cohesion and to soften everything up.  I love the sparkly, so I added a touch of coloured glitter glue here and there.


If you missed the blog with the free inserts, this snowman, pocket page is for all of your receipts, coupons and loose papers you may need in your planner.  It's really easy to make. Click here for the tutorial on how to make it.


As you can see, I fudged a bit with my hole placement on one of my inserts.  Consider leaving plenty of room around your inserts so that it comes out like the page on the right.  No huge mistake and easily remedied.  The stickers you see here are also free.

Aren't they just so cute, bright and fun?  You can download them here or by clicking on the image, below.


 planner inserts

I recently joined a private group on Facebook, called Artful Planner Club.  If you are interested, send in a request. We talk, share pictures, give advice, tips...

There you have it!  A super tutorial on how to make your very own planner the size you want it, with goodies that you already have and some fun freebies to fill it.

We will back back soon with February's, free inserts.

Everything on our blog is for Personal Use ONLY.  It is not to be resold or claimed as your own.

If you do download something, leave us some love, share our blog, + and or Pin us. It's the best way to say thanks for all of this great free stuff.

Happy crafting!