Tuesday, February 28, 2017

Scrapbooking Recap With Tutorials And Free Templates

Welcome to Traditional Tuesdays with The Cherry On Top.

I'm on vacation so I needed a fill in.  I do hope to get some scrap time in while I'm here, but I have painting to do and both boys are here.  I thought I'd put this in the blog in case I didn't get the time to put something new in.

If you haven't been following all three weekly blogs, then you may want to peruse through this blog and make sure you didn't miss out on something that interests you.

 Posh scrapbooking

I showed off several scrapbooking projects with Posh from Simple Stories.  Above is just one of the layouts in a bit of project life style.  Here's another entry with this collection. This is the other.


 sunburst scrapbooking layout

Another challenge I put out is this starburst layout.  I put a digital layout on a largly traditional group page and they really loved it and asked if I'd provide a template and tutorial on how to do it traditionally.  So, I did!  Click on either image to get to the blog with the free template and step by step tutorial.


 tutorial for sunburst layout and free template

I wouldn't call it a mega fast and easy scrap, but I've done much more difficult.  Give it a try and show us what you do.


On Saturday, I showed this for the hybrid spot. I showed off this tiny, kitty mini album.  There is a full step by step tutorial on how to bind like this.  It makes for very easy flipping of the pages and if you do go hybrid style, you don't have to worry about the elements falling off or marring the closure of your album.


This project can be done in under an hour!  Use my Cute Cards from the PuurFect Collection for the greatest of ease and the cutest of mini albums.


My son snatched this book before I even finished.  He loved it so much.


 Webster's Pages Mini Album

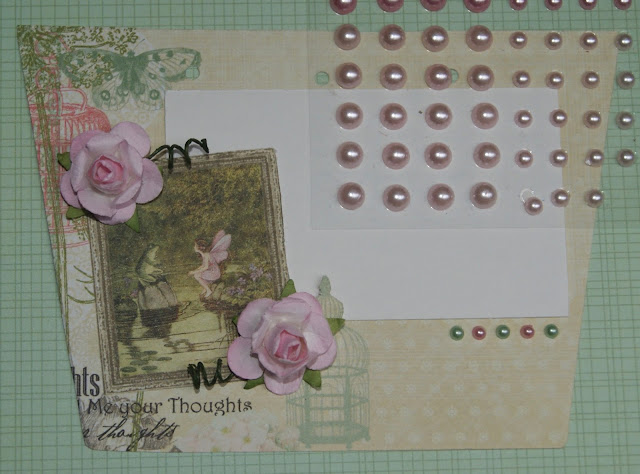
Another popular post is our mini purse album using Webster's Pages lovely warehouse box goodies.  There are also several entires for this project.  Type in Webster's Pages in the search field to find all of them.

 planner printables

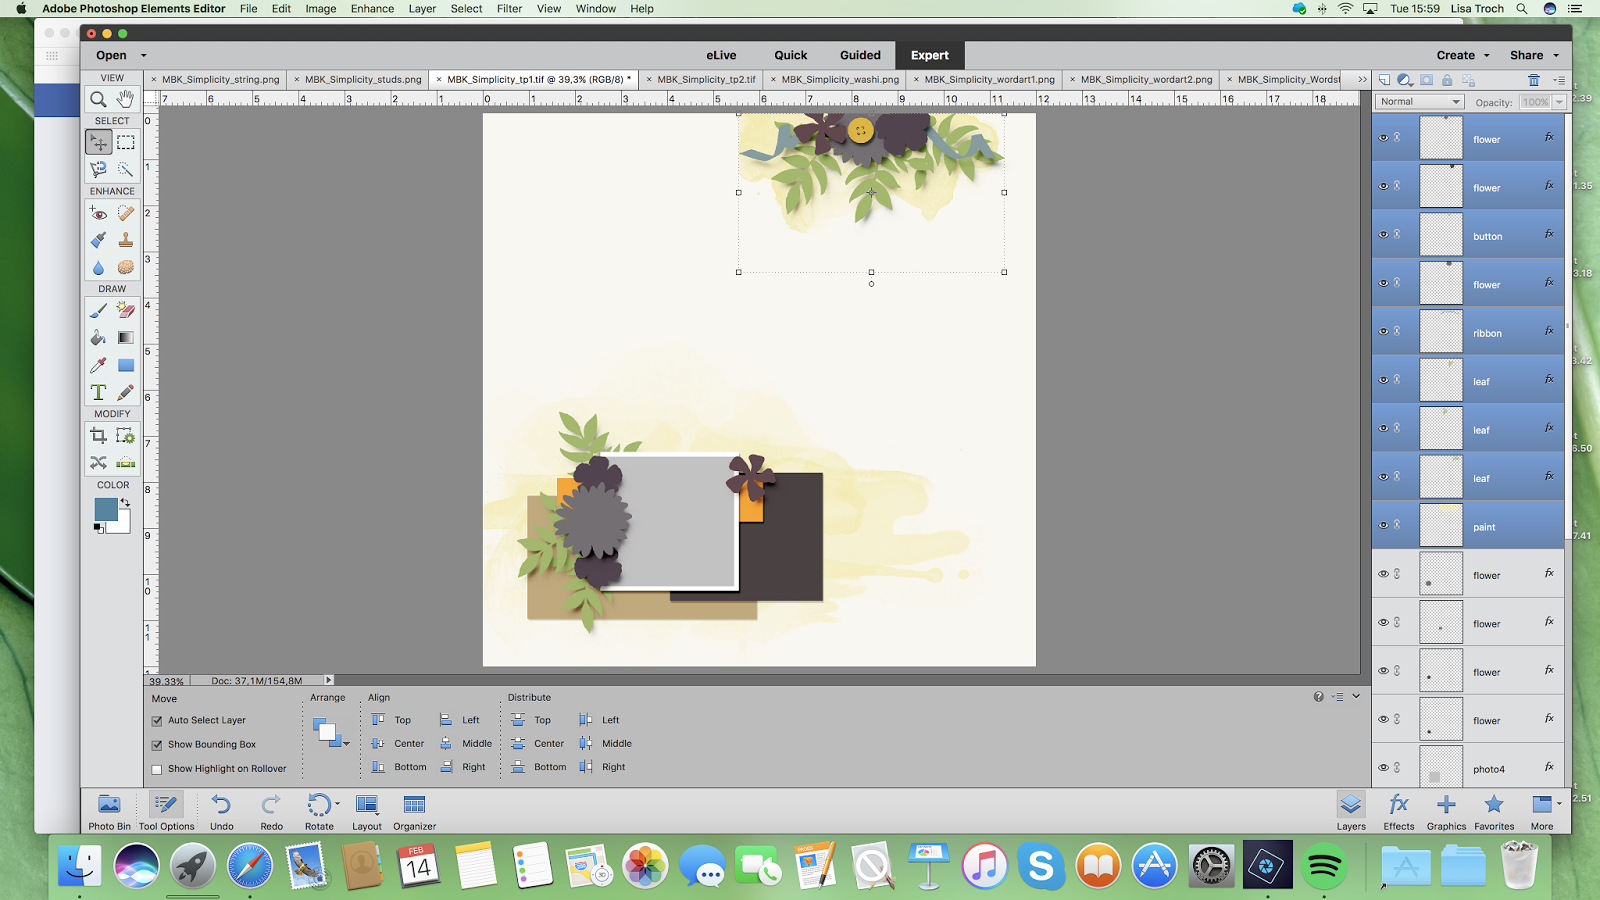
Here's some more hybrid fun and what I really want to concentrate on.  I design all kinds of scrapbooking goodies and I really love the pages to print.  You can print as much as you like and since everything is in png format, you can even choose one element and print it as much as you like.  That's what's so appealing to me about combining digital with traditional scrapbooking. 

This page is actually made with printable planner inserts!


 Free photo reel template

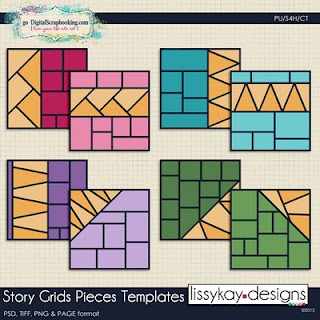
This is one of my latest layouts using my photo reel templates.  I've got the best one as a freebie on last Tuesday's blog.  Ya may want to go and grab it and see the other very inspiring pages you can make with these fun templates. They are a hot item in the shop!


You are getting a lucky peek at an upcoming free template and hybrid project for Saturday.  I used a free birthday kit from Gingerscraps and the free template coming out on the first.  I'll see you back for the finishing touches.  I'm giving the template for the frame on that blog.  So don't miss it!

Thanks for hanging with The Cherry!  We'll be back next week with yet another fun idea using my collaborative collection, Stay magical starring unicorns and rainbows! 

Saturday, February 25, 2017

The PuurFect Scrapbooking Mini Album

Welcome to The Cherry On Top.

I suppose it is toal coincidence that as I'm blogging about kitties, my kitty is laying on my desk, purring loudly and giving me lovey eyes.  Hehehe...That's him, in the photo you see right here and why I designed that nice white cat in one of my latest releases, The PuurFect Kit.

I'm showing off a hybrid project using the Cute Cards from The PuurFect Kit.  You can have it scrapped up in about an hour!  You need very few supplies, too.  Doesn't that sound just great?


These are all of the supplies you need. Not bad, right?  You probably have all of this stuff.

The Puurfect Cute Cards

Here is a look at the Cute Cards.  Cute, eh?  Our Etsy shop closed because I didn't make enough sales there. Sorry for the inconvenience.  At least you can still use the How To part of the blog.


This is what the entire kit looks like.  The elements are just .99 cents as are the papers.  For just around 2 bucks, you can get totally scrappy!


The PuurFect Kit

Let's walk through this project.  It's mega easy.

First, download your Cute Cards from the shop and print them out.  I always recommend using a slightly glossy or gloss paper when printing printables.  The colour comes out more crisp and true.  I used high quality, thicker paper for the cards and a slightly better quality, somewhat glossy paper for the photos of Pluisje.

Tip:  I used the png format of the Cute Cards as a template for my photos of my kitty.  This way, when printed, they will come out the exact same size as the cards.  

Print out your photos or use a card as a template to trace around your printed photos.

Cut out all cards and photos.

I'm offering an alternative method for binding your book.  I was consider using tiny rings, but wanted to try this binding idea.


I started my album with a Cute Card for the cover, then used a photo on the back and kept with this pattern throughout the album.

Check out the above image.  You see my card and the other square is a photo of my cat.  I used the left over paper from my cut outs to design these pieces.  They are all the exact same size and folded in half.  Then placed in the centre.  Just use the fold to line it up.  I used this glue stick because it allows for a little play for perfect placement.  Glue your photo with a card, covering this tab of paper.

Do this for all of your cards.


There ya go.  All of the binding has been placed in between each page.  The photos are on the backs of each of the card.  You can choose to cut the binding how you like once everything has been adhered into place.  Remember that wet glue may cause bubbling of your paper and double sided tape will not allow for mistakes.

The next step is to adhere all of the white tabs together.  From my experience, most glue sticks don't work that well and with a little change in temperature, your project could be falling apart.  I would use double sided tape for the binding.

You may also choose to decorate your binding.  I was considering either red ribbon or coordinating paper to cover the binding, but my son spotted the book and took off with it and I can't find it anywhere to finish it.  I was going to send it to his girlfriend (she's 12, he likes older women hehehehe...) who gave us Pluisje (and the name) when he was just a kitten.


What I really like about this kind of binding is how nicely the pages flip.


I was considering doing an accordion or flip style album, but really wanted to try this out.


If you don't like the tiny white binding showing through, you can always use coordinating paper. The colours in this kit are easy to match.


What a pretty kitty!


What a nice ending to a fun mini project.

I'll show off just a couple of layouts with the kit in case you're interested.


Another thing you may want to consider is increasing the size of the cards.  I'm pretty sure they measure 3x4, which is great for digital projects, but perhaps a touch small for traditional.  I may have wanted them a little bit larger for this project, but wanted to experiment with this size to see the result and take into consideration for future projects.

I gave away one of these Cute Cards last week. I've also stuffed a free Cute Card into both elements and paper packs when you purchase the kit, you'll find them in the goodies folder.

I hope you liked today's project.  Yesterday, we showed how to change up digital templates and offered several links with free templates.

If ya like off of this scrappy goodness consider following us here, on Instagram, Pinterest and Facebook.

Happy crafting!

Friday, February 24, 2017

Stretch Your Scrapbooking Templates and Add Some Free Ones To Your Stash

Welcome to The Cherry On Top.

I'm so excited for today's blog.  I've got a lot of scrappy inspiration for you.  I'm showing various ways to change and or alter digital templates and make them more your own and customise them to fit the page you have in mind.  I've also got links to several older templates from this blog that you may have missed.

Thanks for stopping by.  I hope you like what we've got for you, today.


As you may know, I design templates amongst other digital and traditional scrap projects.  Above, I used a template from Heartstring Scrap Art.  Bryony is definitely a top of the list, digital template designer.  She's also started making digital scrapbooking kits and they are equally as fabulous.

For one of the first times, I followed a template literally.  Can you spot it in the collection below?  Bottom left...So soft and pretty.  I used Aimee Harrison Designs newest collection, Aquamarine.  It's really lovely, as usual.  Her collections are outstanding.  Not only do they lend absolutely gorgeous pages, but they make scrapbooking so fast!

 Heartstrings Scrap Art

OK, take a look at the top, right template, above.  See those THREE photo spots, in Bryony's template?  Well, below you'll see I merged the three photo spots (by clicking on all three grey layers in my software program, then right clicking on "merge layers").  How awesome a spot for a landscape scene like this one from my back yard in Germany.  The rolling hills, river and grape vines and backed up on a beautiful, blue sky.


There really isn't a lot to this layout.  One photo, an awesome messy edge from Aimee's collection and perhaps a dozen elements from Aquamarine.  You can still scrap beautifully when you scrap simply.


 Dreams and Fairytales templates

This is not my work, but it's just so darn gorgeous, I have to show it off.  Bryony's gorgeous collection is just $1 a pack, which totally freaks me out!  It's so awesome.  Lovely templates, too.  Ya have to take advantage of this deal.

 Dreams And Fairy Tales

The colours and all of that sparkle!  This is a must have for your digital stash.


This one might be more difficult to see.  My layout above used Lissy Kay's Fast Grid templates.  It's actually the template with the pink background.  Do you see the changes?


 Fast Grid Templates

I opened the template in my PSE software, used the square marquee tool and snipped off the entire row on the end.  It was really easy to do because of the big, black lines in the frame.  Then I stretched what was left of the template and turned it to the left by selecting all of the layers, image, rotate and left.  I often do that to change up a template so that my page doesn't look like everyone else's who work with the template.


 The PuurFect kit

Here's another lovely template from Lissy and my new kit, The PuurFect Kit, featuring my bleach white fur baby, Pluisje.  (You pronounce it, Plow-sh-ya)


 Lissy Kay Templates

I used the top, right template, changed it's direction horizontally and merged some of the layers so that I didn't have to put a different paper or photo into all of those spaces.  Feel free to use papers of photos in all of these spots.  The choice is yours.


Made By Keuntje is another template designer.  Take a look at how I changed up one of her terrific templates to make it my own.


I used the template on the right.  I deleted the entire right side cluster and title spot.  Then I took that separate cluster in the top left and move it over to the top right.  I also enlarged and moved the bottom cluster a touch and replaced her photo spot with her element from this gorgeous kit, Simplicity.


 Templates from Made By Keuntje

Click on the above image to get to Dana's shop.  She's having a special event in her shop.  Everything she earns for the next week and week past, will go to help our scrappy sister, Jodi from Throwing Some Scraps Around's, grandson who needs surgery.


And yet another way to change up a Lissy Kay template.  Hehehe...  Again, just changed the direction and deleted a few layers I didn't need for my page.


 Free Lissy Kay Template

So now you have some ideas on how to change up your templates.  How about some to play with?  I've got a few from previous blogs that you may have forgotten or missed out on.  I'll have to say that these do not come in png or page format and the quality may not be as good as my present templates.

 Free Template

See what templates you can still grab from last year, pictured below.  I have more tips and tutorials on how to work with these quick pages/templates.

 Free templates from The Cherry On Top

This might be my all time favourite template and it is STILL free.  Also no png or page files, but I'm going to revamp it and get it in the shop soon.  Grab it while you can!

 Free Template

I'll take this opportunity to show off my newest templates.  I teamed up with Dana from Made By Keuntje for this uniquely awesome collection, Stay Magical.  We've got a kicking scrapbooking kit, planner inserts, templates, quick pages, badges and more inspiration than you can shake your wand at.  Click here if you want to go to the blog where I feature this collection.  I've also got some freebies there.  Wink, wink...

 Stay Magical Templates

 Stay Magical Templates

Thanks so much for stopping by The Cherry.

We'll see ya tomorrow for Hybrid Saturday.  We're scrapping up a hybrid mini album with our new PuurFect Kit and Cute Cards.

Consider joining our group on Facebook, following us here, Pinterest and Instagram so you can keep up with all of today's best digital scrapbooking products and techniques.

Happy scrapping!


Tuesday, February 21, 2017

Multiple Photos Scrapbooking Layout and Free Template

Welcome to The Cherry On Top.

Last week we scrapped up some fun photos with this photo reel template.  It's still free on last week's blog. I've got the link for you at the end of this entry. Today, we're scrapping the rest of the page.  Join us in the process, get a few scrappy tips and hopefully, some inspiration to go and scrap your own page.


I used the rounded square template on each of my photos and placed them on the circular disc.


Though these circle templates are over a decade old, I still use them ALL of the time.  They are from Fiskars.


They come with graduating circles that were perfect for this project.


Last week I went into more detail on the process of making a page.  These are some very old scrapbooking goodies from my stash.  I even kept the packaging from this collection because there were a few pieces I could cut out and use as embellishments.  Hehehe...

You can also see above, a very rough sketch.  I strongly recommend that you have some kind of layout in mind before scrapbooking.  Otherwise, you'll waste a lot of time.  Hit up Pinterest or another scrapbooking gallery.  My group on Facebook is a decent spot for inspiration and this blog even better still.


This collection matched so well with my photos.  First, the colours are repeated in my photos and second, it is youthful, like the lovelies pictured.


You can see the built up circles with black edging.  I'm thinking I could have saved all of the black paper and just inked around all of the edges, but then again, this layering does add more depth to my page.  I inked around all of the elements and the page itself.  It's the first time I ever inked around the entire background and I really like the result.

These letters are some kind of felt and it got all over the place.  Not ideal, but they do look pretty cool.  Use thick, double sided foam tape to make your pages pop and bring you goodies, literally off of the page.


 Free Template

Above is the free template so you can try this project out for yourself.


 Photo Reel Templates

These are the templates available in my shop.  There are NINE different templates to play with and they are just 1,99!  They will make such an excellent addition to your scrapbooking stash.

I've got some really fun projects coming up.  Freebie Friday I'll be diving into how to change up your templates.  There will be a lot of tips and tricks and every Friday, we feature freebies, too.  Saturdays are reserved for hybrids.  I'll be showing off my PuurFect Cute Cards and how to turn them in to a mini album and show off your puurfect babies.

Thanks for checking out The Cherry!


Saturday, February 18, 2017

The PuurFect Scrapbooking Kit And A Free Hybrid

Welcome to The Cherry On Top.

I'm nearly as excited as I was yesterday with the release of my collaboration with Made By Keuntje.  Hehehe...I hosted a Scrap A Cat And Chat event on Facebook on Saturday where every 15 minutes, I gave a portion of this kit until they had all of the pieces.  Then for the lovely ladies who posted their finished layouts, they also received a free template.  

The event lasted an hour and it went by so fast!  We had fun chatting about our kitties and showing off all of our photos and stories about our fur babies.  I hope ya join me next time we have one of these events.

I recently put this collection in the shop.  It's the PuurFect kit and I have coordinating PuurFect templates and Cute Cards, too.  Keep reading to see the collection, view The Cherries lovely inspiration and see what you missed yesterday.  Of course, there's that freebie at the end.


There are 40 elements and 12 papers, four design and 8 card stock papers.  Each pack is just ,99 cents!


Here are the cutest of cute cards.  They're perfect for Project Life style scrapbooking and they come in png format so you can use them traditionally or digitally.  Take a look at what The Cherries have done.


I scrapped this one up to show that you don't need kitties to play with the collection.  That's me and JJ in a rare shot of him looking into the camera.


I also scrapped this one using my You Rock!  templates and the cute cards in place of a photo spot.

 PuurFect Templates and Kit

Dana used the PuurFect templates for her layout, above.


 The PuurFect Kit

Hilary also scrapped the cat for her layout and used this little cutie instead.


 The PuurFect Kit

Another layout without using kitties.  Dana from Made By Keuntje designed this beautiful page.


 The PurrFect kit

My scrappy sister, Theresa designed this lovely page.  Such fun clustering and  funny pictures, too.

 PuurFect Templates

These are the templates.  Just 1,79 in the shop.

Now, here's a look at what we featured yesterday in case you missed it.  

I joined up with Made By Keuntje for her awesome Stay Magical Collection.  It is beyond fabulous.  Take a look.


 badges stay magical Stay Magical elements

Some fun stackers, a ton of fabulous elements, gorgeous planner inserts, templates, quick pages and more.

 Stay magical Printables Stay Magical templates


Let's dive into some more creative inspiration from The Cherries.  I showed off different ones yesterday so stick around and check out today's.

 Stay magical Templates

Theresa teamed up the collection and my templates from Stay magical.  Such a fun, bright page.


 Stay magical Templates

Marie designed this magical page using the collection and the coordinating templates as well.  Wow!


 Free Kitty Cute Card

This is no longer free. Make sure you sign up for our newsletter to stay up to date and so you don't miss any free stuff.

This is the freebie from yesterday.  Some fun word art.  Click on the image to get to that blog.


Thanks for hanging with The Cherries!