Welcome to a super scrappy edition of The Cherry On Top.
We're combining two passions to create something special this spring. We've got a fabulous hybrid project, layout inspiration, craft inspiration, a tutorial and some serious hook ups to free stuff.
Hybrid crafting is taking digital elements, printing them out and creating something you can hold in your hands. Talk about cheap therapy?! Hehehe...We've got several different projects you can make with one, free digital printout.
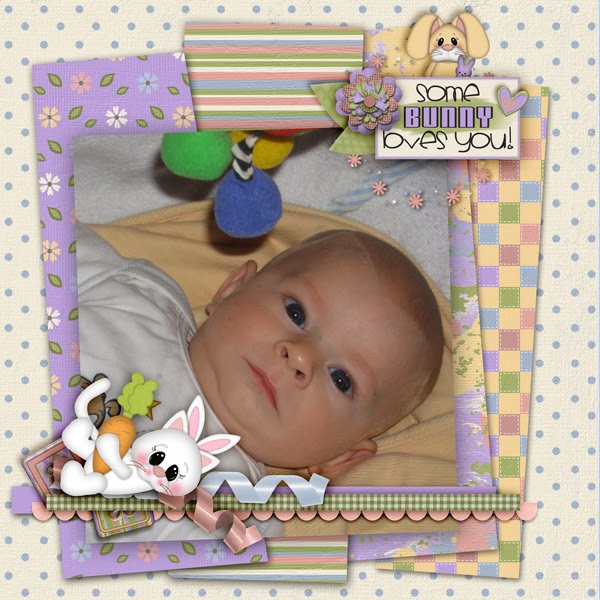
Here's a traditional digital scrapbooking layout I designed using BoomersGirl's Hoppy Easter kit as well as half of BoomersGirl's, double template, Wild Berry Skies. Isn't he the cutest?!
I liked the kit so much, I kept playing and designed this. A digital layout using elements from the kit and a couple of shadows. Keeping simple and versatile to give you several options on how you can play with it.
You could just print it out, as is a 12x12 format and put it in a scrap book or frame it up. You could also scale it down, ( I scaled to 40%) rotate it 90 degrees left, print it out on card stock, cut out, fold in half and voila! A card made in minutes, like the one pictured here.
You could scale the image down really small and use it in a digital or scrapbooking layout as a journal card or embellishment as another option. Like I did down here.
Or you could go all out and turn an old shoe box lid into something festive. It took me about an hour. So, it's a rather quick project. I also didn't buy anything for it. Just rummaged through what was on my desk at the time. Trust me, my desk is an absolute disaster with very little space to actually work in. LOL!
Here are the materials you will use, minus the print out:
shoe box lid, large glue dots, scissors, paint, paint brush, foam brush, glue, double sided tape, thick double sided tape and embellishments such as pearls, rhinestones and paper flowers
You could also choose to paper over your lid rather than paint it. I LOVE paint. I typically use really cheap paint because I use so much of it. I put a quick coat on with my foam brush. Let it dry and then tap on the next two coats to give my paint a textured look and cover the dark color of the box.
Choose some ribbon if you like to add dimension and texture to your project. As you can see I hang my ribbons on a tiered hanger. I can see them and access them all really easily. Purple and green are in the printable. I don't have much space on the sides, so I chose narrow ribbon. I use the most narrow double sided tape I have for the very best result.
Tip: I never trim off the wire of my paper flowers. Rather twist it around the skinny end of a paint brush and adjust to look like greenery.
Tip: Cut out the centre piece from another copy of the printable, add thick double sided, foam tape to give your project even more dimension and pop.
* paint your box lid and allow to dry
* apply the printable with adhesive
* adhere ribbon to the sides
* embellish with paper flowers, brads, rhinestone, Pearlz...Follow the round pattern on the print out as a guide
* cut out centre cluster from a copy and adhere with double sided foam tape
That's it! Ready to hang on the wall. It's really light of course. So you don't need any special hardware.
Two more ideas for you. I took a recycled pastry box and just glued it to the top for this decorative box. Put cupcakes or a pie in there.
Or you could adhere the printable to the inside of the box if you choose to display your goodies like pictured here, below.
Ya won't find a lot of sweet treats in our baskets and boxes, but the kids will go nuts over the little goodies just as much or more with inexpensive gifts like a cool toothbrush, a game for the iPad and a Transformer mug. All for under $10!
Feel free to share what you make right here or on our Facebook Page
I'll be back soon with another hybrid project using the free recipe cards that you can find throughout my foodie blogs. See the latest foodie blog with two, free recipe cards and go back and collect all of the others so you can do the next hybrid project with us. You're gonna love it!
Happy scrapping!

