Welcome to The Cherry On Top.
Yes! Another hybrid blog for you, today using our newest pack of templates, Scrapbooks. These templates are so, so cool. You can use them digitally, but you can also totally go hybrid with them as well and quickly and easily, too. So many people don't make time to scrap or craft. However, if you knew you could knock out a project in a super short amount of time, one might consider it, right?! (There is a coupon to be found! Read to the bottom.)
Allow me to walk you through the process.

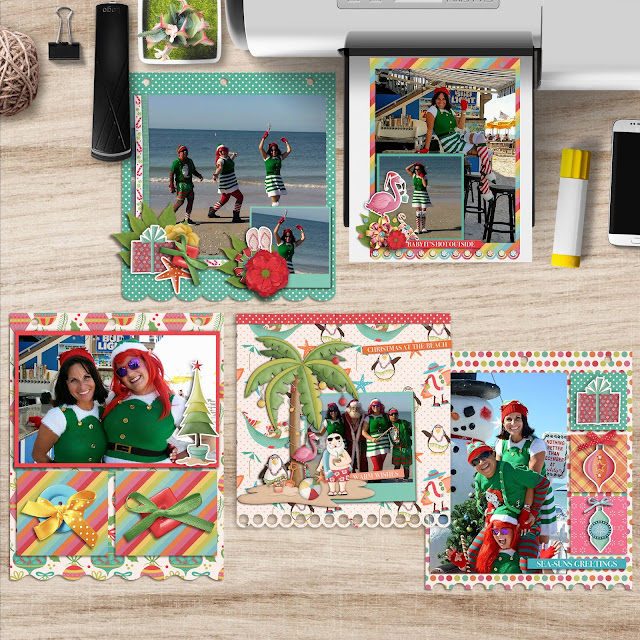
Above you can see all of my pages at once. The third template in the Scrapbooks pack is actually FIVE templates. Let me show ya what I mean and show you some amazing features with these templates.
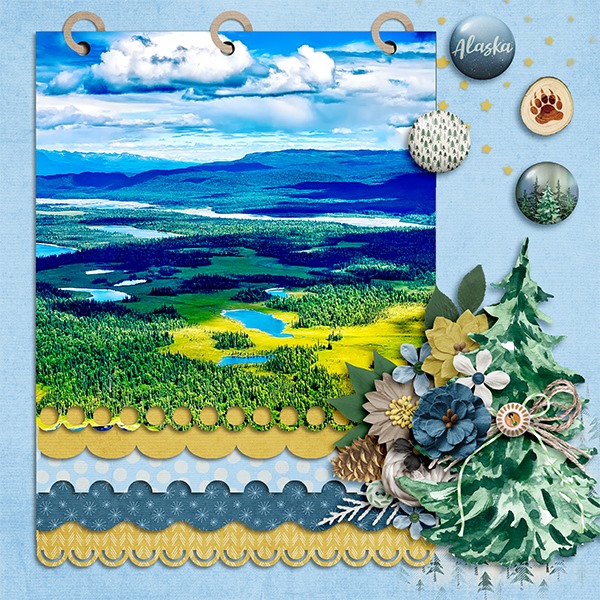
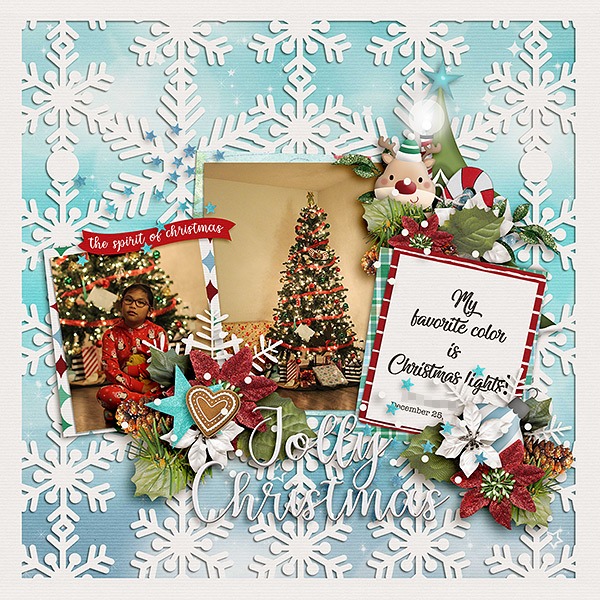
As you can see above, I scrapped five totally different pages using each page from the third template. I've provided pictures spots on each page of the "album" in that template. Cool, right?! I moved some papers around and repositioned most of them on each different page and added just a few templates with a "sticker" effect I gave them all. I suggested in Friday's blog that you add a white outline or stroke to your elements and copy/paste that layer style to all of the others there after for cohesion. If you have a finer element, like my little crab with a candy cane, you might have to adjust the with of your stroke a touch.
So all five pages in my template were scrapped. You can go about that in several different ways. What I did was just do my first page. Then I duplicated that entire page and ditched everything associated with that top or first cover page of the album and switched some things around and repositioned some stuff. I kind of made it look like a real scrap process, with smaller pieces of paper and moved ellies from the desk onto my page. Then repeat the process for all of your pages. The first page might take the most amount of time to do, but the rest will follow really quickly if you do it like I explain.

If you are a Cherry follower, you know I print via "preview". Here's how...For a Mac, go to Finder and find your document you wish to print and click "open with" and choose "Preview". As pictured above.

Then choose "file" and "print". Make sure all of your settings are perfect! I always recommend using good paper. If you're savvy enough to figure out how to get it through your cutting machine, you're even better off, though the fussy cutting is minimal with this project. I would assume saving your pages as png would do it.

All of my pages are printed and I was so thrilled that the punch holes were there! If you want to bind your book without holes, then you'll have to fill those in or cover them up. They are covered on my first page with that ribbon. I'll show ya what I did to get my holes just right.

If you strain your eyes ever so slightly...hehehe...you'll see at the top of my page I've lined up a page with holes with the page without holes. That's it! Easy enough, right? Just use a standard hole punch for these.

You can also use this hole punch for the circles at the bottom of the first page. See my example?

The only real fussy cutting was that border on the third page. I think you'd be able to use a larger hole punch to do it.

Let's take a closer look at each page, shall we?

You can see how I "used" my ellies from the first page. I added an extra little frame for another picture for my digital page.

There's the crab I was talking about. I thought the sticker effects was really appropriate for this project. It's a great way to add contrast, too.

Feel free to keep it simple! Look how simple this page is. It took me a bit to absorb that it was in fact a simple page, but because of these exciting colors and patterns, it certainly doesn't appear all that simple at first glance. It will save you time and prevent a cluttered look.

If ya go digital, you might want to check out Friday's blog for more details. I would certainly use a style effect on the rings or they look too flat. You won't need them though if you print your pages.
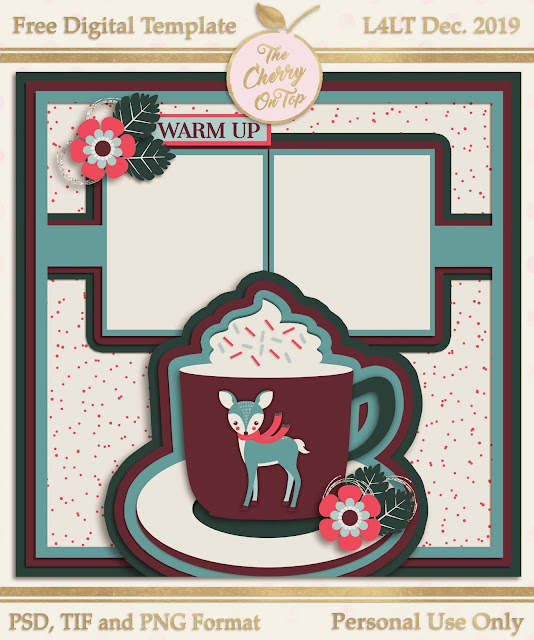
Here are the templates.

Cassie did this project together with her daughter. They turned it into a kind of address book for her friends information. I thought that was a brilliant idea. Use the best card stock your printer can handle.


Here's another mini I made with the first template. See! Ya get four pages for this one. If you have a cutting machine, you'll be able to get rid of those white spots in the B and the O a lot easier. If not, either use an exacto knife or carefully pierce a hole through the center with a very pointy, sharp, fussy cutting scissors and carefully clip around or for the O you could put another picture? Then you'd have nothing to cut, but you might lose the O look...

I did use a smaller hole punch for the binding and I really should have thought more about how I wanted to bind it.

I've pictured for you, a few different manners you could bind this. Cassie used ribbon for hers. If you use eyelets and ribbon, it will work great, but if you use just ribbon, it will be a little more difficult to turn the pages and it might even ruin your book if you often turn the pages and use poor quality paper.

I would have preferred just binding with one fastener like a ring or brad, as shown. Of course my ring is way too, big but they do sell them in all kinds of sizes. I must have used all of my smaller ones. An eyelet will add rigidity.
Even the brad looked cute. Doesn't my goodies look so real from the bottle cap and star? Wow!

A little extra hardware...

My super star Hilary manipulated her pages for easy printing, too. Look how cute?! What a great way to document a trip to a castle, Disney or your little princess or prince.


You might also want consider your elements, by putting them further into the page so you won't have so much cutting around the edges. Consider if ya want those holes and remember if you laminate your pages you will add brightness, sharpness and rigidity to your project. You could slo print out a few duplicate ellies from your pages and use thick dots or double sided foam tape and place them over your representative elements on your page for a real, 3D effect! To see what I mean, go to this blog.
My gal Berna is an amazing illustrator. I used her newest collection, Daisy found in the Digital Scrapbooking Studio to make this card. It'll make a good desk top pic, too. If you love color and unique, exceptional designs, then ya have to check out Berna's Playground!
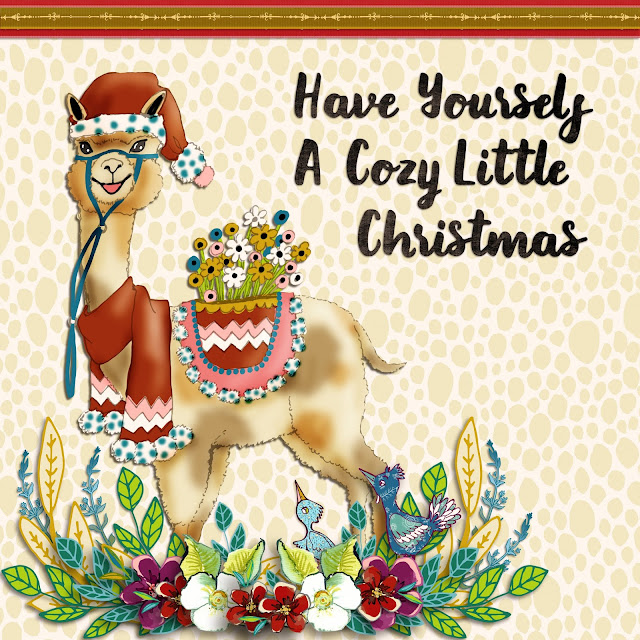
If you are all about the digital holiday cards or hybrid projects, here is another recent project of mine. Pop over to this blog to see a full tutorial and check out the free printable card I've got over there as well as a free template. You could always go to our finder at the top of the page and type in hybrid. This blog is full of projects of all kinds.

Thanks so much for checking out The Cherry. If you have any questions about our posts, pop over to the group on FB or send me a message. I'm happy to help our readers pursue their crafty endeavors.
I hope you'll join us with this really fun, mini album project. I've got a special coupon code that is most generous on this blog. Hop over there and grab that code and save big time in both of my shops, this month!
Happy scrapping!