Sunday, May 3, 2015

More NSD Freebies With The Cherry On Top

Welcome to another scrappy edition of The Cherry On Top.

We're doing free stuff all weekend long.  We dare you to keep up!  Our Facebook Page and Pinterest is hopping with free goodies all weekend long and there is so, so, so  much free stuff.

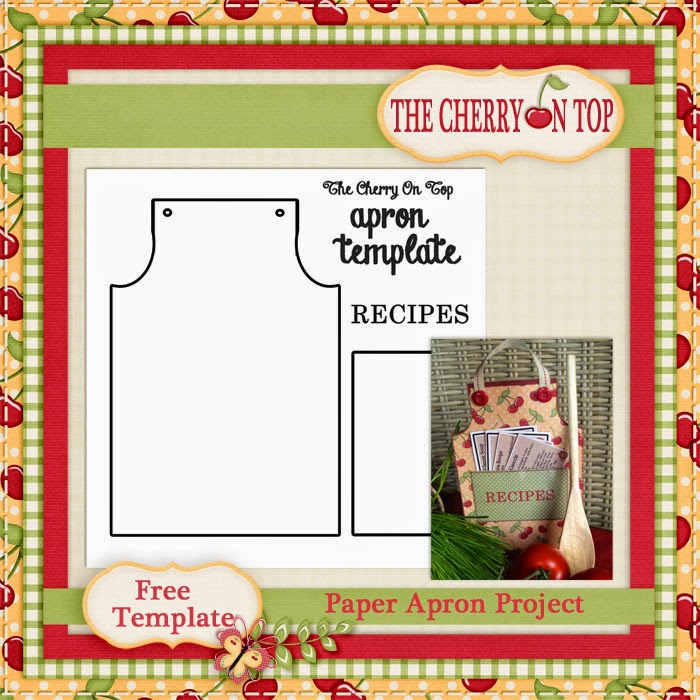
We're not stopping now!  Since National Scrapbooking Day is kind'a sort'a for traditional scrappers we are combining the two arts together, again with yet another hybrid project.  You can use the template in the traditional style or you can do it digi style like we did here. It's still on sale for a song of just $2.50!

 dss

 free download


I found this really cool, heart shaped envelop on Pinterest that I just loved and thought it'd be sweet to share with our fans.  We've got the perfect heart shape, lines to follow and some other nifty ideas for you in our pictorial tutorial.

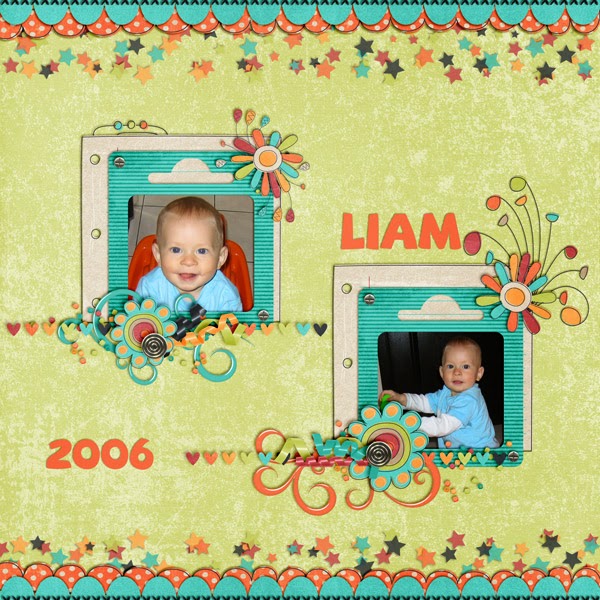
Here's how I originally used Amanda Creation's kit, All About Me.  In this digital scrap layout of my oldest boy who just turned 10 this week.  I love these pictures of him.  I took the fun whimsical elements from Amanda's pack full of sweet ellies and came up with something jovial and bright.  Just like Liam.

 the studio

I wanted to show you how to do this digital style.  Download the template, it's in tiff format, open it up in your scrappy software, choose one of your favourite papers and clip it in.  That's it!  For a Mac it's command G and you're ready to print.

This is all you need:

-scissors or your trusty cutting machine
-digital kit with paper backgrounds or traditional paper
-printed download
glue dots, embellishments, ink and fasteners are all optional


Here is the printed version cut out and ready to ink, if you choose just fold.  You can see I added a few embellishments in the tip of the heart, via computer.  With the folding lines from the template, you can see exactly where your elements need to be placed if you decide to do it this way.


Tip:  Getting the folds just right is quite tricky.  I totally needed the lines provided in the template to get it just right.  What I did was after clipping my paper to the template, I played with the opacity so I could just see the lines.


Fold like above by following the lines on the template.


Then fold the top and bottom by following the lines, like pictured above.


I inked around the heart after I folded and it was ok, but when you fold your paper you reduce the rigidity of your heart and makes it a tad bit more difficult to do so.  I would ink around the edges and then fold.


I then inked around ALL of the folds for an extra splash of colour to make the envelop look for polished.  Voila!  Finished!

Check out these other projects and freebies we've got around DigiLand!


 tcot blog
 Tcot on FB
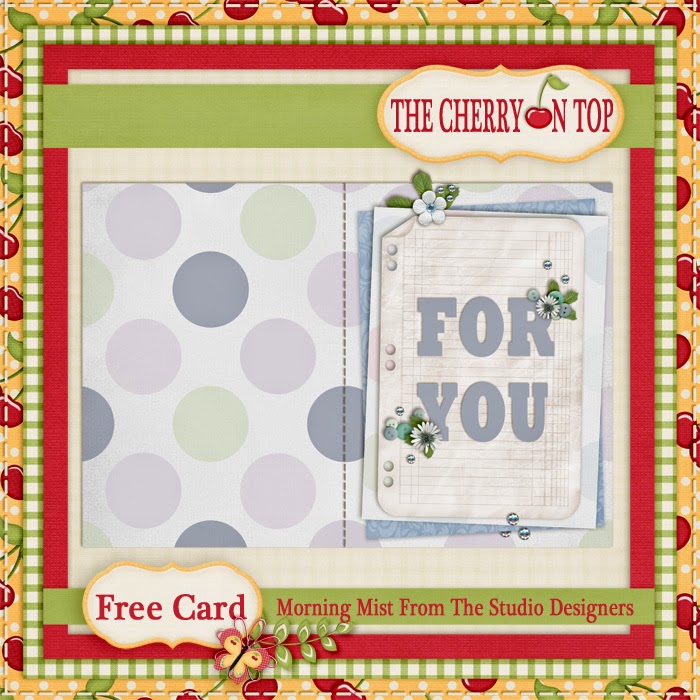
More envelopes and a card.
 tcot blog
 tcot blogA beautiful, digital paper stacker and a fabulous cluster frame.

 tcot blog
 tcot blog
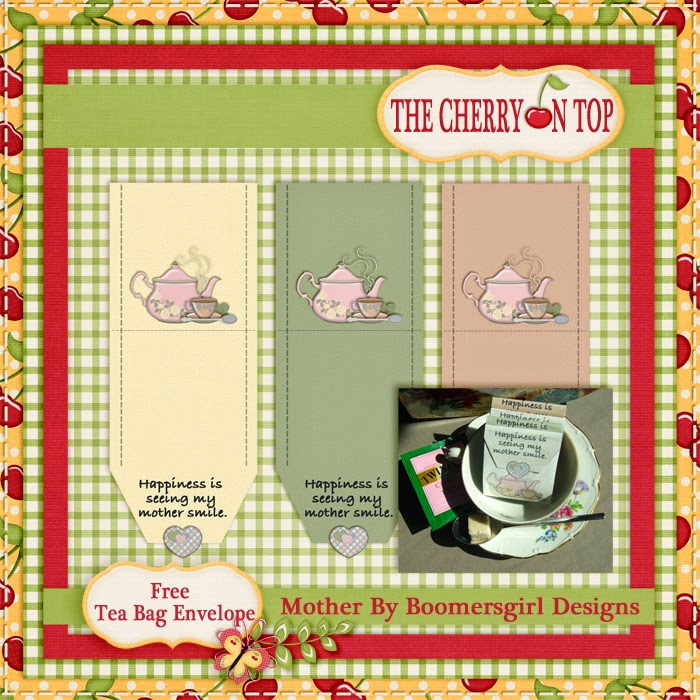
Many, free templates to get you started if your creative mojo is on the fritz.

 tcot blog
 tcot blogMore templates and printables!

THIS FREEBIE IS NO LONGER AVAILABLE FOR FREE.  LOOK FOR IT IN OUR ETSY SHOP, COMING SOON.  KREATIVE DESIGN STUDIO

 TPL

So you can make something like this, with just a little bit of work.  Ahh...the magic of templates.


This is designed with a free, double template found at The Pixel Loft and with Paty Greif Digital Designer's kit, Blooming Everyday.

Check out all of our social outlets and grab some serious freebies.  Just remember, they are all for personal use only. Share the links for the blog and sites as a way to say thanks.  Enjoy!

Happy scrapping!


Friday, May 1, 2015

Free Envelop Template From The Cherry On Top

Welcome to yet another scrappy edition of The Cherry On Top.

It's National Scrapbooking Weekend and we are celebrating.  Any excuse, right?!  On a previous blog we gave a tutorial as well as a free template for a mini album with pockets.  Today, we are giving you something to put the mini album or any other paper craft you might have, in.  Click on the image below to get to the tutorial.

 mini album

Here's the circular type envelop were focusing on today.  We got another envelope template will share with you later.  This one is basic, simple and ready in about one minute.  Ya gotta love that!

 free download

Download the template by clicking on the above preview.  You can either print out the blank template and trace around it, use your trusty silhouette or other cutting machine or you could open the template in a software program, choose a paper background and clip it on to the template, then print and cut.  The choice is yours.


I used a pair of scissors and chose to cut before the black lining, but you could choose to leave the black line around your envelop.


The folds are self explanatory and so easy to make.


Another option is to ink around your envelop.  You can make a quick sweep across the edges so you have just a hint of ink or you could do like we did here and go in a bit deeper either by sweeping your ink pad or by dabbing.  I prefer dabbing my ink pad.  You won't have the chance of smearing and it appears a bit more subtle.


Here's your envelop.  Ready in seconds.  You can always shrink or blow up to the template size you want.


This is the envelop I made to coordinate with my niece's mini album.


You may choose how you want to close the envelop.  I used some simple ribbon, tied in a bow with the excess and attached a tiny, silver charm.  Other options are gluing, double sided tape or a tiny glue dot.


Here's a look at a more complex envelop we'll do next time.


And here are a couple of other projects for you to check out. Click on the image to take you to that project.

 free card

 apron

 tea envelopes

Thanks for hanging with the Cherries and remember everything is free, but not to be resold or claimed as your own.  Share our links for the blog, please.  It's the best way to say thank you.

Happy scrapping!

Hybrid Mini Album With Free Template

Welcome to another edition of a scrappy Cherry On Top.

We are going hybrid, again with this adorable, fun mini album/gift card/money holder.  We've also got a free envelope template coming in tomorrow's blog.  In good ole Cherry fashion, everything is free

My niece had her second confirmation last weekend and I wanted to make her a little something special.  I  know she loves pictures and she loves scrapbooking, too.  I just needed something to hold her gift as well.  We present to you today, this quick and easy hybrid project or totally traditional scrap project.  Go ahead and get a little glue and glitter on your finger tips.

 free download

Here's a look at your template in action.  If your going to do it digi style, then go ahead and clip in your favourite papers.  Otherwise, just print out the template at whatever size you choose, cut out the shapes as many times/pages you want and use them as a template to trace around.


I played with a bright fun kit from Key Lime Digi Design, Sweet On You.  


Just duplicate your template as many times as you want pages and add in more backgrounds.


Then go back and add your elements, journaling or word art.  I rotated the entire image to get my pocket right.  make sure ya do that right.  Look how I saved space at the bottom of the top image, right side.  That's for the pocket.


In the bottom image you can see the right side of the top image is your cover and the left, the back cover.  I left it blank.


Print out your pages you want and cut them out.  Seriously, the only materials you need are shown right here if you do it digi style.  Simple, eh?!


You can cut out the black outlining or leave it.  I left it for mine and just used a black pen to fill in the spots that were not perfect.


You could also ink around the edges. It goes really fast, there's not much mess and it gives your project a finished looked, too.


When you are ready to put on your pocket, remember to only adhere in a U shape like shown here.


Tip:  Use really narrow double sided tape to maximise the amount of space in your pocket.  If you don't have narrow double sided tape, then take a more broad tape and cut it in half. 


Voila!  The pocket is in place on the last page and it's just the right size for some money or a gift card, memento or coupon. Note, this is my last and first page.  I put the photos in time order.


There are so many things you can do with this template.  I chose to adhere one template right on top of the other, but you could also have each layer separate for more pages.  Then you have to make sure you have each side decorated or papered.


There are a lot of different ways to get your pages in the mini album.  Make a little extra flap on the edge, score along the edge of your page and adhere it to the center of your album, like I did here.  Place the strip in-between your pages before you glue them together, if that's how you are doing your book.

You could use brads, rings make it a flip style book from the top or the inside like shown here.


 Use colourful paper that matches your album for the flap like shown below.


Simply press the tabs firmly in the center/binding of your mini album and you're set.


Stick your nifty gifty in the pocket...


Admire your job well done...


A super cute mini album that you can make in about an hour.


If you're looking for something to put your mini album in, then come back tomorrow for the next hybrid entry on how to make envelopes digitally and traditionally.


Check out some of our other free templates and hybrid/paper projects here on the blog and our Facebook Page.

 free download


 tcot tcot on FB

Check out Key Lime's specials!

 Gs


Thanks for hanging with the Cherries!