Howdy, crafters and scrappers and welcome to The Cherry On Top.
I've designed quite an extensive Halloween project for you and thought it might be worth it to come over to the bloggo and type out a really nice, step by step tutorial for our witch hat paper template found in Kreative Design Studio (AKA The Cherry On Top) at Design Bundles.
I've also revamped our Patronus Collection and renamed it, Wizard World. If you are totally into wizardry, wizard school or things related to Harry Potter, then you might just love it.
Here's a pretty good look at our witch hat. It took me nearly 15 hours to design, assemble, photograph, etc. I used our Meow-A-Ween Collection from Plus. Don't be thrown off thinking it will take up all of your ink. Not at all! I'll show ya an image of the printables and you'll see that all of that black is really just a few strips. The bottom of my witch hat is a 12x12 piece of good, black card stock.
See! That's not too bad, right? Depending on what you want to do with this project will determine what kind of paper weight you should be using. For my example, I used regular printer paper. It'll blow away with a good gust of wind unless you adhere all of the finished layers together. That's a whole other concept I'd like to bring up in the blog as well. There are a lot of different ways to change this sucker up!
If you're put off by the super cute, colorful layers for the top of the box lids, then by all means, use our circular templates, trace over some nice black card stock and put those over the top. Then your hat will be all black and perhaps look more cohesive.
As you can see this is a countdown for SEVEN DAYS. Again, if you simply apply something over the top, it can be a cute decorative piece for your window sill or tabletop. You'll be able to add more bling, cob webs, glitter, plastic spiders or whatever else you'd like once you've got the hat all together.
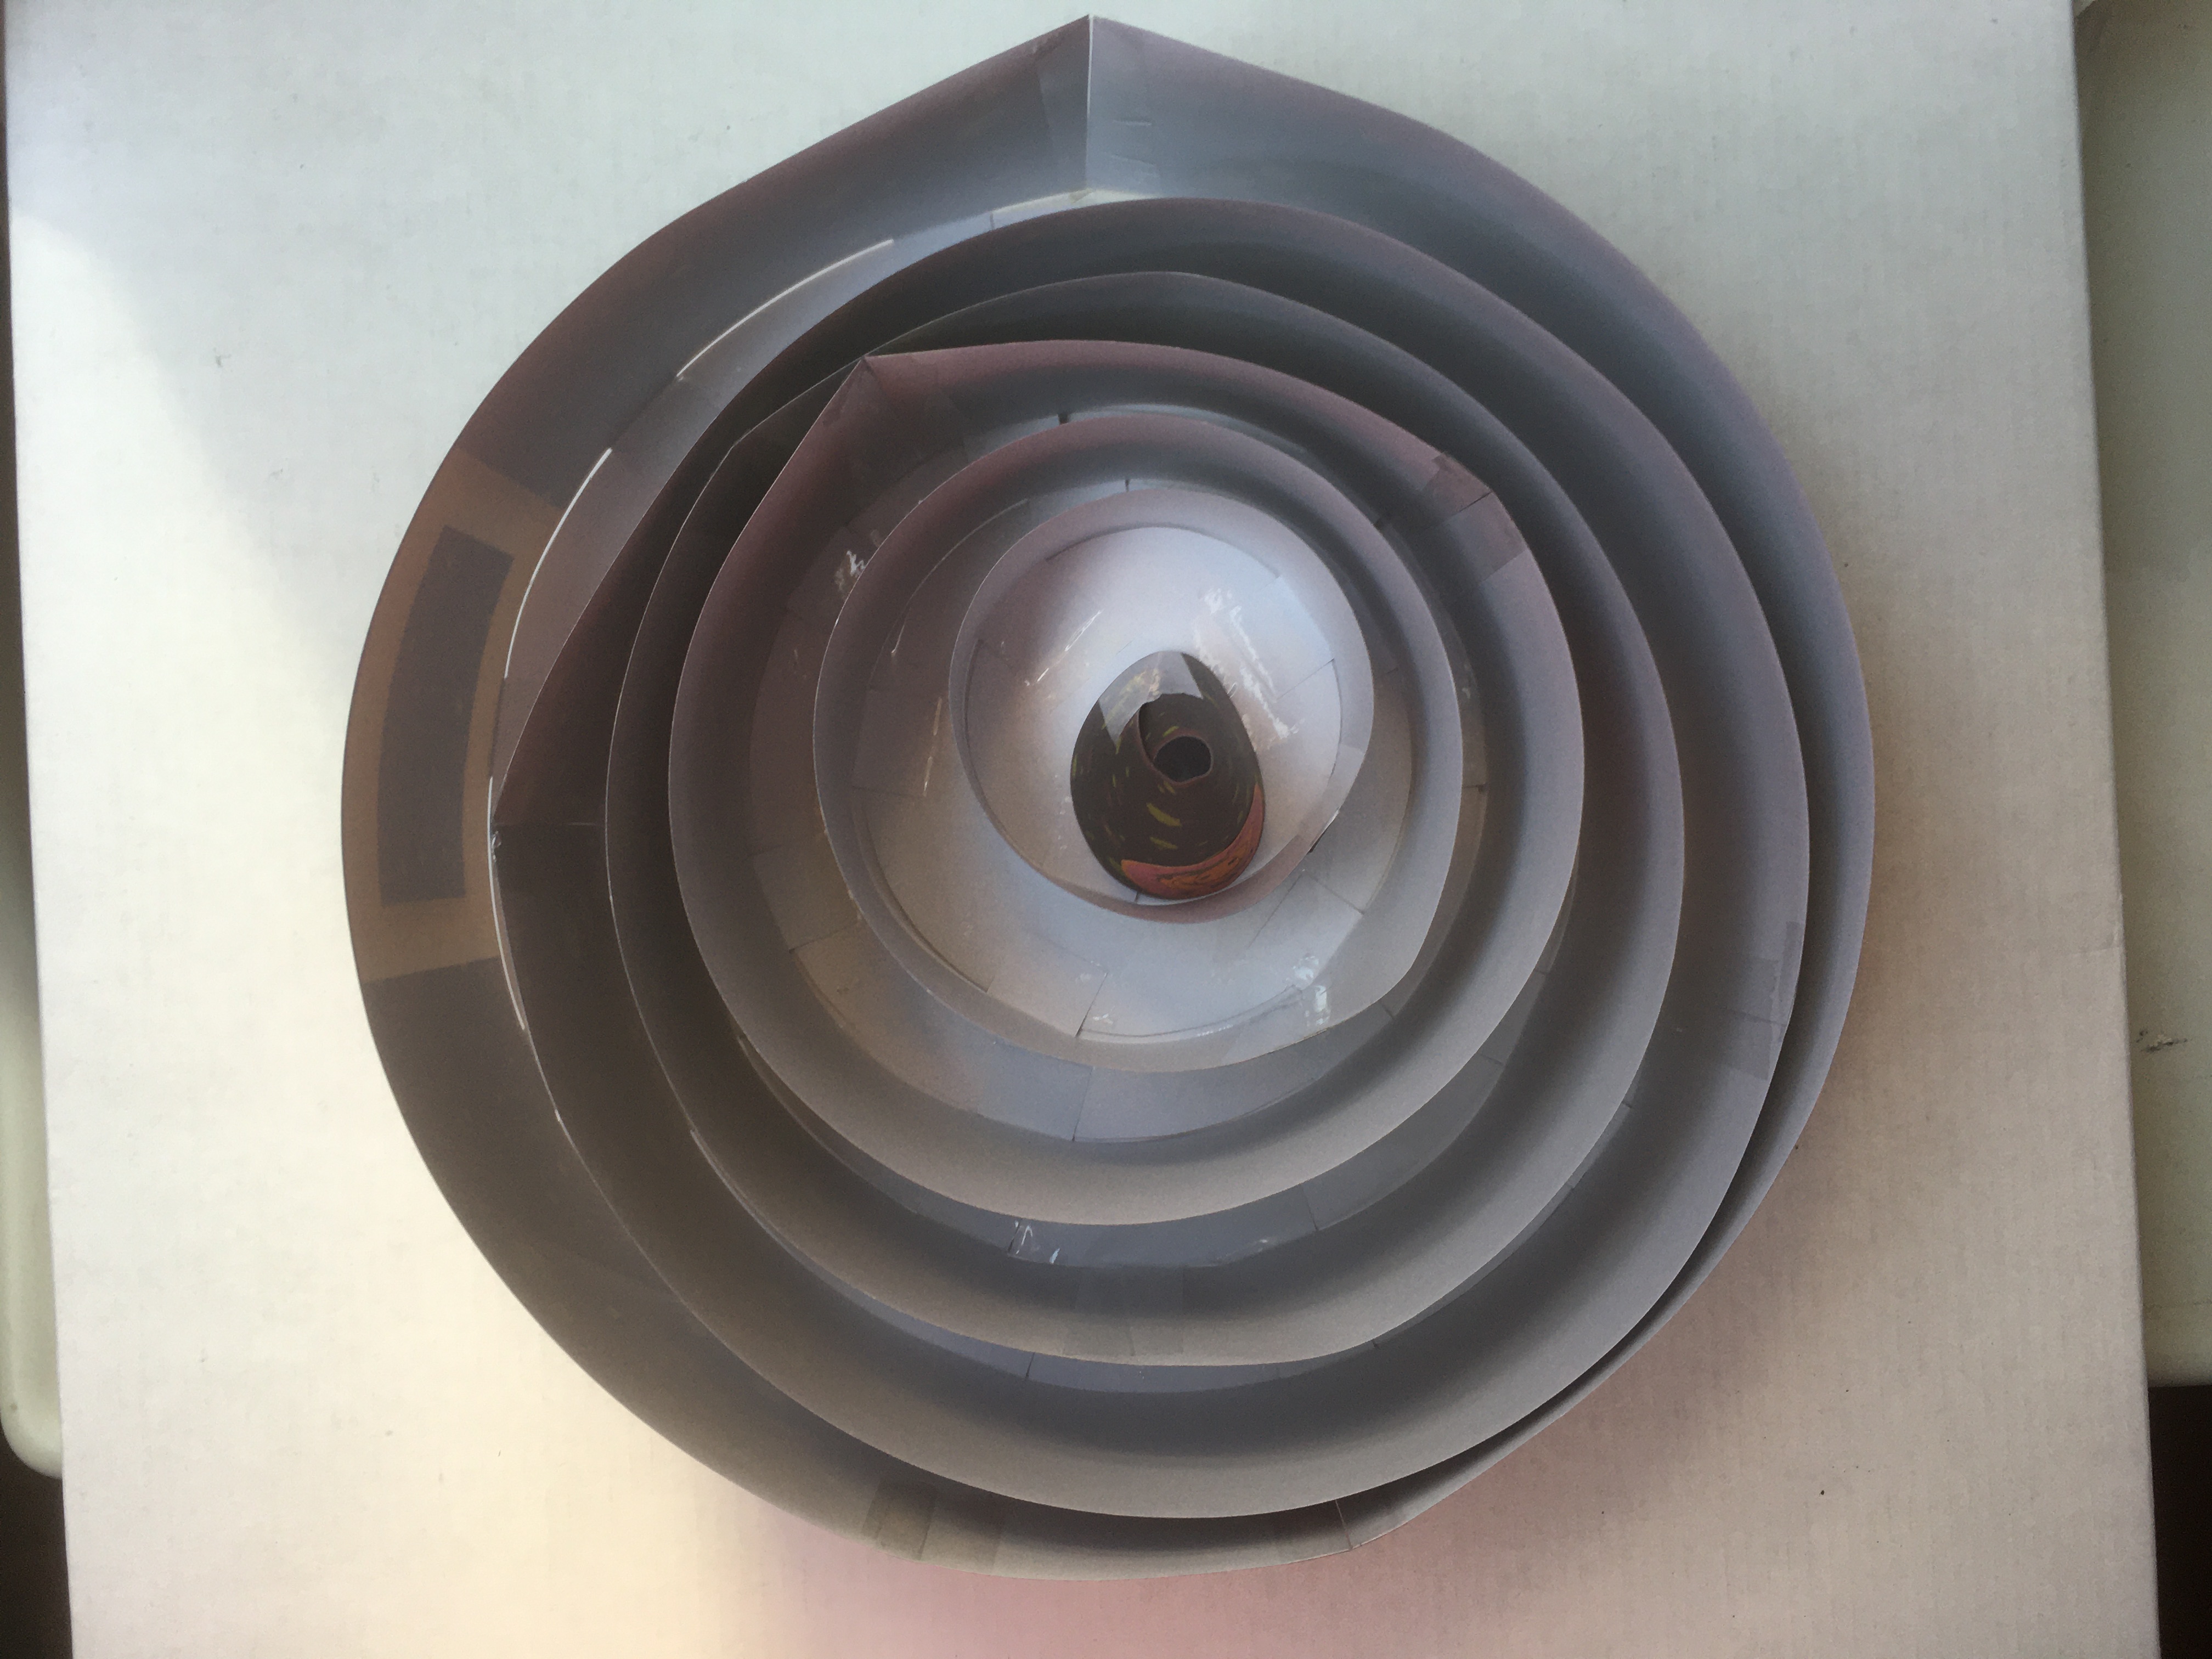
Above, you can see how I put the hat in a tray. I love this idea! I can easily move the hat around and I'll be able to put all kinds of autumn stuff around it or candy corn, sweets, acorns, leaves, pine cones...whatever. Even though I used cheap paper, it was easy to move this way.
Keep in mind, though these are not boxes, you can totally place things under each layer. Especially, if you use more rigid paper when printing.
This is what the layer looks like when it's all put together. I've got tabs all around the strips which makes this project very, very easy to assemble. I watched a couple of videos and one lady didn't have tabs, but some kick ass glue. What she did was glue all round the base or top if you will, then took the strip and circled the base and then...hehehe...she used a small trip of paper as a means to close off the strip. I did the same, but with tape. I taped the closures around the entire strip, from top to bottom. Both inside and outside. It makes the project a lot more rigid. Just using sturdy paper will help, too.
This is the inside with tape...
and this is the outside.
Consider this as you're assembling your hat. I can hardly see the tape on my project, but if it bothers you, use the other method suggested.
I simply cut out my strips and cut out the circle that goes with the strip(s). Do NOT mix them up! Make sure you keep the letters all grouped or your strips won't come out long enough or too long. Also note that the strips were measured perhaps a bit too perfectly. If ya can and you can...leave just a little more paper from the cut out on the ends. You can always cut it off it's too much, right? Better a bit more than not enough!
I gently folded each tab and slowly and methodically went around the circle adhering each tab, very carefully. Just look to make sure that the strip doesn't go too far over the edge of your lid. It's really easy, promise! You can use glue, a glue gun (if you're using rigid paper) or even tape, like I did. I even adhered my strips together (when necessary) as I was going. Of course, you can put your strips all together before you start attaching it to the base/top.
Using an adhesive with a little give or play is highly recommended. Something like double sided tape leaves no room for mistakes. Read my tips in the image above.
I like wearing down the edges to my projects. I just use a good ole fashioned nail file. I also gently folded the brim of my hat by rolling it gently back and forth. Make sure not to roll too much or your hat might not sit on it just right.
Look how easy it is to store!
ooopsy
and there you have all of the layers.
I highly recommend giving yourself all of the time in the world for this project. It really isn't that difficult, but it will take a bit of time. It took me an hour and a half to assemble it and I went very slowly and carefully. Paste the last large circle on the top of the base.
If you want coordinating elements and paper that go with this witch hat, look for more from the Meow-A-Ween Collection.
Let me show you what we've got so far for the Wizard World Collection, in Plus. I've got tons more ready for the shop, next week.
A just have alphabet or letter stickers.
Some super cool word art.
A great set of design papers.
Ready to use and scrap floral clusters.
Totally gorgeous journal cards with wizard school charm.
Essential word bit stickers.
The following packs are from my own shop, Kreative Design Studio in Design Bundles. You don't need a membership for these items, though membership is way worth it, if you like my designs. I put 15 scrapbooking, printing and crafting items in per week and depending which membership you have, you can really make out.
The preview below is for the kit in my shop. I didn't even include all of the ellies in the preview! There are still a few frames,10 word bits and more. If you get this and all of the packs from Plus, you'll have one heck of an enormous collection!
I've still got a lot more, ready to scrap clusters, bookmarks, tags and more coming to Plus. The items in Kreative Design Studio are all together in one collection, whilst in Plus they are separate, as shown further up. I've never done this before, but thought I'd give it a try.
Here are some previews from the Meow-A-Ween Collection in Plus. There's even more!
Paper Pack 2
Paper Pack 3
Paper Pack 1
Adorable Frames
Super Fun Stickers
Designs Ideal for Sublimation
Get Crafty for Halloween
Fun Cat Designs
I Love This One
This one totally cracks me up.
I thought this was pretty cute, too.
Thanks so much for stopping by the blog. We've got so many unbelievably fun and easy craft projects in Plus and tons and tons of digital scrapbooking designs, too. It's totally worth the membership, not to mention all of the perks like the after party. That thing saves me every time for each dollar event!
Feel free to join us in our Scrap-A-Licious group and show off what your scrapbooking and crafting, ask questions or get inspired.


No comments:
Post a Comment