Friday, September 18, 2015

Princess Paper Stacker Freebie #3

Welcome to The Cherry On Top.

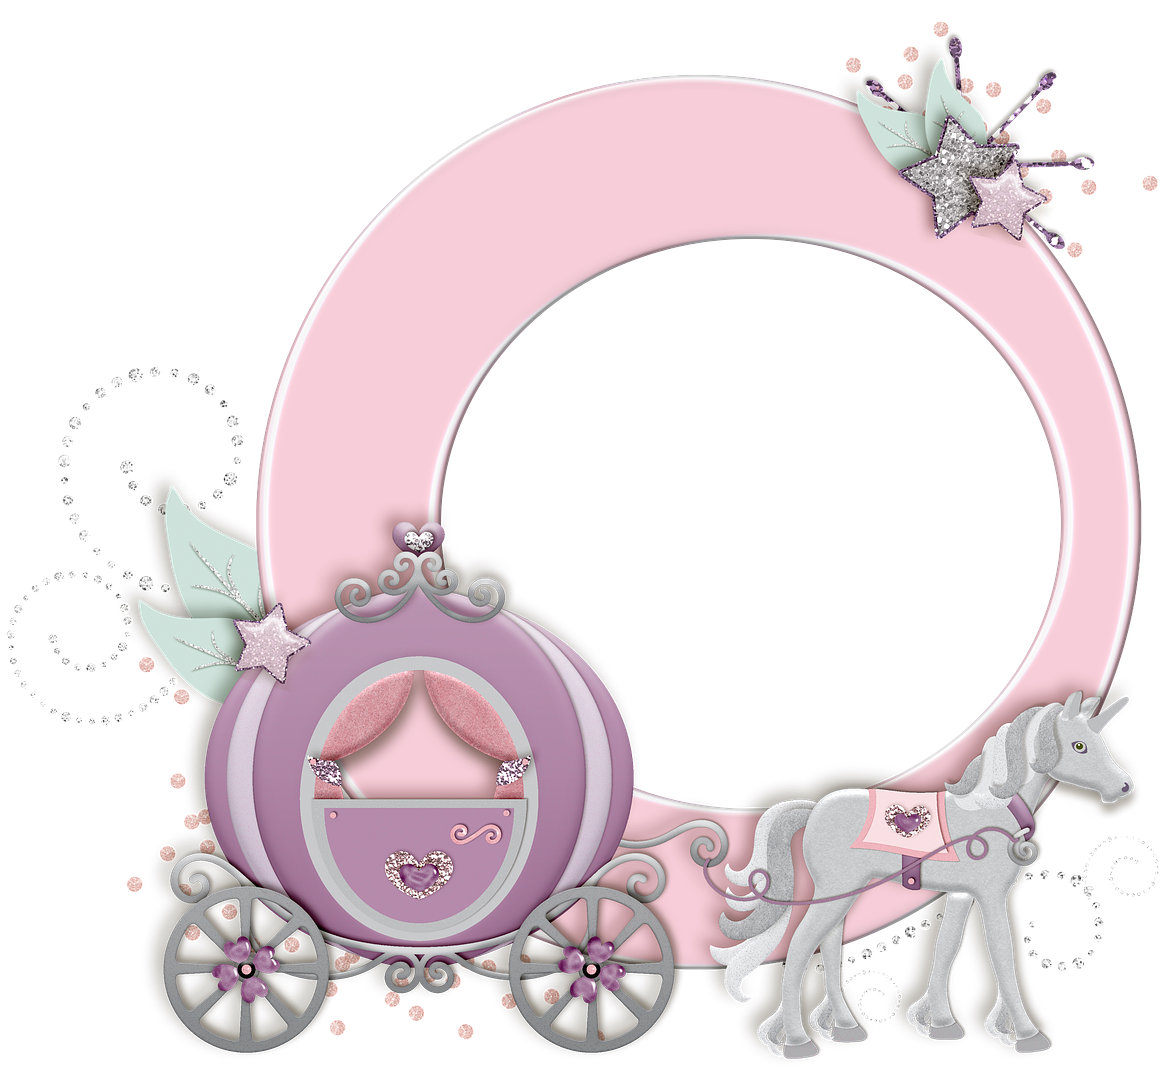
Are you back for more fabulous freebies from the Princess Collection?  We are on free paper stacker #3 and it's this one right here.  Add our free Cute Cards or our free frame cluster to your paper stacker and make something lovely.


Here's the link for the free cluster.

 freebie

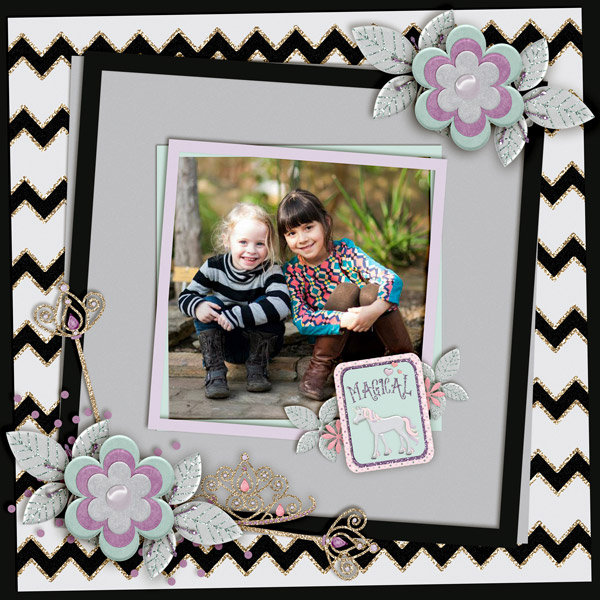
This is another example of how you can use your free paper stackers.


When you click on this image, you'll get the link for the download.

 free paper stacker

Scroll around and find all of the freebies from the Princess Collection, use the search feature if you like or hit up our Pinterest Board where you can find all of our freebies.

Thanks for stopping by The Cherry.  Make sure ya do it again!

Tuesday, September 15, 2015

More Freebies From The Princess Collection

Welcome to another scrappy edition of The Cherry On Top.

We've got more free goodies from the Princess Collection this week.  Keep reading to find out what you've missed and grab your free frame cluster.


These are our free paper stackers.  We're giving away a new one every week on our Facebook Page.  Head over there and grab the second week's, free paper stacker.  If you missed the first one, click on the preview image, now.

 free cute cards

We've also got some lovely cute cards for you.  Miss them?  Click on the image to get them, while they are still available for free!


 free cute cards

Leave them blank or fill them in depending on which version you download or both!


 free cute cards

Add our freebies as they come, to your layouts using the paper stacker.  These would look great framed or in a mini album.  I'm currently in the middle of a hybrid/mini accordion with the Cute Cards.  I'll have the tutorial ready very soon.


Ya might need a cluster for on your stacked papers or for your mini album and here it is.  We know that pet who is your princess, too!  Kitties, doggies, chickens...this kit is not just for the kids.

Click on this image to download your free frame cluster and get scrappy!


 freebie

All of our freebies are PERSONAL USE ONLY.  Do not resell them or claim them as your own.  Leave us some love by commenting, sharing and +'ing as a way to say, thanks for all of the freebies.

Happy scrapping!


Sunday, September 13, 2015

September DigiHop's Free Template


Welcome, Happy Hoppers!

The Cherry has your September DigiHop freebie all set for you, again.  Another free template is awaiting your direct download by simply clicking on the image.  Check out the inspiration for ideas as well as a future, free template.

This template is no longer free. Visit our Etsy shop, Kreative Design Studio.

 free download template

I made a hybrid mini album from our recent family trip to the south of France.  To check it out, click here.  It's what I used to base your free template.  The goodies are from the Digital Scrapbooking Studio's collection, Surf, Sand and the 4th.  By clicking on the preview, you can jet over there and check out the gorgeous collaboration from the designers of the store.

 Surf, Sand and 4th

I'll have this template ready for free download soon, too.  The inspiration comes from a gorgeous collaboration of Key Lime Digi Design and Clever Monkey Graphics that you can grab at GingerScraps.  Click on the preview to get there and see it.  It's fabulous.

 Gingerscraps

Here's a better look at that layout.  I used some Commercial Use waves from my staff for the first time and was really pleased with the result.

 gingerscraps

We keep all of our freebies up for as long as we have free space in the Drop Box.  Hehehe...That's a couple of months for each one.  So, don't miss out!  For a really quick look at all of our free stuff, head to our Pinterest board.
Make sure ya do it again and don't forget all of our freebies are for Personal Use ONLY and are not to be resold or claimed as your own.
Thanks so much for hopping by! 

Free Christmas Tags From The Cherry And The Studio

Welcome to The Cherry On Top.

These tags were designed using goodies from the Digital Scrapbooking Studio.  The designers had a gorgeous collection with winter inspiration in Morning Mist.  The tags were from a template from LouCee Creation that were a part of the Christmas In July fun.

The Studio has a lot of challenges and freebies are a staple at the Studio.  So, make sure you are following there.  We've got a Pinterest board dedicated to it where we post new kits, promotions, challenges, tutorials and yip, freebies.

Download this image using your right click and save it where you need it.


Enjoy your freebies and remember they are always for PERSONAL USE ONLY.  Do not claim them as yours or resell them.

The blog, Facebook and Pinterest is full of free stuff!

Thanks for hanging with The Cherry!

Friday, September 11, 2015

Next Round of Free Paper Stackers From The Princess Collection

Happy Friday, Scrappers!

As promised, each week we're changing up the free stacker available on our Facebook Page and we are on week two.  

Click either of the first two images to get to our page to download and consider becoming a fan so you can keep up with daily freebies, layout and craft inspiration as well as fabulously delicious recipes that are family friendly and healthy.

 TCOT on FB

This is the second week's stacker all pimped up and ready to print.

 Free Paper Stacker

Here's another layout I created using  goodies from the Princess Collection and a template from Brenian Designs.  Check out Bren's shop by clicking on the image, below.  This template is from GoodBye Summer.

 Bren's shop


Here are some more goodies from the Princess Collection that you can download for free.  Click on the preview to get to the download.

 tcot

Here are the Cute Cards in use with inserts.  We have them in both png and jpg formats so you can choose what's best for you and your project.

 tot free download

Here's a look at our newest freebie.  A lovely vintage flair cluster.  Like it?  Want it?  Click the preview to get to the links.

 free cluster

We love spoiling our fans with freebies.  If you like the looks of this layout, we've turned it into a free template for you.  You know what you need to do to get it.  CLICK!

 free template

If you missed out on the first week's paper stacker from the Princess Collection, no worries.  Head over to our Photobucket gallery where you can download it and a ton of other freebies from The Cherry On Top.

Thanks so much for giving The Cherry a few moments of your time.  We love when you do that!  If you don't want to miss out on our freebies, recipes and other blog entries, then Follow Us here or with Bloglovin'.

Happy scrapping!

Thursday, September 10, 2015

Putting Legos To Good Use

Welcome to The Cherry On Top.

I really wish I could take credit for this great idea, but I did nab it from Pinterest.  Our charging station was always an absolute mess.  Cables were laying everywhere.  No one knew where to find them and I often vacuumed up the black cables that were blending in with the floor.  Oops!

Supplies Needed:

-  Lego Dudes or Dudettes (with hands)
-  scissors
-  velcro or your choice of adhesive


Silly me, thinking the easiest part of this project was gathering a half dozen Lego dudes.  Wrong!  My little guy dismembered every single one of them, including the hands.  Yes, those tiny hands.  I didn't want to use dudes that they often play with and this made the task even more challenging.

After finally, having a few shabbily dressed Lego guys, I got to work with the rest of the project that may have taken 15 minutes in total.  I could not find my velcro anywhere and I did a bit of autumn cleaning around the heater, rendering some newly, homeless spiders. Hehehe...


That's my outlet doo hickey.  I blew off the dust and neatly plugged in all of the chargers for the phones, games and tablets.  I brought the cords behind the heater so you only see the tops.  The cords are totally out of the way and out of sight.  This is the cherry on top, for me.


I need to give myself a quick manicure next time I take close ups of my fingernails.  Hehehe...

I tried using magnetic tape with the intention of sticking the Lego men on to my metal heater, but it didn't work.  The magnet was not anywhere near strong enough.  So, I used tiny pieces of velcro.  Sticking the hard side on the men and the soft side on my shelf.  My shelf is black and so is the velcro, so you don't see that either.


The boys beamed when they came home and reached for their games.  They thought it was so awesome.  I like how neat everything looks.


I guess this dude is getting sick of hanging around.


This one is tired of hanging around.


After a couple of days, the velcro isn't sticking just perfectly, but everything is still right where it belongs and the cords are still neatly tucked behind the heater.

It might not be the best solution, but it will do until I find a better one.  If you have an awesome power station idea, let's have it.

Thanks for checking us out!

Wednesday, September 9, 2015

Hybrid Mini And Bow Tutorial

Howdy, Happy Scrappers!

Welcome to yet another scrap edition of The Cherry On Top.

Today, we've got layout inspiration galore, a hybrid mini album idea that's basic and easy as well as instructions on how to make a pretty bow.

The family went to the south of France this summer on the invitation of our lovely neighbour.  They let us lodge in their gorgeous 18th century home in Serdinya.

As a way to say thank you, I designed these 10 digital pages, backed them with traditional scrap paper and inserted them in a typical 6x6 album that you can get nearly anywhere.  (Here in Belgium, I often find them at the Boekenvoordeel.)

I'll show off each digital page for you.  I used several different kits from the Studio's huge collaboration, Surf, Sand and the 4th.  The colour palette is all the same and if you noticed, the colours from the French flag.  I just so happened to have some scrappy papers with a vintage, British feel with the same red, blue and off white.  Score!  (Also purchased at Boekenvoordeel.)


Each page was designed in PhotoShop Elements 11 on a 6x6 page.


I started the album off with photos from the trip.  The cover photo is a picture of the village.

This one reminds me of a postcard.  More photos from Serdinya, including a shot taken from the back balcony and our doggie.


On the drive you could see the Mediterranean from the gorgeous hi-way we drove on.  Though we do have to pay tolls for this route, the roads were dreamy, clean, safe and not too, busy.

Later in our trip, the boys got to swim in the Med.


My son and husband went on a long hike up in the mountains and because he's so wonderful, took pictures for me to scrap.  Hehehe...


Uitzichten are views in case you were wondering.

How about this backyard?  Absolutely fabulous.  The kids went swimming nearly every single day.


I love the way this one turned out and the photo is sweet.  How about the gorgeous view from the backyard?  No, not me!  The mountain.  Just kidding!


I thought it might be nice for my neighbour to have some pictures of the inside of her place incase she wanted to show them off to her friends or potential renters.


I was able to set up more pages in a format that would come out perfectly on my printer which uses an A4 format.  Two on one page to save paper!  You could make them perfectly 6x6 to fit right in the page inserts.  That would save a ton of time.

Print out all of your pages.  Then cut out each one.  Decide if you want a frame or not, but try to keep them the same throughout so you have consistency.

As you can see, my pages were too small for the book, because I wanted to save printed paper, so I adhered each page to my scrapbooking paper.  I often use both double sided tape and glue.  If one fails you have back up and the glue can give you just a touch of play so that you can line it up perfectly.

I use one large strip of double sided tape right across the middle, then glue close to the edges and in-between.  Keep in mind where your tape is and do not allow the page to land on that tape.  Line up around the edges where the glue is so you can slide it around until you get it in the right spot, then gently press where the tape is.

Cutting the pages, layering them up and inserting didn't take long at all.


The cover of this book had little to be desired.  So I found some pretty vintage scrapbooking paper that matched and cut out two square to cover most of the bluish colour.  I used the same method to adhere the square to both the front and back cover.

I applied a simple, paper pocket by applying double sided tape around the edges to three sides leaving the top open to insert an envelope with money.  I used some cardboard cut out letters after inking around the edges because the bright yellow looked a bit shocking on the blue.  If you're not super skilled at getting all of those letters nicely lined up, like me, then stagger them a bit.  I added a couple of cheap, blue paper flowers to give it more touch.  Spiral those extra wires to look like nice greenery by wrapping them around a tip of a small paint brush or pencil.


I had taken a lot of pictures during the process, but realised at the very end, that I forgot to put my memory card in the camera!!!  I've done that way too much.

On to the bow.  I just love bows.  They pimp up gifts and arrangements beautifully, cheaply and easily.  The key is to get ribbon with wire on the edges.  You can't fail!  I have one of those wooden, bow maker machine thingies, but have been making them long enough, I can wing it, now.

For this book, I used the ribbon around the entire front cover, both in and out.  I did a test run to see approximately, how much ribbon I needed so I could cut it. Then adhered the ribbon, right in the middle, where my finger is in this first illustration.


Make your first loop.  Then fold to make your second loop the same size as the first.


I, typically go smaller with each new layer.  Making sure with each layer that both loops are about the same size.  (That's what the bow making machine is for.)


Make as many layers as you like.  I go three or four, most the time.


With your left over, fold the end back under, in the middle.  Adhere if you'd like for a snug, stay put ribbon.


I went a step further with this bow and took some jewellery wire and ran one end through the middle of my bow and wrapped it around, pinching the bow to look puckered.  


Twist the wire to get the right amount of puckering.  Then simply tuck it under the bow out of sight.


There it is!  Such a big difference.  Sure wish I had that before picture.  At least ya get to see the finished product.  A gorgeous tag would make a sweet touch here, too.


This mini can be made rather quickly.  Most of your time will go into designing the digital pages.  However, there are even ways to get around that and we'll be back to show you just how easy it can be!

Thanks for checking us out.  Feel free to peruse our other tutorials and grab a lot of freebies if you like.