Thursday, September 10, 2015

Putting Legos To Good Use

Welcome to The Cherry On Top.

I really wish I could take credit for this great idea, but I did nab it from Pinterest.  Our charging station was always an absolute mess.  Cables were laying everywhere.  No one knew where to find them and I often vacuumed up the black cables that were blending in with the floor.  Oops!

Supplies Needed:

-  Lego Dudes or Dudettes (with hands)
-  scissors
-  velcro or your choice of adhesive


Silly me, thinking the easiest part of this project was gathering a half dozen Lego dudes.  Wrong!  My little guy dismembered every single one of them, including the hands.  Yes, those tiny hands.  I didn't want to use dudes that they often play with and this made the task even more challenging.

After finally, having a few shabbily dressed Lego guys, I got to work with the rest of the project that may have taken 15 minutes in total.  I could not find my velcro anywhere and I did a bit of autumn cleaning around the heater, rendering some newly, homeless spiders. Hehehe...


That's my outlet doo hickey.  I blew off the dust and neatly plugged in all of the chargers for the phones, games and tablets.  I brought the cords behind the heater so you only see the tops.  The cords are totally out of the way and out of sight.  This is the cherry on top, for me.


I need to give myself a quick manicure next time I take close ups of my fingernails.  Hehehe...

I tried using magnetic tape with the intention of sticking the Lego men on to my metal heater, but it didn't work.  The magnet was not anywhere near strong enough.  So, I used tiny pieces of velcro.  Sticking the hard side on the men and the soft side on my shelf.  My shelf is black and so is the velcro, so you don't see that either.


The boys beamed when they came home and reached for their games.  They thought it was so awesome.  I like how neat everything looks.


I guess this dude is getting sick of hanging around.


This one is tired of hanging around.


After a couple of days, the velcro isn't sticking just perfectly, but everything is still right where it belongs and the cords are still neatly tucked behind the heater.

It might not be the best solution, but it will do until I find a better one.  If you have an awesome power station idea, let's have it.

Thanks for checking us out!

Wednesday, September 9, 2015

Hybrid Mini And Bow Tutorial

Howdy, Happy Scrappers!

Welcome to yet another scrap edition of The Cherry On Top.

Today, we've got layout inspiration galore, a hybrid mini album idea that's basic and easy as well as instructions on how to make a pretty bow.

The family went to the south of France this summer on the invitation of our lovely neighbour.  They let us lodge in their gorgeous 18th century home in Serdinya.

As a way to say thank you, I designed these 10 digital pages, backed them with traditional scrap paper and inserted them in a typical 6x6 album that you can get nearly anywhere.  (Here in Belgium, I often find them at the Boekenvoordeel.)

I'll show off each digital page for you.  I used several different kits from the Studio's huge collaboration, Surf, Sand and the 4th.  The colour palette is all the same and if you noticed, the colours from the French flag.  I just so happened to have some scrappy papers with a vintage, British feel with the same red, blue and off white.  Score!  (Also purchased at Boekenvoordeel.)


Each page was designed in PhotoShop Elements 11 on a 6x6 page.


I started the album off with photos from the trip.  The cover photo is a picture of the village.

This one reminds me of a postcard.  More photos from Serdinya, including a shot taken from the back balcony and our doggie.


On the drive you could see the Mediterranean from the gorgeous hi-way we drove on.  Though we do have to pay tolls for this route, the roads were dreamy, clean, safe and not too, busy.

Later in our trip, the boys got to swim in the Med.


My son and husband went on a long hike up in the mountains and because he's so wonderful, took pictures for me to scrap.  Hehehe...


Uitzichten are views in case you were wondering.

How about this backyard?  Absolutely fabulous.  The kids went swimming nearly every single day.


I love the way this one turned out and the photo is sweet.  How about the gorgeous view from the backyard?  No, not me!  The mountain.  Just kidding!


I thought it might be nice for my neighbour to have some pictures of the inside of her place incase she wanted to show them off to her friends or potential renters.


I was able to set up more pages in a format that would come out perfectly on my printer which uses an A4 format.  Two on one page to save paper!  You could make them perfectly 6x6 to fit right in the page inserts.  That would save a ton of time.

Print out all of your pages.  Then cut out each one.  Decide if you want a frame or not, but try to keep them the same throughout so you have consistency.

As you can see, my pages were too small for the book, because I wanted to save printed paper, so I adhered each page to my scrapbooking paper.  I often use both double sided tape and glue.  If one fails you have back up and the glue can give you just a touch of play so that you can line it up perfectly.

I use one large strip of double sided tape right across the middle, then glue close to the edges and in-between.  Keep in mind where your tape is and do not allow the page to land on that tape.  Line up around the edges where the glue is so you can slide it around until you get it in the right spot, then gently press where the tape is.

Cutting the pages, layering them up and inserting didn't take long at all.


The cover of this book had little to be desired.  So I found some pretty vintage scrapbooking paper that matched and cut out two square to cover most of the bluish colour.  I used the same method to adhere the square to both the front and back cover.

I applied a simple, paper pocket by applying double sided tape around the edges to three sides leaving the top open to insert an envelope with money.  I used some cardboard cut out letters after inking around the edges because the bright yellow looked a bit shocking on the blue.  If you're not super skilled at getting all of those letters nicely lined up, like me, then stagger them a bit.  I added a couple of cheap, blue paper flowers to give it more touch.  Spiral those extra wires to look like nice greenery by wrapping them around a tip of a small paint brush or pencil.


I had taken a lot of pictures during the process, but realised at the very end, that I forgot to put my memory card in the camera!!!  I've done that way too much.

On to the bow.  I just love bows.  They pimp up gifts and arrangements beautifully, cheaply and easily.  The key is to get ribbon with wire on the edges.  You can't fail!  I have one of those wooden, bow maker machine thingies, but have been making them long enough, I can wing it, now.

For this book, I used the ribbon around the entire front cover, both in and out.  I did a test run to see approximately, how much ribbon I needed so I could cut it. Then adhered the ribbon, right in the middle, where my finger is in this first illustration.


Make your first loop.  Then fold to make your second loop the same size as the first.


I, typically go smaller with each new layer.  Making sure with each layer that both loops are about the same size.  (That's what the bow making machine is for.)


Make as many layers as you like.  I go three or four, most the time.


With your left over, fold the end back under, in the middle.  Adhere if you'd like for a snug, stay put ribbon.


I went a step further with this bow and took some jewellery wire and ran one end through the middle of my bow and wrapped it around, pinching the bow to look puckered.  


Twist the wire to get the right amount of puckering.  Then simply tuck it under the bow out of sight.


There it is!  Such a big difference.  Sure wish I had that before picture.  At least ya get to see the finished product.  A gorgeous tag would make a sweet touch here, too.


This mini can be made rather quickly.  Most of your time will go into designing the digital pages.  However, there are even ways to get around that and we'll be back to show you just how easy it can be!

Thanks for checking us out.  Feel free to peruse our other tutorials and grab a lot of freebies if you like.


Tuesday, September 8, 2015

More Freebies From The Digital Scrapbooking Studio And The Cherry On Top

Welcome to The Cherry On Top!

We're back with another scrappy edition full of layout love, creativity, link hook ups and of course, amazing free stuff.

Featuring the Digital Scrapbooking Studio again and with great pleasure.  You'll find super talented designers there and the best prices in DigiLand, too.  The Studio has monthly challenges, offering sweet freebies along with them.  Keep scrolling to find out more about the challenges and get  your wish list full of free goodies, too.

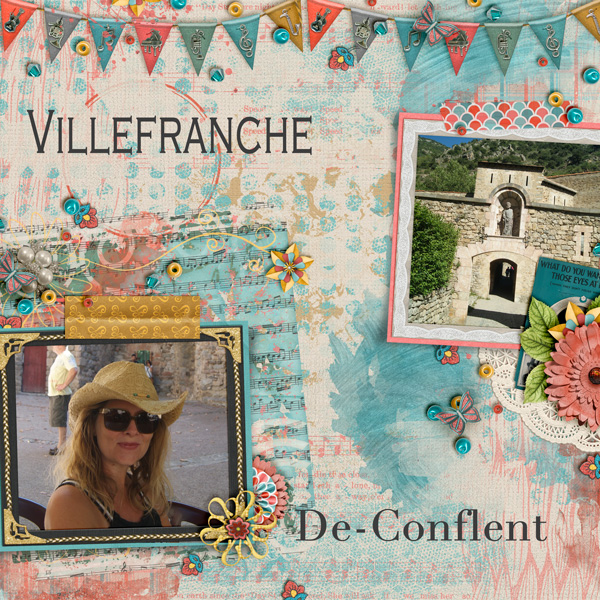
PattyB Scraps has several new releases in her shop.  This layout below, is using Patty's kit, Unforgotten Melody.  I had to have this kit for the colour palette.  I just love it and it is perfect for scrapping some pictures from our most recent family vacation to the south of France.  To see this kit up close, click on the layout.

 the studio

Here's another layout using PattyB's collaboration, SchoolHouse.  This kit is full of traditional, fun elements relating to school, with a vintage touch. Those are my boys from last year.  To see this fabulous collection, click on the image.

 the studio

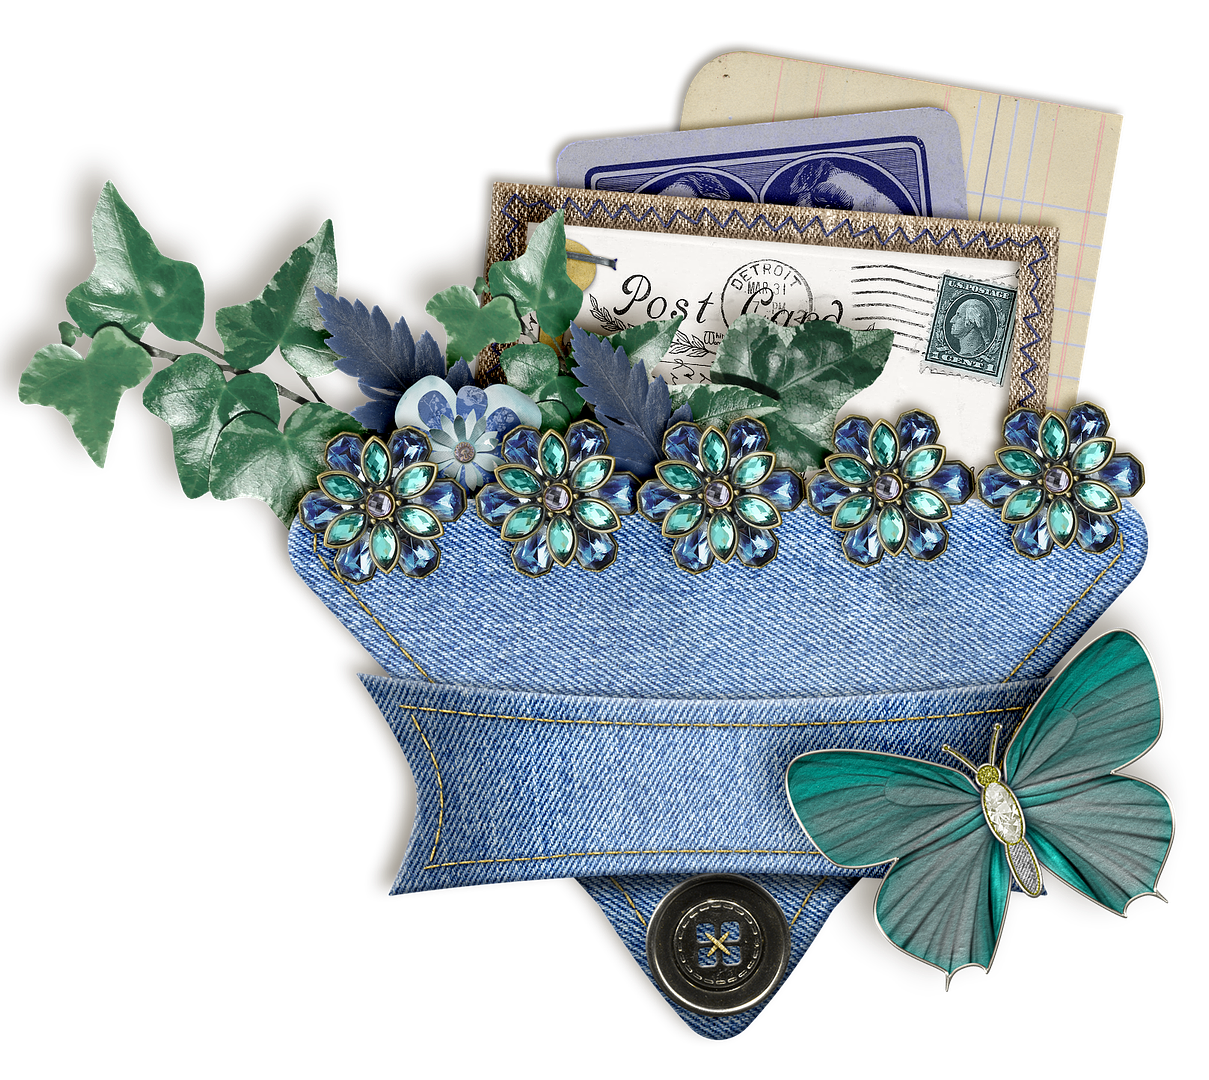
I love denim. So, when I saw this kit, I had to grab it.  More pictures of Liam and I in the very south of France, right on the Spanish border.  We had a lovely seafood meal here and the boys played in the Mediterranean.  They had such a blast.  They loved how clear the water was and all of the rocks on the beach.

I hope you like that cluster in the bottom right hand corner because that's today's freebie.  The layout is hooked up to the kit.  Just click!

 the studio

Allow me to show off more of the gorgeous goodies from the Studio.  This time, it's LouCee Creations.  She always has the most awesome colour palettes in her kits and very thoughtful elements that are often unique and totally usable for any designs you have in mind.

This kit is called Summer Breeze and I find it just stunning.  Especially, since I'm no where near ready for summer to end.  I refuse to put away my sandals and have refrained from posting all of those toasty fall crafts that are already invading the internet.  Hehehe...

If you'd like to see more of this beautiful kit, click on the image.

 the studio

Another sweet kit with a tiny hint of cooler days to come is Golden Days.  Look at these super colours and fun, smart elements.  Mushrooms, foxes, flowers, owls, hearts and so much more.  You'll love it.  Click on the image to see the entire kit.

 the Studio

The first layout you saw was designed using a free template from Fox in Sox at the Studio for the white space challenge.  It will be available until the end of the month, as usual.

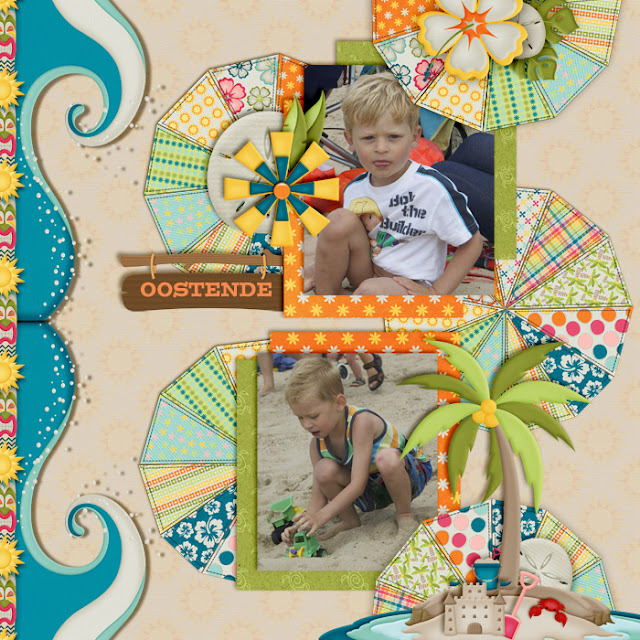
This layout here with my boys playing in the Med is also designed with free goodies from the Studio's Less Is More Challenge.  Use all of the pieces in the offered freebie and create something gorgeous.  

 challenges

Click on the image above to see all of the Studio's challenges.  There are many more.  You can load up on the free stuff, get to know the designers, see some awesome inspiration and challenge yourself.

As promised, I've got this lovely pocket freebie from the dear PattyB Scraps.  Simply give the preview a click and it's yours.

 free download

This free template, below is a future freebie.  Keep your eyes out for it by following us On Facebook, Pinterest or Bloglovin'.


Here's a free template that is still available.  We've got a lot more of them.  If you'd like to see them all, got to the top of the screen for the search and enter template or check out our Pinterest Board specifically for our freebies.  Click on the preview to get to the download.  We've got a lot of freebies for you right here and on our other social sites.

 free template

Thanks so much for hanging with The Cherry!  Please remember all of the goodies are free for you.  You may not resell them or claim them as your own and they are for Personal Use Only.  Sharing our links is the best way to say thanks.

Happy scrapping!

Monday, September 7, 2015

Bloglovin' Follow and Be Followed

Follow my blog with Bloglovin'

I've only been using Bloglovin' a couple of months and recently added The Cherry On Top because I'm super impressed with Bloglovin'.

If I could envision a way to see the blogs I love in a snap shot, it would be like this.  I'm am totally one of those, "in a nutshell" kind of people.  I appreciate the abbreviated version and that's what Bloglovin' does.  It gives you a glance at your chosen blogs and if the subject matter interests you, then you can click and read more.  Perfect!

They also suggest similar blogs to those on your list.  

Here's a screen shot of what my Bloglovin' looks like.


Another feature that I love is the amount of e-mail I receive.  My inbox is not inundated with mail from Bloglovin'.  Thank goodness for that.  Just a reminder every now and then to check out my favourite blogs.  It surly is an advantage to keep up with The Cherry on a weekly basis.  We often have limited time freebies that you won't want to miss as well as seasonal recipes and crafty projects to keep you up to date.

I found this great article at the DailyPost that explains it all very thoroughly, if you're interested in both organising your favourite blogs in one spot with an APP or if you want to claim your own blog there.  

You can also go directly to Bloglovin' and get started right away.

The best part is it's free!

So keep up with us here at The Cherry and find your other favourite blogs at Bloglovin' and get them all nice and neat in one convenient place.

Happy organising!


Too Many Tomatoes?

Welcome to a Foodie Edition of The Cherry On Top.

Tomato season is winding down and I'm swimming in tomatoes.  I've received tons from my Father-In -Law, my neighbour and I started growing my own, with success this time!

I've tried growing tomatoes for a couple of years and never had one, red tomato.  I will attribute my success to planting them in the ground, persistence and a super sunny place.


So, there I was with nearly 100 tomatoes.  I got to work on the easiest recipe, simple diced tomatoes in zip lock bags for the freezer.  Washed, diced and put into zip lock bags with varying amounts.  Some small for when I only need a tomato and other larger ones for a main dish, like spaghetti.


Then, I went for a plain sauce.  Just olive oil, onions, peppers, garlic, salt, pepper and of course, the tomatoes.  I cooked the mix until I had the consistency I wanted and put them in recycled, glass jars.  Tip:  Put your ingredients as hot as possible, into your jars, fill, seal and turn upside down.  Keep upside down until cool and it will have vacuumed.


I tried to make a heh hem...plain tomato sauce of just tomatoes and it came out so liquid that I turned it into tomato soup.  Hehehe...

I was left with this thick paste of seeds and skin that I just couldn't throw out.  It tasted so darn good and full of flavour.  I'm using it as tomato concentrate, after pureeing it.


I did find a couple of really interesting recipes.  The first one is from a super long entry, but I learned a lot through it.  The image is from the site and it's hooked up so you can get a serious lesson in tomatoes and sauce.

 Serious Eats

The next one is from one of my favourite chefs, Jamie Oliver.  It's so mega easy and with everyday ingredients that you may have on hand already.  That's also his lovely image and it's hooked up to his recipe for tomato sauce perfect for pasta and much more.

 Jamie Oliver

I'm still left with nearly two dozen tomatoes and my tomato bush is still full with various tomatoes.  Kid Tip: My oldest son and most picky eater loves tomatoes.  He eats raw ones when we eat a veg he doesn't like.  I grew cocktail style tomatoes to put in his lunch, too.

So, what else can you make with all of those tomatoes you have?  Here's a list of ideas all linked up to their recipes.

fried green tomatoes  (I love these.  I just fry mine up in butter with a touch of salt and pepper. No breading.)
ketchup  (I still want to do this one.  It has just a touch of sugar, unlike other recipes.) 
tomato salad (caprese)

Now, you have an arsenal of recipes to use up those lovely, red treasures.

Here's also a hook up to a link with benefits of tomatoes if you are interested. Everything I grow and my chickens are all organic, 100% natural.

Thanks for checking us out.


Saturday, September 5, 2015

Free Princess Paper Stackers From The Cherry On Top


Welcome to The Cherry On Top.

Another scrappy edition all set for you.  We are featuring more from our Princess Collection.  This time around we are giving away paper stackers.  We've got four and will offer a new one each week on our Facebook Page.  The first one is all set and ready for download.  Click on the image to get to our Facebook Page.

This would make one heck of a cute mini album either hybrid or traditionally scrapped.  An accordion album would be fabulous and it would make a nice gift, too.  Maybe a present for a new mommy?  There is so much you can do with the all of the goodies.

 FB

Here's a look at a layout I made with some of the papers and goodies from the collection and my adorable niece.  She looks just like my youngest son.  An uncanny resemblance.


Previously, we offered these Cute Cards.  This particular set gives you a variety of tags and or art cards as well as cards that offer a space to insert your princesses.  Click on the image to get to the download.

 Free Cute Cards

Here they are in action.  Use them to create a layout or insert a picture and cut them out and use them as a decorative tag for a gift or as a super edition for a Project Life type of layout.  Go hybrid or go Digi.  The choice is yours.


This is the Cute Cards without inserts.  Ya might not have the required software or computer savvy to use the ones above so this one is set for print and go or crop and create.  Click on the preview to get them.

 Free Cute Cards
If you don't have a Facebook account, but would still like to grab these paper stackers, then click here.

Here's an example of the paper stacker in use in conjunction with the Cute Cards.  Grab your favourite Princess picture, crop up some simple frames, like these and make a tiny cluster in the corner or not.  Your layout will be ready in 1,2,3!


Thanks for all of your support via +'ing, sharing, liking and Pinning.  It's a great way to say thanks!

Remember all of our free goodies are for Personal Use Only and are not to be resold or claimed as your own.

Happy scrapping!


Friday, September 4, 2015

Free Pie Template #2 From The Cherry On Top


Welcome to The Cherry On Top.

We've got another scrappy edition for you and a free template.  Our first template from the Pie series was a huge success.  Thanks to all of you who shared, +'d and Pinned and to those of you who unlocked this next, free template.  We love seeing your work and it motivates us to make more free stuff.


Here was the inspiration for the newest template.  Using Amanda Creation's gorgeous, Tropical Easter kit found at the Digital Scrapbooking Studio.  Click on the image to see the kit.

 Tropical Easter

This is the first template from the Pie series and it's still available.  It's also from the same kit.  *You may choose to grab this one so that you can design your own, multi piece to make a more interesting pie like above or below.  The above template is a solid pie.

This template is no longer free.  Check out our Etsy shop, Creative Design Studio.


 Free Template

We want to show off Claire's layout using the first Pie template.  Isn't it just great?  She used BoomersgirlDesigns' kit, Beach Girls.  To find this fun kit, click on Claire's layout.

 Ginger Scraps

Here is where you can download the second Pie template.  We hope you enjoy the free stuff and remember that it's for Personal Use ONLY.  Do not resell or claim our goodies as your own.  We're doing it all for nut'n.

If you are a template freak, check out our other free templates available on the blog and our Free Templates board on Pinterest.

Happy scrapping!