Monday, February 10, 2014

BCD's FREE Valentine's Hybrid Project

Welcome To The Cherry On Top!

I'm teamed up again, with Boutique Cute Doll.  Yay!  I love Kel's designs!

The newest release is just lovely with a capital "L".  "Seasons Of Love" is the kit I used to make today's hybrid project.  You are gonna love just how versatile this one is.  No cutsie stuff this time.  This is great for adults, tweens, teens, boys and you could even use these bag toppers/tags on just about any occasion.

Listen, I set this baby up for the upmost flexibility.  I left a considerable amount of white space so you can cut them to the size you need.  I also left the background white, so you don't use too much ink.  Anything to make things easier and save you cash, right?!

OK, let's get down to business!

1)  You've downloaded your FREEBIE from BCD's blog.  You didn't?!  Then click here.

2)  Print out your bag toppers in the size desired.  I used the largest setting on my printer which was 20.3 cm x 25.4 cm and it was perfect for my project.

Cut out your four bag toppers at the size you need.  You can choose to cut out the black lines.
(The freebie is no longer available.)


3) Grab the goodies you will need.  There are so many things you can do with these.  You can use the plastic bags that you buy in the store made just for this kind of project, zip locks, small paper bags, etc.  Anything you want.  Just as long as you can fold over the topper on the top of your bag.

OOOORRR...


After not having much success with my bags because I have no idea where to buy them and the zip locks were way too, big.  I have no desire to give away so much junk to the kids.  They are crazy enough!  Ha!

So, I came up with this.  I grabbed my clear foil.  You can also use cling wrap if it is all you have.  I cut out a nice size square and added just a few, little treats in the middle.


Then, I tied it at the top with some ribbon and curled the ends.  I printed out the toppers much smaller, punched a small hole in the left corner and pulled the ribbon through.  That's it!  It will stay if you use a small enough hole.  You can tape it, staple, glue, glue dot, whatever suits your project.


Here is what it should normally look like.  I cut up a zip lock so you had a nice example.


Here's the new release, "Seasons Of Love", I used for the project.  If you just have to have it, which you probably will, then click on the image to get to the store.  It's on sale for the moment, too!

 Oscraps

Here are the two layouts I made with the kits.  If you're digging what you see check out my Facebook Page and my Pinterest Boards.  I've got a board for Boutique Cute Dolls as well.


If you are here for the FREE stuff because you're like me and you LOVE the FREE stuff, then you need to start following my Pinterest Board, Free Stuff and definitely become a fan of The Cherry On Top on Facebook because I have dozens of FREE postings daily.

I hope this tutorial has been helpful and that you'll scroll further and find a LOT of other FREE goodies.  Come back each week and see what FREE things I have!  I love when you do that!!!

Sunday, February 9, 2014

Free Hybrid Card

Good day, my lovelies!

I've got my hybrid card from Paty Greif all printed out and ready.  I want to share with you some tips and my experience with the project.  If you didn't get yours yet, go to my Facebook Page and grab it while it's still there.  My previous blog has a bunch of coordinating freebies.  Head there and get them all!


First, my hubby printed this out on a different printer and boy, is there a huge difference!  Mine is so dull and this one is just brilliant.  So printer quality is huge!


I highly recommend using card stock to print these out.  However, if you don't have any it's no big deal at all.  These were printed out on regular paper and they look great, but the rigidness of card stock will make your project not only more durable, but it will have a better quality to it, too.


Here's the deal with the 3D effect.  You have to really like fussy cutting!  I do!  I do!  I think the card looks great either way, but that little shot of dimension gives it something extra!  So, I have a bright more vivid and colourful card with no dimension and a more dull, yet dimensional card.  Hehehe...At least you have choices!

I hope you enjoyed this project.  Share it with your friends!  Thanks for stopping by.  Make sure to do it again.


Tuesday, February 4, 2014

Paty Greif FREEBIE Mania!

Welcome back to The Cherry On Top!

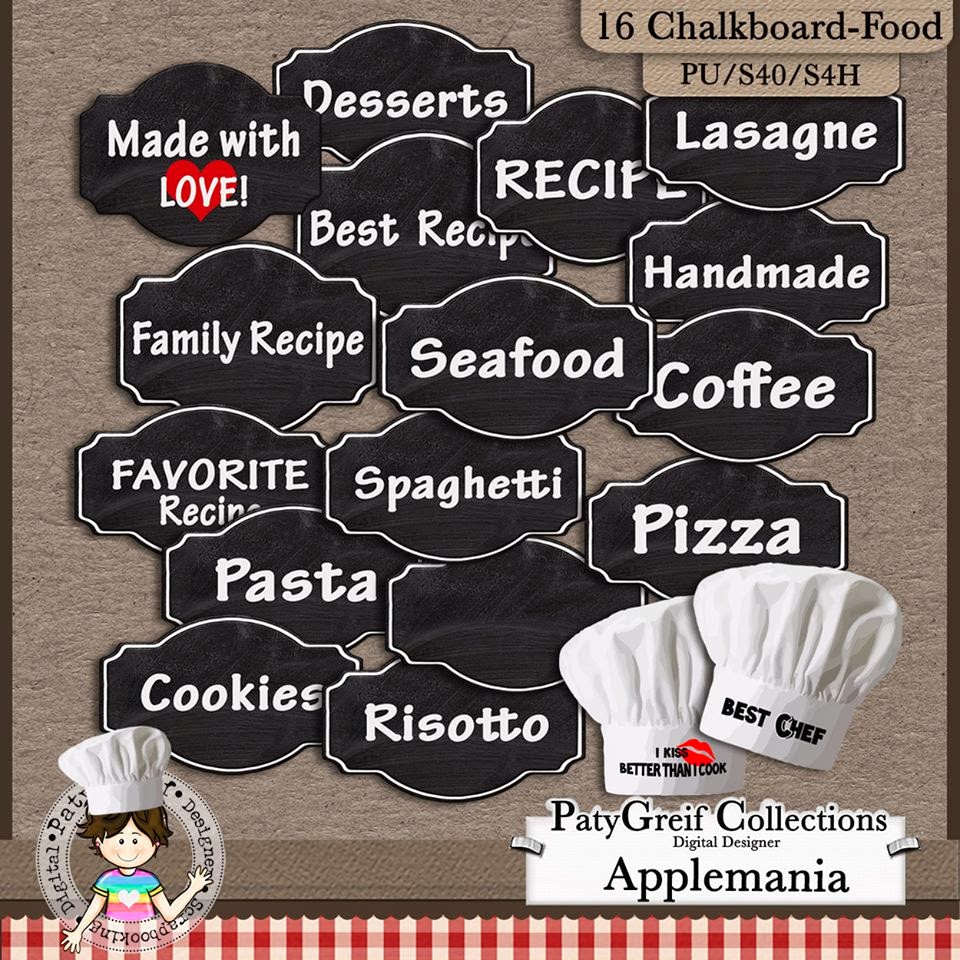
I'm here again, already with a bunch of new FREEBIES, but first you'll have to look at all of the pretty pictures!  Hehehe....  Paty Greif is such a talented, fun designer.  See her newest collection, "Applemania".  It is an absolute blast working with these kits.  Scroll further for my layout inspiration and many awesome FREEBIES.  Print them out and get cooking or make something lovely for a friend who likes to bake.  That's what I plan on doing!

 store

 store

 store

Each preview is connected with the store.  Click on them and get zapped over so you can take a closer look.  Your recipe book will be so cute when use the whole bundle!

 store

I just kept on going with this kit.  There is so much and it's all so beautiful.  I couldn't stop!  Here's my boy and a few favourite shots of him.


Here are a few of my own baking successes.  I am a kitchen queen!


Here's me and my hubby having a great time at Katuit.  That's a yearly parade here in Dendermonde, Belgium.  You may not want to know what we are eating...Hehehe...


TIP:  Now, lets start hop'n around and downloading at least 9 FREEBIES!  I'll be joining you, too.  I want to make a mini cook book as a gift for a friend who also loves baking.  I plan on printing them out, punching a hole in the top, left corner and using a metal ring to bind them together.  I like putting ribbon all around my rings.  When I have it finished, I'll post a picture.

Here's Paty's FREEBIE.  You can find it over on her Facebook Page.  This image is linked up to take you there directly.
 PG FB

This is one of my contributions for this hop around.  I love these apple brownies!  My neighbour works at an orchard and brings me pears and apples all year round.  Yay!  I trade him for berries and eggs.  I love that!
 My receipt

Here's another contribution from Marcelle.  Click on the image and grab her FREEBIE!

 blog

Theresa made this recipe card for you.  You may download it right from here! Simply click on the image and it's yours.

 T's card

This is another one of mine.  You will have to hop to my Facebook Page, The Cherry On Top and become a fan to grab it.  Believe me, it's worth it.  I post tons of FREE stuff, daily over there.

 TCOT FB

This one is Anita's.  You can download directly from here.  One click on the image is all you need to make this baby yours!

 Anita's recipe

We also have some lovely word art for you!  This also from Theresa!
 T's Word art
 How about this gorgeous quick page from Maryse?!  So beautiful!

 QP

Susanna also has a fabulous quick page for you.  When you click on the image you will also get a download, but without this little beauty in it.  Hehehe...

 sanka qp

Was this NOT an excellent hop around?!  The best way to say thank you is by sharing our links and having your friends come and visit our blogs and Facebook Pages.  Leaving comments is great, too.  Otherwise, we don't know that you like or download our goodies.  The way to get more goodies is to tell us how much you love them!

Thanks so much for stopping by The Cherry On Top!  Be sure to do it again!


Monday, January 27, 2014

Throwing Some Scraps Around & Freebies


Is it Monday already?!

Hey there fans!  Welcome back To The Cherry On Top.  Today's blog is filled with inspiration, tips, mega clustering, some designer information and of course, FREE stuff.

Throwing Some Scraps Around is one of my favourite designers.  Can you see why?  Hello, Gorgeous!!!  I won this kit and to show my gratitude, I made a layout featuring one of my favourite pictures of Jeffrey.  I got offered a job on the CT right away.  Ha!  Of course I didn't have to think about it.  Scroll further and see some other fabulous kits by Throwing Some Scraps Around.

This may have been one of my first mega clusters, ever.  I'm still ok with the way it turned out.  I'm not a great cluster-er, but there is improvement.  How do you do it?  I don't know!!!  I just keep building and building and tweaking and tweaking.  Sometimes I just can't get it right.  It has a lot to do with balance and texture and getting those shadows just right.  I don't know much about shadowing either.  It's all just a feeling.  How on earth do you explain that?!

As you can see, this particular cluster is heavier in the center and gets thinner on the way to the edges.  That's typically how I do it.  I like to involve different textures, too.  Look at the smaller cluster to the right.  I used tall and long, roundish, left to right, right to left...variety!


How about this gorgeous kit?  Chocolate Therapy is just dreamy.  I loved this shade of blue and that gem.  That gem!  Wow!  Take a look at the amazing variety in there.  Texture, colour, shape and size is all accounted for.  That's how you can make such awesome layouts and clusters.

This layout is from Jodi, herself.  She's the brains and creative wizard from Throwing Some Scraps Around.  Like me, she too has boys and is not ashamed to use some glittery bling on boy layouts.  You go, Girl!  This is one of her favourite kits.  What draws a designer to a kit?  Here's what Jodi says.  " What draws me to a kit...Nicely contrasting and varying colors. I am not into the monochromatic 

color palettes. 10 shades of pink will put me in a coma!"  Ha! Agreed, Jodi! " I like a kit to be highly realistic. '

I asked her what she doesn't like to see in a kit and that was a resounding, repetition of colour with the same element. Also, when there is no greenery. "I like to use a lot of leaves!!" I think we can all agree with that one.

These are three things she considers when designing a kit:

"1. Will whoever uses this kit have enough variety in papers to work with? When designing a kit, I usually start with papers. I like to make sure there are large and small patterned papers and enough solids for a scrapper to get a good contrast when layering the papers." 

"2. Are you offering more than one selection of each element? I try to do more than one of each type of element. 2 different buttons or a brad and a button, 2 types of bows, 2 different curly ribbons, 2 frames. I like to pick and choose and I am assuming others would like the same option when creating a layout." 

"3. I try to sit and feel something while looking at a color palette I am about to work with. Titles do not come easy to me so it may take me a while to start. Once a feeling comes to me,I try to name a kit after that feeling and design a kit around the title. I have never started a kit without naming it first. I need the direction I am going in first or I will be all over the place with it."


Here's the layout I used with Jeffrey.  He had so much that day.  I think you can see that.  I used flowers and bling, despite that a boy is the main focus.


I thought I would share another favourite layout with you.  This one means so much.  These two are childhood friends of mine.  They are brother and sister.  Unfortunately, Hugh was taken from us a long time ago by a drunk driver.  Such sadness I feel when I see this picture, but the cluster surrounding it reminds me of life, vivid with colour.  Trying to balance pain and joy is not an easy task.  This kit is called, "Glorious".  The glory days of yesterday.


Here's the same kit with a totally different twist.  I love matching colours of my photos with the papers and elements in the kit.  It brings everything together so nicely.  This one is a bit more funky and fresh.  Great versatility and quality in TSSA's kits.


I still don't know how I pulled this layout off!  Ha!  I totally scrap lifted it from Pinterest.  Another favourite picture of Liam, at the beach.  It's a new kit from Throwing Some Scraps Around and it is called, "Beach Lover" which indeed, I am.  This layout is linked up to TSSA's Blog where you can see the kit up close and get a coupon.  Yay!

 blog

Throwing Some Scraps Around has a lovely FREEBIE over on the Facebook Page as well.  I've got a TSSA board over on Pinterest, too.  It's a great place to keep up.

How about this amazing deal going on for the rest of the month?!  Get these absolutely wonderful kits for just $2.00.  Now, THAT is a price good enough for The Cherry!

 Etsy

As in good ole' TCOT fashion, I have a FREEBIE for you.  I made ya a little cluster using Throwing Some Scraps Around's, mini kit I picked up for free at The Studio a while back.  You better grab it fast because she's doing it up and putting it in her shop soon.  Then I have to take it down.  Enjoy it and thanks for giving me a look see.  Hehehe...

 download

Now, go get your scrap on.  You deserve it!


Wednesday, January 15, 2014

"Our Tweet Katie"


Good Day!

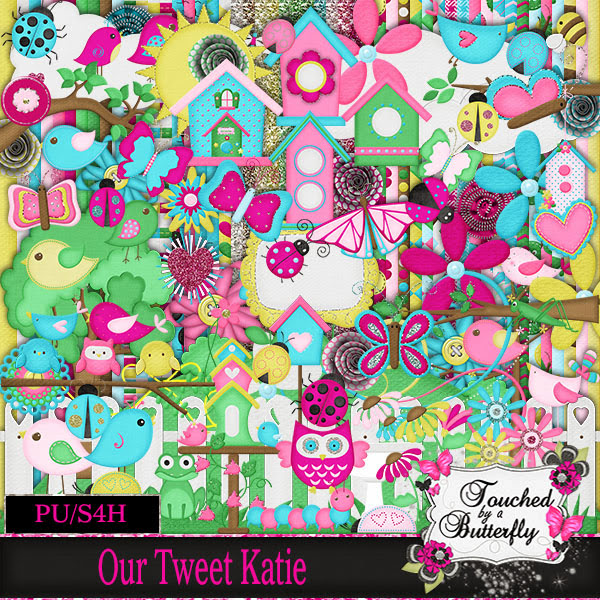
"Our Tweet Katie" is a new kit from Touched By A Butterfly.  It's super, super special because every penny sold for this kit will go directly to help Katie.  Yay!  The Creative Team has been working feverishly for Katie. We're making her a photo book of our layouts as well as spreading the word.  I've been out there spreading the word, too!  You know how much money it costs to have special children in special situations?  I know for sure!  I have a hubby with a heart condition and two kids with Autism.  My youngest goes to a special school and has three different therapists.  It costs a lot more when they need medical attention and medication as well.

So, help us out, by helping Katie.  You can read all about Katie and the fund raising on a link I'm providing.  You can "Like" her Facebook Page, share it around as much as possible.  That's almost as good as buying the kit.  The sales have been pretty good so far, but they could be better.

Here are the layouts I made for Sweet Katie and I have a freebie for you, too.  Keep scrolling to check it out and please considering purchasing this awesome, cheerful kit chock full'o goodies or make your own contribution!


 TBAB

Please excuse my lack of computer knowledge here.  I wanted to cut out the heart, but couldn't figure it out.  You watch!  I'll get it!  Hehehe...For now, simply shape your picture into a heart form and paste it over the heart.  You may choose to leave a little of the matting like the other letters. It could also make a cute embellishment or card!

 QP FREEBIE

Thank you for stopping by The Cherry On Top.  Make sure ya do it again.

Saturday, December 28, 2013

Printables and Ideas

Welcome to The Cherry On Top!

I'm taking a slight side step from my digital obsession to bring a special blog featuring printables.  I've only just begun using them.  Amanda from A-Manda Creation introduced me to them.  I was a bit pessimistic about it in the beginning, but when I saw how easy, fast and cheap it was, I was hooked!  I shook my head with incredulity at the ease of it all.  If you know me, you know, the easier the better.  Fast?  Even better still. 

I'm here to show ya exactly what they are, what you can do with them, alternative ideas and of course, hook you up with some links so you can try  it out, too.

Below you will see a 4th of July set from A-Manda Creation.  These are the bubble wrappers.  Just print, cut and wrap them around your bubbles.  It literally takes only a few minutes.  Great for picnics, weddings, birthday parties...You name it and there is a printable for it!

 etsy

How about a little token to put in your kid's lunch box to let them know you are thinking of them?  I used tiny, glue dots on four corners and put some stickers in the little pocket.  If you laminate them you could use them over and over and it will help with smudging.

 etsy

I used a french fry printable on some old scraps and made a gift basket full of cookies for the teachers at my son's school.  The only cost here was for the ink!  Printing on scrap paper is an excellent money saver!

 etsy

There are more teacher and gift printables than you can shake a stick at!  You've got these little lovelies for under Kisses.
 etsy

Or you could use your circle punch, cut out two and glue dot a paper clip in-between.

 etsy

Check out this spread down here!  Banners, subway art, muffin wrappers, picks, bottle wrappers, candy wrappers...It's ALL here!  My guest's jaws dropped when they saw this spread!

 etsy

Planning a bowling party?  Check out all of the things you can do with printables.

 etsy

Want a little something more for your toothless wonder?  How cool is this?!

 etsy

I loved this set for the 4th of July!  I took the candy wrappers, both big and small and wrapped them around the wine bottle.  Concealing the cheap brand.  Ha!

 etsy


The printables above are so bright and fun.  I actually use them over and over to serve the boys pretzels and popcorn.  The lolly wrappers are really easy and they are great for bringing everything together.  Printables are awesome for us "Matchy Matchy" people!  Hehehe...

Check out Amanda's newest printable release.  You can even have them customised!

 etsy


I was lucky enough to start helping Dora with Dora's Digitals, make her printables.  I have a few here for you to see what they look like close up.  You download, print, cut and adhere.  That is it!  Be ready to be amazed at just how easy and fast it is!  Follow the perforated lines to fold and look for the places where to glue.  They are also marked.

 Below, is a favour box.  Good for smaller sentiments.

 MM Store

The ever useful, money holder.  Of course you could use it for other small, flatter goodies.

 MM Store
 The pillow box is used pretty much the same was as the money holder.

 MM Store

Then my favourite, the gift bag!  I love these!  Find the right printable for your occasion, download, print, cut and adhere.  You're set and you have a totally custom look.  Add some ribbons, bling, flowers, whatever you want to pimp it up even more.


 MM Store

Keep an out in the MyMemories.com shop for new trends and great deals on printables.  A-Manda Creation, like other designers have an Etsy shop where you can get their goodies, too.  You'll be pleasantly surprised at just how inexpensive printables are.

Printables are downloads so that means you can print them over and over and keep them for future use as well!

I hope you give printables a try.  It will change the way you do parties.  That's for sure!  I have other blogs with tutorials on how to assemble them and other ways to use them to make gifts.


I've also got a board just for printables.  Click on here and it will take ya to Pinterest.  I have a board of jut my designs at MyMemories as well.  That's here.

If you have any questions, feel free to leave them here and I'll help ya out!

Thanks for stopping by!