Tuesday, May 31, 2016

Paper Shoe Tutorial

Welcome to The Cherry On Top.

Tuesdays, we do traditional scrap projects.  Today's scrap are these darling paper shoes that you can use as a gift holder. In good ole Cherry fashion, this project is very quickly put together and might not cost you a penny depending on your scrap stash.  I didn't purchase any extra materials.

Keep reading to find this free template I found on Pinterest and take a look at the tutorial to see how easy it is.


I'll be giving you a lot of tips through out the blog.  This was my first time making these and there were a few tricky spots as well as things that could be omitted and or improved.


Go to this link to get the free template.

I cropped out the image of just the template, then I blew it up until the image just fit on the paper.  I believe it was around 135%.  Print out your image of the template and cut it out.

Tip:  It's important that both sides of your paper are nice because they both show. As you can see from my first  image, the white really shows up on the inside of the shoe.  If you plan on adding some kind of insert or something decorative, then white might be ok.


Tip: I always recommend  pre folding and playing with a template you've never used before.  Also gauge what kind of paper weight you need.  You may also want to look for wear marks at the folds.  All paper is different and these marks can really stand out.

I'll explain my experience with the different paper weights so that you can choose what's best for your project.  Regular printer paper gives so much more flexibility and adheres very easy.  I used this much heavier, aubergine card stock and every little mistake shows up and gluing it was not easy.  If you use really rigid paper like this, then you better go for the glue gun.  Of course, this paper is ideal for wear and holding heavier gifts.


I traced the template onto this purple paper and cut it out.  This little triangle you see below, is not needed.  You can cut it off. Of course, when you do it this way, the fold lines do not show up.  I simply look at my pre folded, original to see where the folds should be.


This part drove me crazy!  Hehehe...  These little flowers did not want to adhere with out some serious gluing.  Keep reading to see the different things I did.  The folding of the shoe really puts itself right in place.  Choose your adhesive wisely.  For my rigid shoe, I taped the sole of the shoe to the inside and when the shoe was all together nicely, I gently pulled the tape off.  That worked great, but if you intend on filling the shoe, you may want to experiment to see if it is indeed necessary to glue in place.


I didn't like the white showing on this floral part of the template so I coloured it in with a black marker.  This was thin paper and the marker did go through, but it's on the bottom, so you don't even notice.


For my second shoe, I gave up on those flowers.  They didn't really appeal to me to begin with.  I just folded them like you see in this image and taped in the inside and glued on the outside.


Look carefully at the heel of the shoe.  There are two things I'm not crazy about.  For one, the insert or inside sole of the shoe doesn't reach the back.  It's not a big deal, but if you are a perfectionist...The second thing is the seem at the heel, on the back side.  The template gives you a tab to glue from the inside and I suggest you also glue the flap that goes over that tab so you get it as flat as possible.  Once again, this is me being very picky.  I'd rather extend that piece a little further over so the crease shows up at the very edge of the heel rather than in the middle.


My favourite part is decorating the shoe.  You could simply use one large flower like pictured below.  Consider some buttons, bling or other embellishment from your stash.


I went with this flower punch and used some scraps from my shoe paper.  I inked around the edges because the puncher gave my flower a very raw, white edge.


I took another flower punch and layered it up.  Tip:  I like lifting the petals ever so slightly for a more dimensional effect.


I used tiny glue dots for both flowers.


I added a small pearl to the centre of the black flower.  Then used that same black flower for on the strap of the shoe and again, a small pearl.  Tip:  All the same size and colour for a cohesive look.


You can go as crazy as you like.  A buckle would be adorable.


Think about what you want to put in the shoe.  Some lipstick, sweet treats...I thought this would make a fun wedding or bachelorette favour.


Here's the aubergine shoe with very rigid paper.  This would hold a heavier gift and could handle a bit of abuse and wear.


That imperfection on the tip top of the shoe, by me ditching the flower part is neatly covered with a larger light purple, paper flower and topped off with a touch darker paper flower.  I used the same smaller flower for on the strap.


Two totally different shoes.  One with sass and the other with class.


That's it for today's traditional scrap up.  I hope you enjoyed it and that you'll come back for another visit.


If you are interested in our schedule, it goes as follows:

Mondays:    I blog for AuSumness giving tips and tools to help with Autism.

Tuesdays:   That is our traditional scrap or paper craft blog.

Thursdays:  Throw Back Thursday is when we remind you of a great project or freebie from the past, that you may have missed.

Fridays:       Freebie Friday is when we offer free scrap stuff either digital or traditional.

Saturdays:  We show off hybrid designs.  Typically,  there are free templates or printables here.

Thanks you so much for giving The Cherry some of your time.

Happy crafting!

Saturday, May 28, 2016

Free Princess Cup Cake Toppers

Welcome to The Cherry On Top.

Saturday's we do hybrids.  These are cup cake toppers for your Princess Party.  You could use them as stickers or for in a journal or planner if you like.  Print, laminate, cut them out and glue gun them to paper clips...Just as long as you use them for Personal Use.

They coordinate with our entire Princess Collection you can find,  throughout the blog, in different parts.  The kit will be coming along eventually, but until then, we have clusters, page stackers, Cute Cards and other crafty things you make with the collection.

 Princess Cup Cake Toppers


Cut out the shapes and adhere them to a tooth pick with a tiny glue dot or tape.


If you want to see more of the Princess Collection, click here.

Thanks so much for giving us some of your time.

Happy crafting!

Friday, May 27, 2016

Freebie Friday With Kim Cameron Designs


Welcome to The Cherry On Top's, Freebie Friday.

Yesterday, we had a mega freebie fest.  Make sure you pop over there and see the three freebies you missed.  Today, I've just got one for you along with some sweet inspiration using Kim Cameron's 5 O'Clock Paradise kit.  I can't stop playing with this kit!  (Last time I looked it was just $3.59!)

 Kim C

First, I scrapped up these fun photos my hubby took of me and the kids our favourite, margaritas.  This kit was calling out for a margarita.  Me, too now that I'm seeing it, again.  Hehehe...

Liam looks so gosh darn cute in this photo and his shirt matches the kit, too.  Ha!

 kim co 5 O'Clock Paradise


I also wanted to scrap beach photos because the kit is great for showing those off as well.  Don'cha think?  I am LOVING that hula dancer in the right corner and all of those yummy looking mixed drinks.

 KimC 5 O'Clock Paradise

Over in the new Cherry group on Facebook, I have a game where this is the prize.  I'd like to make it a weekly thing.  This new group is dedicated specifically to scrapping and paper craft.  I invite you to join us there for exclusive freebies, games and a lot of creative inspiration.

For today's freebie click here.

Make sure you scroll around the blog and see all of the wonderful freebies you've missed.  They are all for PERSONAL USE ONLY and are not to be resold or claimed as your own.  If you download our goodies, please leave a comment, + or share as a way to say thanks.

Tomorrow, we'll have a fun hybrid project up, you won't want to miss.

Happy scrapping!

Thursday, May 26, 2016

Throw Back Thursday With Freebies and The CT Hot Spot

Welcome to The Cherry On Top's Throw Back Thursday.

It's been very challenging getting all of these projects and blogs in because my husband has broken his neck.  He's kind of ok, but he is incapacitated which means I have to do absolutely everything and have a lot less time for the blog and the projects that go with it.  If you've been missing out on some traditional scraps, I apologise for this and hope things will get better soon.

Today, I've got a killer blog set for you!  Look out for tons of scrappy inspiration, absolutely gorgeous kits and a couple of freebies, too.

In the beginning of this year, I was introduced to the CT Hot Spot.  It is an absolutely amazing place. It is a bit of a dream for most of us in the Digi Scrap World.  There is an active forum with amazingly dedicated and talented members.  There is also a gallery full of some of the most talented layout artists in the business.  The blog stays current, informative and inspirational as does the Facebook Page and Pinterest boards.

What does the CT Hot Spot do?  They do all of the work for digital designers outside of designing.  Taking care of advertising across social outlets, accumulating multiple layouts from very talented artists and doing all of this in a timely, professional and very artistic manner.

Here are some of the layouts I have designed from a couple of the designers at the CT Host Spot.  We'll take a closer look at these designers, their work, get a better idea of the CT Hot Spot concept and pick up a few freebies these designers generously aloud The Cherry to make.

 That's The Spirit

First up a beautiful, double whammy of Feli Designs, That's The Spirit kit, coupled up with a beautiful template from Heartstrings Scrap Art.  If freebies are yo' thang, then hit up Bryony's Facebook Page where you can find a free template.

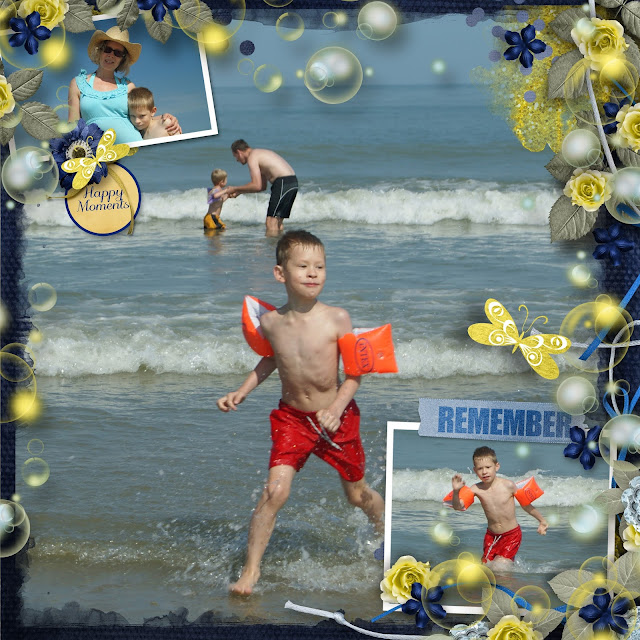
This was, by far, the best day at the Belgian beach.  I'm so glad I took a ton fun photos and what better kit than one full of blue like water and yellow like sun?  Perfect!  I also love Bryony's big picture templates.  For me scrapping is always about the photos.  Especially, with this failing memory of mine.  Hehehe...

 Dad'll Fix It

LouCee Creations has always been a favourite of mine and manly, boyish kits definitely top my list of desired designs.  How adorable were my boys back then?  This is Dad'll Fix It, an older kit but still a goodie.

 Boys Club

I had more than enough photos for a fabulous kit like this one from Jilbert's Bits Of Bytes, Boys Club.  Fabulously rich, manly colours and just the right elements to show off your masculine photos.  Excuse Liam's lack of enthusiasm.  His father made him visit the cars BEFORE the trains.  Hehehe...It just so happens this kit is just $1.50!  Not sure how long that awesome deal will last, so ya better get it, now!


 Animal Crackers

I just love whimsical and Linda Cumberland certainly does it well.  Animal Crackers is such a cute, versatile kit.  It was great for showing off my photos at the Antwerp Zoo.


 Blossoming Friendship

Here's some more designs by Linda Cumberland.  Above is, Blossoming Friendship and a super Throw Back photo of me and ma in Florida, way back.


 For The Boys

Throwing it back even further is this photo of my dad and uncle in the 50's, also featuring another great kit from Linda Cumberland, For The Boys.  Really love this layout and those fabulous vintage elements.


 Mommy May I


Oh, what's this?  More Linda Cumberland?  I guess I'm obsessed!  Hehehe....Above is Mommy May I.  So super sweet and soft and throwing back to way early photos of my parents.

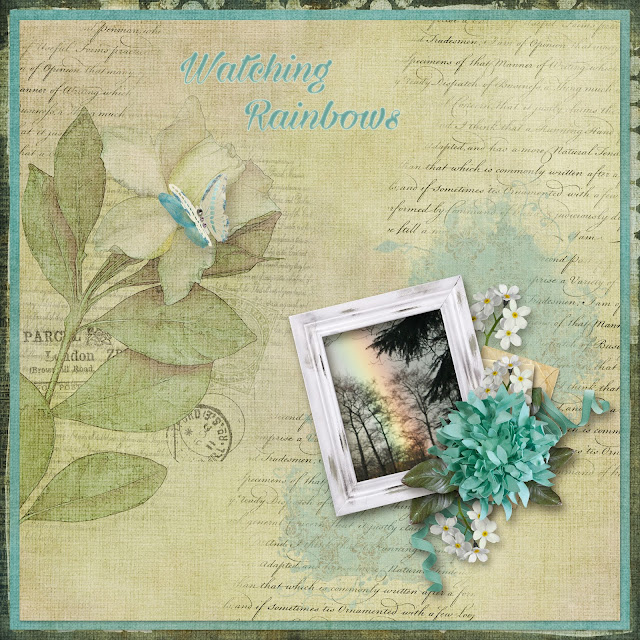
Below, is Time To Time and my shot at a type of white space challenge and the coolest rainbow I have ever seen.  These colours and timelessness of this kit is pretty fabulous.


 Time To Time

Let's take a peek at an older, yet wonderful kit from Manu Scraps, Destination Anywhere.  I have tons of travel photos that I love to scrap.  Here we are again, in Germany on the Rhein.


 Destination Anywhere

Fading Away is a kit full of passion and contrasts of love and hate, bright and dark, happy and sad.  What to do with all of this beautiful drama?  Scrap it, of course!  Manu has put her sole into this phenomenal kit.


 Fading Away

Scrapping doesn't always have to be about the photos, but can also project feelings like above and below's layouts.  This one is dedicated to my mom who lost her first born daughter. This amazing kit is from ADB Designs and it is Diane's Moon Light Sonata.  Full of charismatic purples and a touch darker yet natural vibe.


 Moon Light Sonata

Let's brighten things up with this layout from Prairie Song Scraps, Say It Softly.  A classy touch of vintage and fabulous colour palette.  More photos of my aunty's 70th birthday party album.


 Say It Softly

My last layout I have for you is this magical kit, My Little Chick A Dee from Snicker Doodle Designs.  Awesomely whimsical, bright and full of fun.  How pleased was Liam with his party and cupcakes?


 My Little Chickadee

I've whipped up a couple of freebies featuring a few of the above kits from these generous designers. They are for Personal Use ONLY and may not be resold or claimed as your own.

A fun frame for you using LouCee Creation's Dad'll Fix It.  Right click and download the png format.

Jilbert's Bits Of Bytes, Boys Club cluster.  Right click and download.
This gorgeous quick page from Snickerdoodle Designs, My Little Chick A Dee. Right click and save.


I'd love to have you join us over at the CT Hot Spot.  Start your own gallery, become a designer there or get on our Creative Team.

Enjoy the inspiration, freebies and make the time to scrap.  You deserve it!

Saturday, May 21, 2016

Free Minecraft Inspired Door Hanger


Welcome to The Cherry On Top's, Hybrid Saturday.

If you hang out with The Cherries, you know we've been working with Minecraft inspired printables for a bit now, thanks to an obsession of my own children and the popularity of the posts relating to it. Check out our newest addition, this door hanger and see the others you may have missed.

My oldest was all over this.  He couldn't even wait until it came out of the printer!


I have a few suggestions for you.  Print and cut on very rigid paper or print on standard printer paper and laminate it for even more durability and a slightly water resistant advantage.

When I used really rigid paper, I cut across the outside edge into the circle and then cut the circle out.  This way you can use this door hanger on any kind of knob or handle and it's the simplest way to cut out the circle.  It won't look so great if you do this with standard printer paper.   Unless you laminate.


Right click and save this image to your downloads.


Our freebies are for PERSONAL USE ONLY.


Here is our free book marker.  

Click on the image to get to the blog.  It's free, too.

 free book marker

This is one of my all time favourite projects!  Its a paper wallet for gift cards and or money for your Minecraft fan.  Click on the image to see the tutorial and grab the template from our shop.

 minecraft wallet gift card and money holder

Thanks so much for stopping by The Cherry!


Friday, May 20, 2016

Freebie Friday, A Frickie And More

Welcome to Freebie Friday with The Cherry On Top.

Throwing Some Scraps Around has a fantastic kit, I know you are going to love.  Down In A Hollow has a touch of whimsy and a gorgeous colour palette.  Check out inspiration, get the frickie, see what you can do with it, take a look at the kit and see what freebie Jodi has on her blog.


I often try to get some similar colours in my photos and layout.  I immediately thought of JJ and his orange shirt. Hehehe..This series of photos is so cute.  I only ever scrapped one of them before, this time I've got them all.

Frickies are so much fun and very versatile.  I've got several free ones throughout the blog.  You can always visit our Freebie board on Pinterest to see all of them.

You can blow up your frickie and add a photo as your background like above or you can shrink it up, layer it up and use it as a cluster frame.  Keep scrolling to see what I mean.


See!  Shrink it up, add some lovely layers in various sizes and widths.  Maybe add a tag and that's it.  You can scrap in mere minutes.


This layout was inspired by Brenian Designs templates.  Click here to see Bren's shop.

This is what the kit looks like.  Click on the image to see Jodi's shop.  She prices her kits to sell!


This is one of Jodi's freebies.  Click on the image to get to it.


 freebie

Here is another one!

 FB Fan Page

Thank you so much for spending some time with The Cherry.  We love when you do that.

We keep our links up for as long as possible and if you are just discovering us, you've missed A LOT of freebies!

Follow us so you can keep up.

We've got a group, page and Pinterest so you won't miss a beat.

All of our freebies are for Personal Use Only.  You may not resell them or claim them as your own.

Join us over on Facebook and show off your scrappy projects.

Have a super weekend!