Showing posts with label Sleigh Bells Ring. Show all posts

Friday, December 25, 2015

Sleigh Bells Ring Alpha Freebie and a Hybrid Calendar Idea

Welcome to The Cherry On Top.

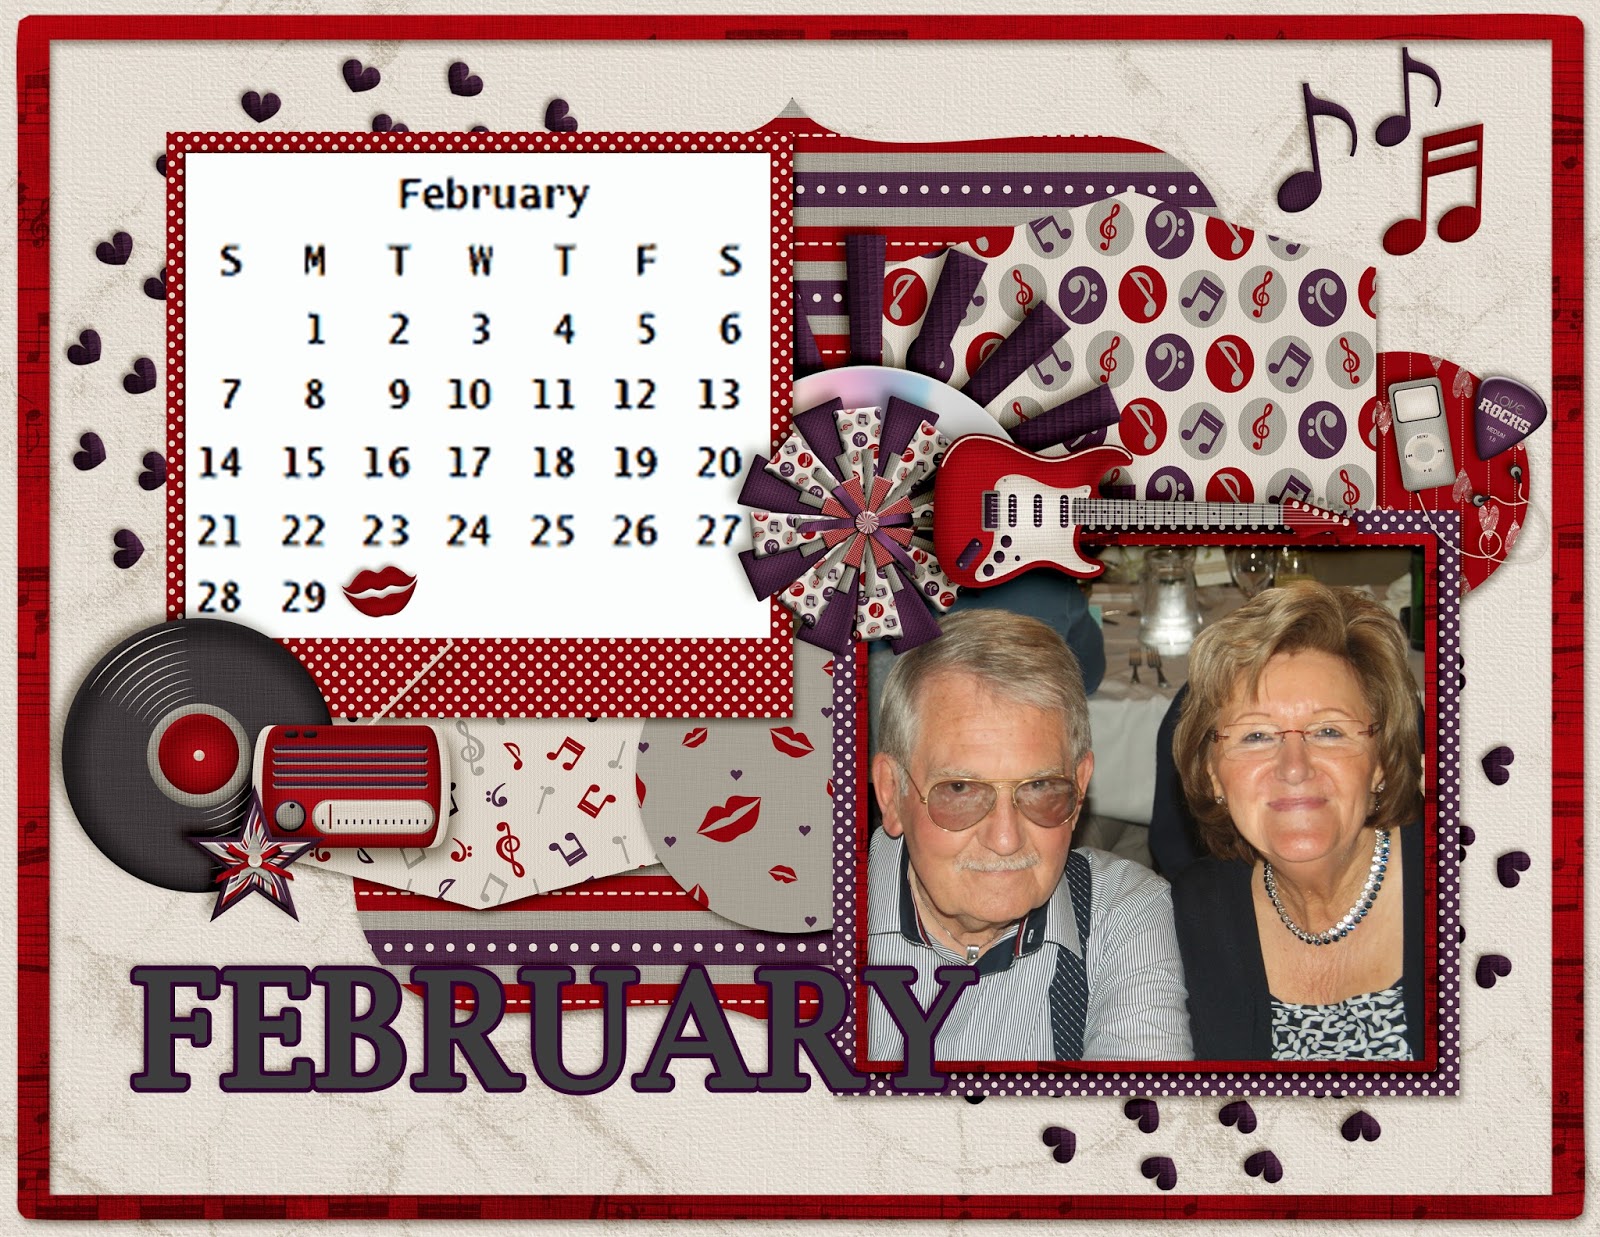
Here's our finished hybrid calendar project and boy did we wait until the last minute.  hehehe...  Printed out just hours before Christmas Eve.  At least it's finished.  I couldn't help to notice that some of the other family members seemed to also have wanted one.  Next year, I'll make duplicates for each family.

Scroll through our months and see the finished project at the end and get the link to our free Sleigh Bells Ring alphabet.

If you have a great hybrid calendar idea, share the link in the comments.  We'd love to see it.


I used all photos from 2015 to make the calendar.


 I did my best to get the photos that were taken in the month's page.


I chose mostly silly photos because this family loves their laughs. 


One of my favourites!  These photos were taken at an aquarium type of park.


Fun in France.


The dreaded month after such a lovely summer vacation.


 A very special occasion!  70th birthday party!


Great photo!


Last years Christmas party.


I glued the print outs onto rigid card stock, inking around the edges for a finished touch.


Pimping up the large clips with some colourful ribbon.  You can move the clip to the side or bottom and because of the rigid paper, it stands alone.  You could also hang it on the wall by the clip, too.


This alpha is no longer available.  Stay tuned for more great freebies.

I used Dagi's Temp-Tations template for this project.  You can find them here.

We hope you enjoyed our free goodies this holiday season.  You can count on us for much more in 2016!


Thursday, December 24, 2015

Day 12's Freebies From Sleigh Bells Ring

Welcome to the second to last day of the Sleigh Bells Ring freebies.  Hehehe...

There is still an alpha tomorrow.  Today, I've got the gorgeous goodies from Alexis Design Studio, again.  They've got a new kit in the shop, Celebrate and it is so perfect for my Aunty's 70th Birthday book I'm making for her.

I have a template for this kit using the below layout as the inspiration also available today.  Yay!

The last day of the Sleigh Bells Ring kit, the template as well as a freebie we've designed and offered by Alexis Design Studio.  There are other links in the blog where you'll find even more free goodies from Alexis Design Studio.


 sbg Celebrate

I sketched out the template for the above layout months ago and finally got around to actualising it.  I loved it so much, I've turned it into a template.  Keep in touch to get it when it becomes available.

 sbg Celebrate

I really wanted this beautiful picture to be the feature on this layout so I kept it simple.  I tried my hand at blending and added this beautiful frame and lovely elements for a natural, glamourised touch.

Check out this deal!  You won't know which kits to choose, I can tell you that.  Click on the ad to get to the store and remember, you deserve this. ;) You may also want to consider following them on Facebook so you can keep up with freebies and promotions.

 sbg

This layout's feature is my lovely, antique framed up ornament.  I've made some subtle changes to the frame cluster and it is available on the blog. Go over to the blog, grnabthe freebie and sign up for the newsletter so you don't miss a beat.

There are many other freebies over on their blog.  Scroll through and grab them while they are still live.


 ADS blog

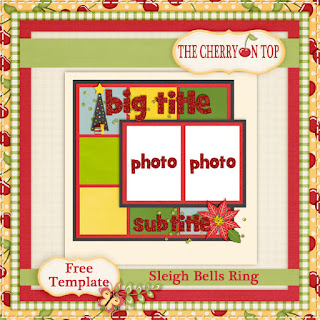
Here's the free coordinating template for Celebrate.

 Free template

This freebie is no longer available.  Stay tuned for more great free stuff. Thank you for all of your comments, sharing, +'ing and love you've given us.


We hope you have an enjoyable holiday wherever you are and that you find time to get crafty or scrappy.

Thank you for hanging with The Cherry!

Wednesday, December 23, 2015

Day 11 of Freebies for Sleigh Bells Ring

Welcome to the 11th day of freebies from The Cherry On Top.

We are almost there!  11 days of mini's and a free template so far.  Just one more day to go and the alpha.  I know a lot of our fans are all about the free stuff and we've got some links for even more awesome freebies from Touched By A Butterfly.  Our Christmas freebies are gone!  You're too late!  Make sure to follow us so you don't miss out next time.

Touched By A Butterfly asked their fans to enter a colour palette that would be great for Christmas for a chance to win a kit, we did and we won. This is the palette we choose.  Looks a little familiar, eh? Hehehe...How could we resist!

Keep scrolling to find Touched By A Butterfly's current freebies, our layout inspiration and grab your link for Day 11.


I used a free template from Scrapping With Liz for my layout, pimped up in Cherry fashion.  Added Cherry blingage.  Hehehe...And this picture is pretty special because these four people are rarely together, sadly enough.

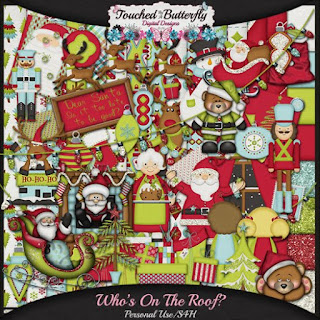
Here's a look at Celeste's kit, Who's On The Roof.  It's huge!  Total bang for your buck, for sure.  The image is linked up to the store so you can get this great deal.

 TBT Store


Here is a freebie offered through MyMemories.  It is also linked up.

 free download

Touched By A Butterfly often participates in blog hops which means tons of free stuff.  You definitely should become a following fan if you like freebies.


 tbab freebie

See!  Another hop full of freebies.


 tbab freebie

This freebie is no longer available.  Stay tuned for more great free stuff.


We want to thank you once again, for all of the lovely comments you have been leaving.  We know that not everyone can do that and some of our fans have been resourceful enough to visit our Facebook Fan Page and thank us over there.  It is amazingly thoughtful of you.  Thank you so, so much.

We hope you can get crafty or scrapping in this very busy time.  You deserve it!

Thank you for hanging with The Cherry!


Tuesday, December 22, 2015

Day 10 of Sleigh Bells Ring Freebies

Welcome to some more scrappy inspiration and freebies from The Cherry On Top.

We are certainly in the spirit of giving.  For us that's a year round kind of spirit.  The Cherry is dedicated to finding our fans free digital downloads of all kinds and designing some of our own.  That's just a part of what we do.  We also share nifty craft ideas that keep a friendly budget in mind as well as the environment.  Recipes are all about keeping healthy, saving money and time as well as using everyday ingredients.  On occasion, we have entries on Autism in hopes of educating, informing and including those who may feel like they are all alone with their struggles.  We have everything posted on our Pinterest boards for easy searching.

Thank you so much for joining us.

We're featuring Paty Greif Digital Designer and her newest kit, Twinkling Golden Night.  We used it to design our tags from our most recent up-cycled gift idea.  We've got the collection scrapped up in two very different ways.

 pbp

The above layout has nothing to do with Christmas, but because of the versatility of this totally glamorous kit, it really doesn't matter.  Talk about a punch of elegance and glamour.

 pbp

The second layout is all about that special time of year.  One of my favourite ornaments from last year's tree.  Click on any of the above layouts to see the collection.

Here are a couple of other freebies we are offering on our blog.

If you're into templates.  We've got a lot of those.  Here's a recent one.

 free template


If you are a last minute shopper that still needs a few gifts, check out this blog for some ideas.

 gift ideas for tough recipients


Thank you for hanging out with The Cherry!

Monday, December 21, 2015

Day 9 of Freebies and a Free Template


Welcome to day 9's freebie and the new, free template edition.

I was so surprised how fast we got to 10 comments.  Thanks so much.  Comments are tough to come by, lately and we certainly appreciate them.  

Today, we've got more layout love, new kits, new templates to show off and of course day 9's link and the unlocking of the free template that coordinates with our free Sleigh Bells Ring kit.

The kit Cart Designs has a brand new collection at the Digital Scrapbooking Studio, Through The Woods.  This kit is full of cozy, soft colours and textures with a splash of nature.  It's really fabulous.

My hubby and I sitting by the fire in Landal Parks in Germany.  We love going there with the family.  Always clean and Germany's food always fills the belly, nicely too.

 dss

I scrap lifted this one.  Not sure how cohesive the feel is.  I love the top part and the sweater inspired ornaments.  The little wooded scene is cool, too.  How cute these elements are.


 dss

This is a fabulous template and kit from Photocowgirl.  She's new to Gingerscraps.  You can find her shop by clicking on the image of my lovelies enjoying Christmas.


 gs

Here is the layout that inspired the free template and our new kit, Sleigh Bells Ring that you can get for free by downloading the daily links.


This freebie is no longer available.  Stay tuned for more great free stuff.

And here is your free template.

 free template

Feel free to come back and show us what you've created.

Happy scrapping and thanks so much for being a part of The Cherry.

Sunday, December 20, 2015

Day 8 of Freebies and an Awesome Up Cycled, Nifty Gifty Idea

Welcome to The Cherry On Top.

We've got a fantastic recycled gift project idea for you with a super handy tutorial that you could use for a variety of projects.  We love our flexible projects.  Scroll through the images to see our up cycled greeting card box, gift idea and get your daily freebie from our Sleigh Bells Ring kit.

Here's a look at the finished project.  I used all things that I already had around the house with the exception of what's in the box.  Keep reading to find out more.

This project may seem kind of time consuming, but it went together very quickly.  Read how we kept this project to just over an hour for BOTH boxes, from start to finish.


I gathered the boys together to do their class room Christmas cards.  Some of them were contained in a cubed, clear, plastic box that was very rigid.  The wheels were immediately turning.  I just had a feeling that this box could be something special.

Each square of the box measured just over 4 inches.  At first I thought I'd scrap up the recipient in a different layout for each box.  After a bit more consideration, I thought it would be very time consuming.  That was 6 squares per box and I needed 2.

Then, "BING!" It hit me.  I'll use already existing layouts that I have and just swap out the photos.  Thank goodness I save my layouts as a tif, in layers so this was even possible.  Keeping the layers or at the very least, layering your photo spot might not be a bad idea for future usage.

Here is an image of one of my Christmasy layouts with my boys.  You can see the layers to the right.  I've high lighted the photo.  Look down at my photo gallery on the bottom.  The last image on the right, is my template.  Create a new file, use the custom setting and type in exactly the measurements you need.  I used 10,4 cm x 10,4 cm.  I used this same template over an over again rather than make a new document each time.


All I had to do was plop in my lovely niece.  The tree and Santa elements covered up my precious pooch, so I clicked on both of those items and made them smaller.  You can see them high lighted on my layers menu.  Then just "save as" and name each slide something different.  I then deleted the layout and reused the template.


Again,  I got rid of my original photo and put the recipient of this nifty gifty in the photo spot.   Then took out the photo in the other photo spot and put in a seasonal greeting. I also had to shrink the cluster slightly.  The year I didn't have to change because it was the same. Yay!  "Save As" a jpg, again and delete the image from your template and start on your next one.


If you are an avid Cherry fan, than you've seen or even downloaded our Christmas poster using our free kit, Sleigh Bells Ring.  I took that and put it on my 4x4 template, shrank it, then backed it up with a couple of our papers.  TIP: If you want, you could put in this black outline around your template.  To do that, copy your background, shrink it just slightly, then use the outline function.  I have it high lighted in this image.  I thought it would make it easier for cutting and it really helped.


Here is another of our freebies.  This is our greeting card, cropped, fitted and again, layered up on one of our papers from the Sleigh Bells Ring kit.


I gave each recipient a different image for each square, but you could always repeat some to save time.  

In this image you can see my layer for the outline and how I saved the image for printing.


Something you should absolutely NOT forget, is how you save your original tif, psd or original, layered layout.  When it asks you if you want to save it, you choose, "Don't Save".  This way you have your original layout still in tact and your new one should be saved under something completely different and in jpeg format.  This will save space on your drive.


Now, we are finished with the digital portion of our project.  Let's get our fingers dirty!

Here is the box that I used with an original inhabitant.  Hehehe...  Peel off any stickers and clean the box.


Print out all of your squares to cover the ones you want covered.  I didn't bother covering the bottom.


This is what I put in one of the boxes.  My niece is 12.  Some lotion, shower gel, a very inexpensive yet trendy bracelet, Mentos and 10 Euros.  I took the lotion and gel out of the box it came in and retied the bow to the gel.


The only printed square I glued was the one for on top.  I glued it to the inside and it came out perfect.  No sign of glue whatsoever.


I simply slid in each mini layout.  Once the goodies are in your box, they hold your mini's in place.  You could always use tissue paper to fill your box if there is too much space and your layouts move around.  You could also glue them like we did for the lid.


Take a peek.  Pretty cool, eh?


These were the supplies I used:

clear box
glue stick
scissors
ribbon
your mini layouts
gifts/money/gift certificate  (rolled or folded)


See, just slide your image right in place.  I used standard printing paper, but of course, you could use a heavier weight.


Almost finished.


As you can see, the tops is bowing a bit because the shower gel is slightly too large for the box, but don't worry!


Once you add your bow/ribbon it's fine.

There are a couple of different ways to finish your ribbon's ends.  Cut straight across with a very sharp scissors so you don't have fraying, at an angle or with points, as shown here.


Make an inexpensive gift totally awesome by adding personal touches, with your photos and by adding some spectacular ribbon or bows.  I picked up these at the Aldi in a pack of 4 for 2,99 Euros a couple of days ago.

The one with the stars is a standard bow with cut in points at the tip.  The other is a standard bow, then another bow tied to the top of that.  Like when you have shoe laces that are too long.  You just make another bow.  The light weight wire in the ribbon allows you to move and manipulate to get the perfect shape.  I use this kind of ribbon a lot more than the kind without.


It's still missing something, don't you think?  Hmmm...


How about some tags?!  I used Paty Greif's brand spanking new kit Twinkling Golden Night and The Cherry's very own free, tag templates that you can get here.


Paty already has some lovely tags ready for you, if you want to save more time.

 PBP

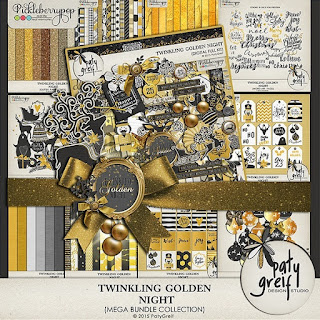
Here's a glimpse of her entire collection.  Choose any of the two images to get to her shop.


 PBP

This freebie is no longer available.  Stay tuned for more great free stuff.


We've got so much free stuff on our blog.  Take a look to the right and see some of the latest topics or just scroll through them all to see what you've missed.

Thank you so much for making The Cherry a part of your day.

Holiday holidays!