Friday, July 31, 2015

Free Summer Printable From The Cherry On Top


Welcome to The Cherry On Top.

Summer was really sizzling, here in Belgium and now it's fizzling.  Hehehe...It's chilly, windy and rainy.  Boo!

I still have faith that the sun will come back out and warm things up.

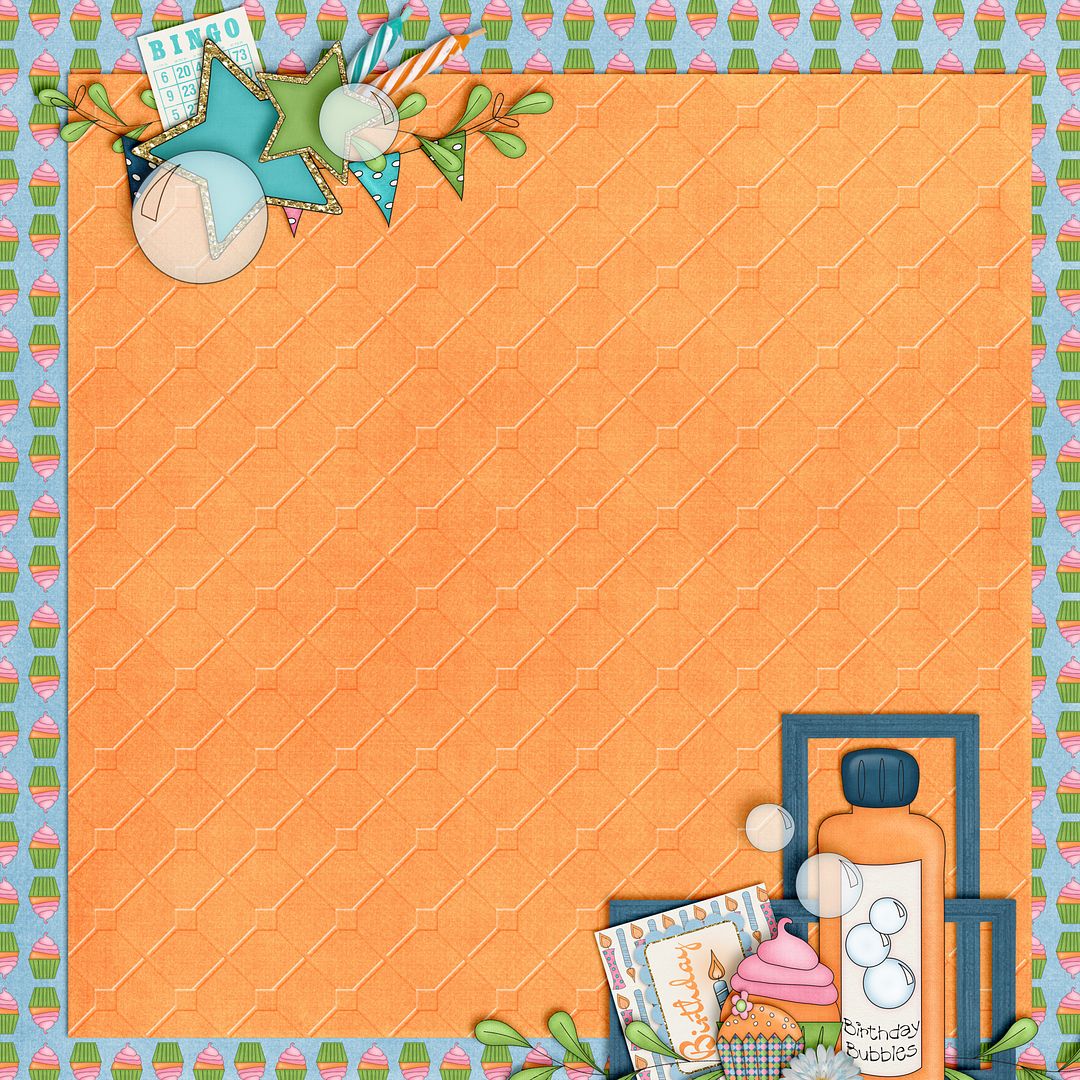
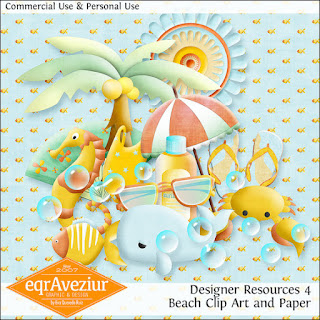
I've hit up my Commercial Use stash to create this fun, warm set of printables to help warm me up.  There are so many things you can do with it.  Crop out the goodies and make something, digitally or print them out and make something like a mini album, tags or use the art cards for your project life projects.

Keep scrolling to find some more ideas and grab the free printables.


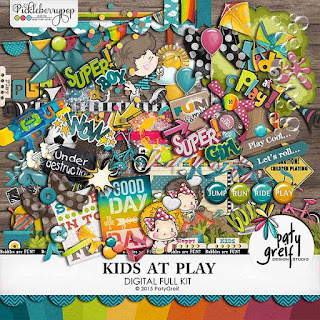
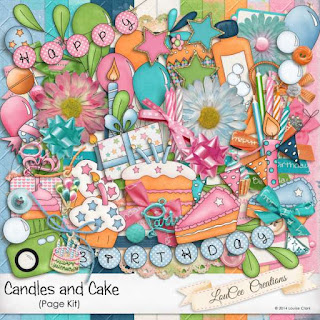
I mixed my designers this time.  I used Eqr Aveziur's as well as LouCee Creations fun, summery Commercial Use goodies and templates.  Check them out up close and consider adding them to your stash.

 SHCo.

 Etsy

Cute stuff, eh!?

Now, let's move on to our hybrid project we made with these goodies.

Step #1:  Download and print

You can adjust the size of your printable before you print, to the desired size you wish.  I often print from my Finder preview where you can make a lot of adjustments. This printout came up at 66% to fit properly on A4 paper and it was perfect.  I also chose a paper with some sheen and wow!


Step #2:  cut

Remember to use card stock if you want rigid pieces or apply it to card stock.
Print out several times if you like.  I printed twice.


Step #3:  Choose how you'll arrange your mini album.


Here's the good card stock.  It will add rigidity and layers always makes the project.
I chose to round the corners.

Step #4: Layer it up.


Add a touch of dimension by using large glue dots or foam, double sided tape.


Step 5:  adhere

Carefully choose a background to match your image and adhere it to the card stock.


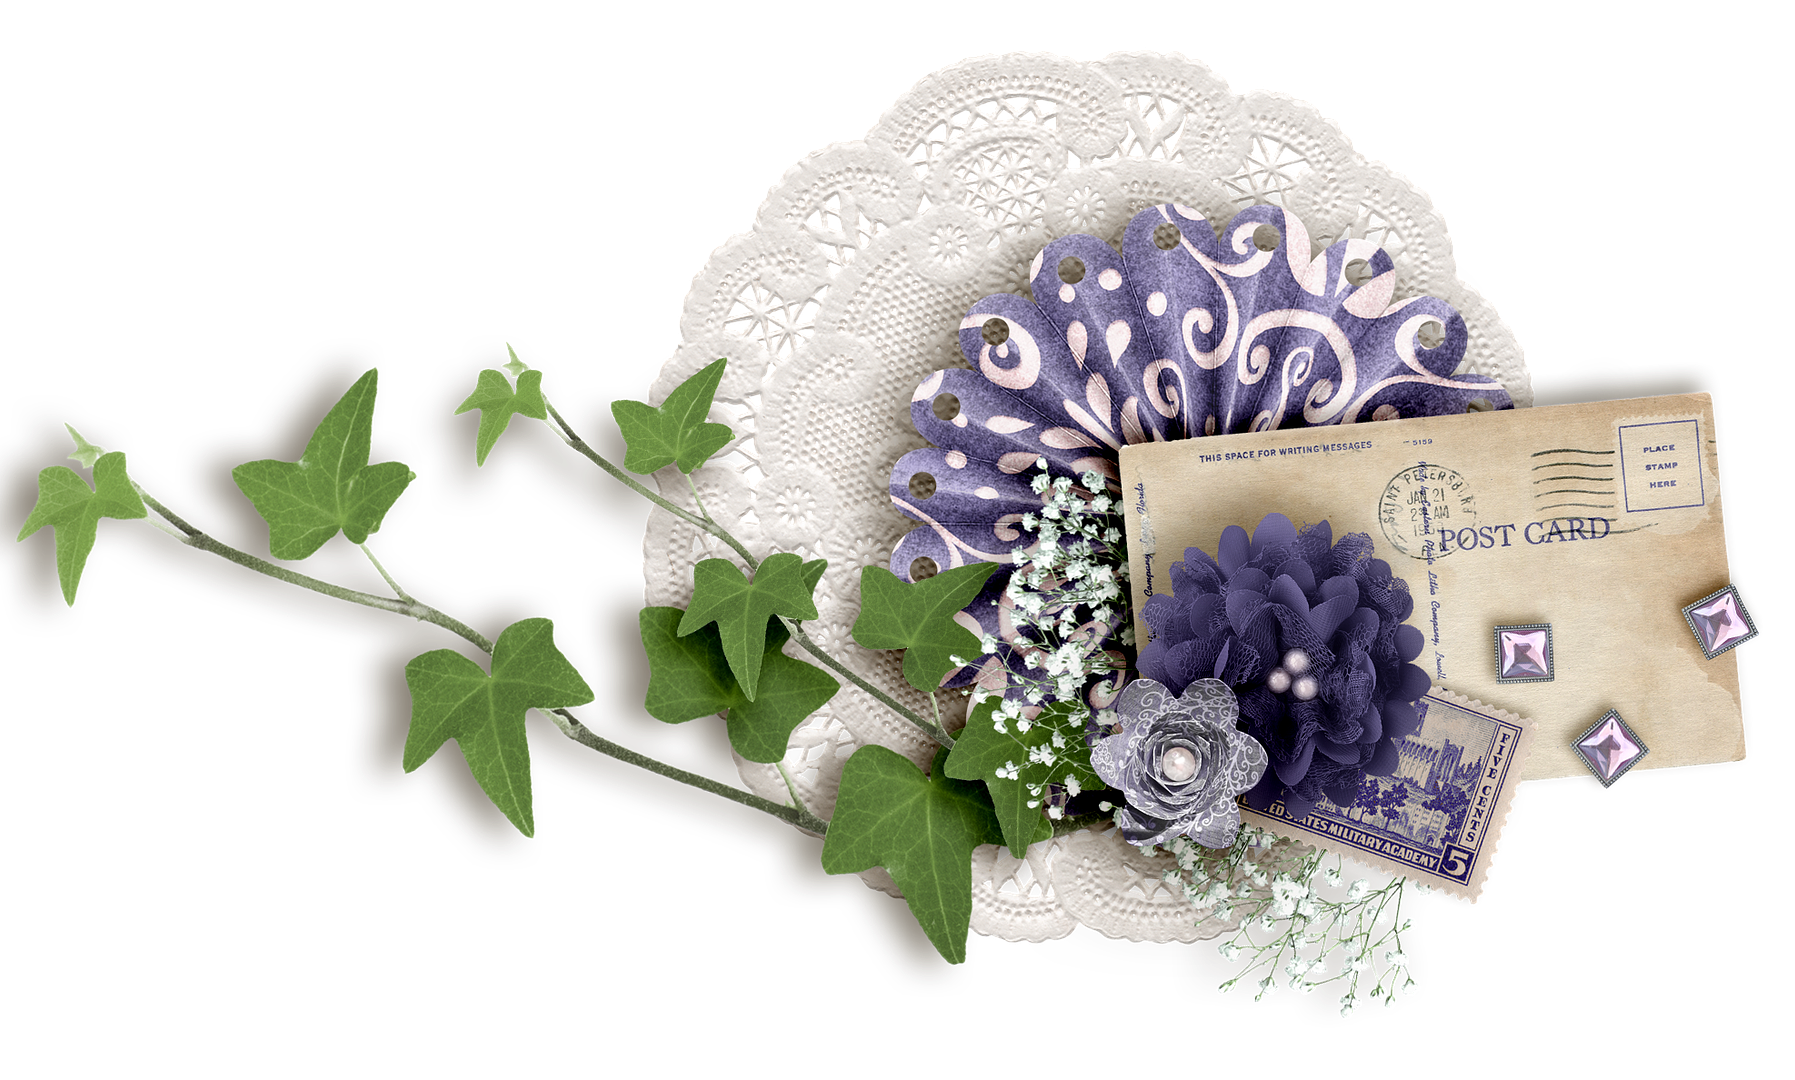
I left the last page, back side blank with the exception of this one embellishment.


 Step #6:  laminate

Consider laminating your project for durability and water proofing.


Step #7:  assemble

For this mini album, I punched holes in the top, left corner and will assemble with a metal ring.

Check to see if the holes will alter or mar your page.  Maybe the right corner or top would be better?  Always keep binding in mind when designing your projects.


Step #8:  embellish

My circle punch was just too small and I had to hand cut the big brads.


 I punched holes in the top of the laminated brads then added these tiny rings.


Voila!  This project is an absolute breeze and went very smoothly and quickly.


Tip:  If you are going to laminate your project, dimension isn't necessary unless you add your dimension AFTER you've laminated.  Tip:  I ran two of my pages through the laminator twice because they were not perfectly adhered all around.  They came out even better.

Perhaps you would like to add some fun ribbons around the ring or charms?  


I'm going to put my mini album in this box once it has been up cycled to perfection.  Stay tuned for the tutorial and a magical transformation.


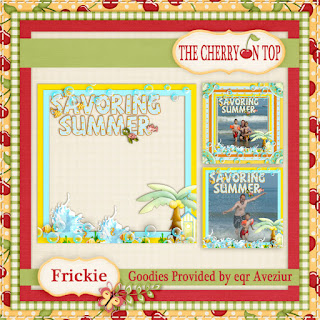
Here's another fun project I made using Eva's Commercial Use goodies.  Click on the image to get to that blog and get the links to the free download.


 tcot

I've got some more plans ahead for printables like these.  So stay tuned and remember that all of free goodies are for Personal Use Only and are not to be resold or claimed as your own.  Be a doll and give us a +, Pin and share the free fun.

Don't forget all of our social outlets have free stuff that is updated daily.

Here is your free printable!


Thanks for hanging with The Cherry!


Tuesday, July 28, 2015

Lazy Curl Care

Welcome to another helpful edition of The Cherry On Top.

We're talking about hair care.  Specifically, care for dry, lazy curls like these pictured here.

I didn't always have curly hair, but after years of perming, children and treating my hair as if it were curly, here they are.

For years, I thought I had frizzy hair and I treated my hair with all kinds of crazy hair products, including really expensive ones.  Super conditioners, masks and anti-frizz treatments that cost a lot of money and gave mediocre results.

Then I read about coconut oil and how good it is for your hair.  I thought I'd ditch the traditional hair care products and go all natural, just to see if there would be a difference and there was, fast. 

Have you any idea of all of the benefits of coconut oil for your hair?  Check out this list:

improves scalp health
fights infections and fungus
supports hair growth
adds volume and shine
alleviates or improves dandruff condition
protects from the sun
detangles
lice prevention and treatment

I started using all natural shampoo.  It doesn't lather up, which was kind of weird, but I'm thinking perhaps whatever ingredient(s) that makes shampoo lather, might be one of the culprits ruining my hair.  I found the same with all natural toothpaste, but that's for another blog. (See how white my teeth are in the above photo.) Even after using conditioner, my hair felt kind of sticky and it still felt dry.

As most dry hair folks know, you shouldn't wash your hair often.  I wash once or twice a week.  I also wash my hair with a simple baking soda and water paste every couple of months.  It doesn't lather either, but it certainly is an all natural cleanse that costs mere cents.


This is what I do.  It's fairly fast and it works for me.  You may have to experiment a bit to get the result that's right for you.

Firstcomb out your hair really well before going into the shower.  Gently pull out all of the loose hair, too.  This will also help with your drain!

Second, go all natural with your shampoo.  (One with Tea Tree oil would be great!  I don't buy masks or conditioners any more either.  Talk about saving some serious cash and my hair has never looked or felt better.)  Wash your hair.


Third, when you're finished washing and rinsing your hair, t-shirt dry. (Don't use softeners on these either because softeners actually make your fabric less absorbent.) Like your pillow case, a towel is the worse texture for your hair.  Try not to touch your hair too much.  Wring it out and let it towel dry as long as you can. Take some coconut oil in your hands and rub it all over them being carful not to use too, much and condition your hair.  Squeeze and dab it into your hair gently.  I always crunch the ends. Hit up those areas where it's the most frizzy.  The back and the ends mostly.  If you use too much oil your hair will be waited down and even look oily.  I sometimes still use a touch too much oil, but it's no biggy.  Just rinse it out when you take your next shower.  Keep in mind, no other store bought, unnatural stuff actually soaks into your hair like coconut oil.

The next tip has also made a big difference in the frizz.  

Step four, and this if you don't have time to air dry because of course, that's the best way to keep those curls in tact, use a hair dryer with a diffuser.  Keep the speed and temperature lower if you have the time.  I always dry with my head upside down for even more volume.  I'm an 80's lady from the south, what can I say?  Also, try to touch your hair as little as possible and position parts of your hair on the diffuser and just let it sit and dry.  Notice, I didn't pick or comb through my hair after the wash.  If you absolutely have to, try to just go through the tips with a pick or large toothed comb.

Check out this thorough article I found and read another way to condition with coconut oil.


I've not been using any other products on my hair unless I'm going out somewhere special.  Then I might use a touch of something sticky for even bigger volume and styling, but it does defeat the purpose of going natural and improving hair health.  
I found that when using unnatural products my scalp had a terrible residue, it itched after a couple of days and the frizz was really bad, too.  Your fabric on your pillow can also reek havoc on your hair.  Satin is best.  It's better for hair loss as well.


So try ditching the typical products for your hair and go all natural.  Give it a couple washes and again, experiment with the amount of coconut oil that's right for your hair.

The best of luck!


Sunday, July 26, 2015

Kids At Play Digital Hybrid, Freebie And Inspiration

Welcome to another scrappy edition of The Cherry On Top.

I've got my girl Paty back in the spot light, again!  She has a revamped kit, Kids At Play releasing for the first time at Pickleberrypop.  There have been a few additions and some tweaking, too.  Scroll further to see some lovely inspiration using this kit, grab a fun freebie and get a look at a happy hybrid.

I just took these pictures during our heat wave.  The boys were so darn cute!  I designed this layout a little differently than normal.  TIP: I designed as if it were a template and shaped all of the paper stacks up, then inserted my choice of papers and clipped them in.  It was really easy and I do that with photos as well.  Just copy your plain background, size it the size you want your picture, place it and then simply clip in your photo.  It beats cropping and recropping to have your photo exactly how you need it.


I don't often do a double layout, but this kit and the pictures were just so great.  I had to keep going!

The layout below was from photos of our vacation in Spain.  The boys had the best time ever.  JJ already announced that he doesn't want to go anywhere on vacation except Spain. Hehehe...


Here's a look at Paty Greif's kit, Kids At Play.  The typical fun, bright fashion of Paty Greif.  You'll find word art, journal cards for project life style scrapping and so many thoughtful goodies, you'll be scrapping for hours.

 PBP

I made another frickie.  A frickie is a free, frame/quick page.  You can use it in all kinds of different ways.  Scroll further to see my examples.

 free download

You can enlarge the image so that it takes up your entire page, like I did here.  In this manner it's like a quick page. You may insert a background if you like, or leave it white.

 Pg on Pin

You can also use your frickie as a frame as I did in this layout, below.

 PG on Pin

Paty's goodies are extremely well designed with quality so good, you can easily print them out with gorgeous results.

Simply insert a fun picture and print.  You can print on rigid card stock for the easiest method.


However, if you have no card stock, use the inside of a cereal box.  I always have a couple of boxes on hand.  I find the quality really perfect for a lot of paper projects.  Especially, for mini album covers.


Adhere your print out to the inside of the cereal box.


Cut around your image.  I left a tad of the white.  The choice is yours.


I also often ink around the edges.  You get a more finished look and if you don't cut perfectly you ink over where the paper and cardboard meet, camouflaging the mishap. 


You can paper over the print and then adhere your magnetic tape or just leave it, like I did. It'll be replaced in a year or so anyway with an updated picture.  Hehehe...


That was quite a blog!  I hope you enjoy your free frickie and that you check out Paty's Kids At Play kit.  It'll be an excellent addition to your scrappy stash.

We've got tons of freebies on our blog, Pinterest and we post freebies, daily over on our Facebook page.  Here are our frickies.  We've got templates, word art, paper stackers...and all FREE!

 tcot


 tcot


Enjoy the free stuff, leave us some love as a way to say thanks.  Share our links with your scrappy sisters and remember all of our goodies are not to be resold or claimed as you own.

Happy scrapping!


Friday, July 24, 2015

The Cherry On Top, The Talented Studio Designers and Free Stuff

Happy Friday, Scrappy Divas!

We've got a big one for you, today full of fabulous inspiration, some gorgeous new kits out and as in typical TCOT fashion, a couple freebies to give you a taste of the awesomeness of these kits and super talented designers at the Digital Scrapbooking Studio.

I'm featuring LouCee Creations, ADB Designs, PattyB Scraps and A-Manda Creation, too!  Whoo pah!  I can't wait to get started!

LouCee Creations has a super bright, fun kit Cake and Candles.  It's gender friendly and full of lovely elements and great papers to scrap any kind of party or jovial photos.  This is my oldest boy's second birthday party.   I didn't remember taking so many pictures.  I already did a traditional scrap of the event, years ago and it was so much fun seeing all of these faces, again.

 the studio

This was at our old house with awesome neighbours.  My nieces were so little, then.  Great memories while scrapping is just another awesome part of the craft.

For this second layout, I brought out some of the less theme like elements to show off the kit's versatility. 

I just love that squishy picture of JJ.  Hehehe...My father's square head!  Hehehe...

 the Studio


 the studio

As promised, we've got a couple freebies to share.  You can find this lovely page stacker over at The Cherry's Facebook Page.

 TCOT on FB

As soon as I saw PattyB Scraps new kit, So Precious, I had to have it.  I love purple and I also love vintage.  Such soothing colours and again, perfect for any kind of pictures you might want to scrap.

 the Studio

I couldn't resist scrapping this really rare and special picture of my parents.  My hubby took the shot the last time they visited us in Belgium, which was at least 3 years ago.  I lifted this layout from a sketch on our Free Sketches board on Pinterest.  If you need a dose of mojo, check it out.

 the Studio

I've fashioned these lovely elements into a cluster.  You can download it by clicking on the image.

 free download

Are these colours not totally fabulous?!  ADB Designs and Amanda Creation teamed up to make this beautiful kit, Summer Love.  Ya won't find too much theme pieces which makes it great to scrap anything.  I love that!  The kit is still offered at an introductory price.  It's under $5!  Click on the preview, below and check out the entire collection.  It's jaw dropping!

 the studio

I'll admit, I've scrapped this photo more than once.  The colours, the lighting and those two gorgeous faces makes me smile from ear to ear.  Pure perfection for me and of course, the beach background makes THE best backdrop for a picture.

 the studio

Here's a stacked cluster frame for something a little different.  These papers are so very beautiful.  That's why they are the feature on my layout.  Besides those two guys, of course.  You can download this freebie by following the links to our Pinterest Board.  Consider follow us while you are there.  We Pin inspiration of all kinds of crafty sorts and many, many freebies.

 Pin

Hop around to all of our social places and stock up on some freebies.  Follow, become a fan or leave us some love as a way to say thanks.  Hitting the + Button and sharing is always fantastic, too.  Remember all of our lovelies are for PERSONAL USE ONLY.  Do not sell them or claim them as your own.  Thanks!

Happy scrapping!