Welcome to The Cherry On Top.
Summer was really sizzling, here in Belgium and now it's fizzling. Hehehe...It's chilly, windy and rainy. Boo!
I still have faith that the sun will come back out and warm things up.
I've hit up my Commercial Use stash to create this fun, warm set of printables to help warm me up. There are so many things you can do with it. Crop out the goodies and make something, digitally or print them out and make something like a mini album, tags or use the art cards for your project life projects.
Keep scrolling to find some more ideas and grab the free printables.
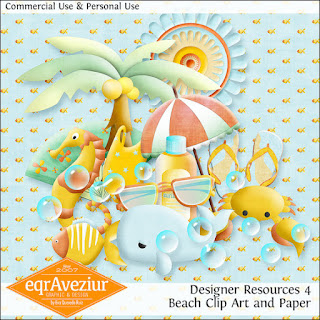
I mixed my designers this time. I used Eqr Aveziur's as well as LouCee Creations fun, summery Commercial Use goodies and templates. Check them out up close and consider adding them to your stash.
Cute stuff, eh!?
Now, let's move on to our hybrid project we made with these goodies.
Step #1: Download and print
You can adjust the size of your printable before you print, to the desired size you wish. I often print from my Finder preview where you can make a lot of adjustments. This printout came up at 66% to fit properly on A4 paper and it was perfect. I also chose a paper with some sheen and wow!
Step #2: cut
Remember to use card stock if you want rigid pieces or apply it to card stock.
Print out several times if you like. I printed twice.
Step #3: Choose how you'll arrange your mini album.
Here's the good card stock. It will add rigidity and layers always makes the project.
I chose to round the corners.
Step #4: Layer it up.
Add a touch of dimension by using large glue dots or foam, double sided tape.
Step 5: adhere
Carefully choose a background to match your image and adhere it to the card stock.
I left the last page, back side blank with the exception of this one embellishment.
Step #6: laminate
Consider laminating your project for durability and water proofing.
Step #7: assemble
For this mini album, I punched holes in the top, left corner and will assemble with a metal ring.
Check to see if the holes will alter or mar your page. Maybe the right corner or top would be better? Always keep binding in mind when designing your projects.
Step #8: embellish
My circle punch was just too small and I had to hand cut the big brads.
I punched holes in the top of the laminated brads then added these tiny rings.
Voila! This project is an absolute breeze and went very smoothly and quickly.
Tip: If you are going to laminate your project, dimension isn't necessary unless you add your dimension AFTER you've laminated. Tip: I ran two of my pages through the laminator twice because they were not perfectly adhered all around. They came out even better.
Perhaps you would like to add some fun ribbons around the ring or charms?
I'm going to put my mini album in this box once it has been up cycled to perfection. Stay tuned for the tutorial and a magical transformation.
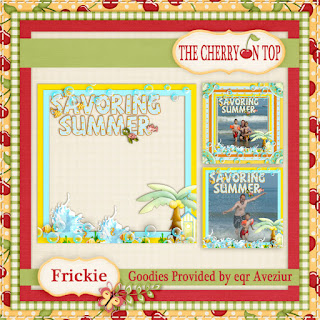
Here's another fun project I made using Eva's Commercial Use goodies. Click on the image to get to that blog and get the links to the free download.
I've got some more plans ahead for printables like these. So stay tuned and remember that all of free goodies are for Personal Use Only and are not to be resold or claimed as your own. Be a doll and give us a +, Pin and share the free fun.
Don't forget all of our social outlets have free stuff that is updated daily.
Here is your free printable!
Thanks for hanging with The Cherry!


No comments:
Post a Comment