Showing posts sorted by relevance for query how to make a digital card. Sort by date Show all posts

Sunday, December 8, 2019

How to Design a 4x4 Digital Card With Free Template and Free Printable Card

Welcome to another special edition of The Cherry On Top.

I've got a super crafty hybrid project for you.  It's one that you'll probably use over and over.  I do have several on this subject, but this time I'm specifically explaining how to make the single sheet 4x4 inch card with outside and inside.  I love that!  Only one piece of paper.  Just print, snip, fold and you're set.  I've also got a few free templates that will help make gift giving hands on, cheap and fun.  There is a free printable card and I've posted more freebies on yesterday's and Friday's blog along with a very valuable coupon code to save big time in both of our shops.

I saw a few pages around DigiLand with Clever Monkey Graphics kit, Rustic Plaid Christmas and I had to have it.  I love plaid and the cozy feel of this kit.  Every year or so, I design my mom a frame cluster for on her refrigerator.  That way she can always see us.  It's very, very easy to do.  I do have a full process tutorial on a previous blog.  Check it out, here.

Tracey is giving Cherry fans their very own coupon code to save BIG time on this bundle.  Eek!  Use code: TCOTrusticplaid and get 50% off the bundle. This deal expires on December 18th at the end of the day so take advantage, now!

I love getting multiple birds with one stone so I designed my mom's frame cluster and stuck in on a few papers and added a nifty snowy overlay from Aimee Harrison.  I used my eraser tool to ditch the snow that was covering up key parts of the photo.  So easy!


Then I designed two different holiday cards with the kit and cluster.  This is a basic card I designed.  You could use it as desk top, too.  The text will also be used for my other card.  Keep scrolling to see how.  Tracey from Clever Monkey Graphics has given us permission to download this card.  Sweet, eh?


 Rustic Plaid Christmas


I've made a video with a tutorial if you'd rather that.  It explains how to design this 4x4 card, step by step and it only takes 7 minutes so you know it's really fast.

This is what my card looks like when printed out...

I used Tracey's alphabet that comes with the collection.  Put your grid on to get the letters just perfect.  Find it on the tool bar across the top of your screen under "Tools".


So you've got your perfectly square page all ready and another page with whatever journaling or whatever you want for the inside of the card.

The next thing you need to do is place the two on a new document.  I use 8x11 so most people around the world can use it in their printers.

I designed myself a template specifically to make these kinds of cards since I make them so often and I'm sharing it with you today, too.  Keep scrolling to get this free template and another one.


Slide both of your pages onto the template as shown above.  Get them just right in the box by adjusting the size and positioning them just right.  It's very important to get your text right.  If it's already on a page, like mine, it's really easy to make it fit in the box.  You also have to change the text both vertically AND horizontally as shown.  You can't put it normally or it won't show up right in the card.

Another VERY important thing to remember is to either delete the squares I've provided or click on the eye to make them invisible.  Otherwise, they will print out.  I forgot this step...hehehe...


I can never successfully print from PSE so I use my Preview on my Mac.  Let me walk you through it, just in case you need.  I first turn my page into a jpg.


Then I go to my Finder, Open With and Select Preview, as shown above.


Then scroll down to Print on the open window.


You could and probably should double check your Printer Features or options to make sure you're going get the best printable possible.


Fine is often a category you can choose or Best for a better quality print.  In my experience, you totally have to play with your printer and try all kinds of stuff to see what really is the best setting and or combination.  I've got another blog about how to get the best printed results.


I thought I'd show you a little something that might help if you end up with a less than wonderful result of your printed card.

Above, you can see that the card is much darker and it came out of my printer really dark!  Not like the screen shot or how it looked on my computer, but ridiculously dark and grainy.  I certainly could never recommend my Brother DCP 9020CDW to anyone.  

To help with this, I went back to my card in PSE and adjusted the brightness.  It came out a little better.  Hopefully, you will not experience this problem.


You can just barely see the difference in quality, but paper does have a huge impact on your print quality.  Consider how rigid you want your paper as well.  Regular printer paper looks and feels pretty cheap.  Consider who the receiver is.  Also, if you handle your card too much, the ink might rub off so keep that in mind as well.


I totally recommend cutting the excess off of your paper like this:

-  Fold lightly to perfection.

-  Lay out flat and use a paper cutter to cut off the excess.  The folds will help guide you.

-  Refold your card with considerable pressure to give it a good form.


If you fold your card and cut it whilst folded, it will not come out right.  Trust me!


See how grainy?  My camera isn't perfect, but my printer is far from perfect.  I left a touch of white all around my card.  You can choose if you want to do the same or cut and fold it really close and ditch the white.

If you are needing a tutorial and or template for envelops, check this out here (there are also free holiday cards here) Here is another free template and tutorial or go to somewhere like Pinterest or even Google for a free template.


If you'd like this template to make your own tags, click here.  You can totally use them in PS or PSE with the png format.  See how I did it?  I just slid it in over the tag I wanted to use and clipped it in.  Then moved and adjusted as usual. 

Be smart about your printing and designing if and when time is of the essence.  I made one cluster and quickly turned it into a page, two cards and even tags.


Thanks so much for stopping by.  The blog is full of freebies, tutorials, etc.  If you scroll way back, we did a lot more traditional and hybrid projects if that'y our thing.  Our boards on Pinterest might help you even further.  Hit up our social spots in the side bar.

Happy scrapping!


Saturday, September 23, 2017

Free PuurFectly Printable Card from The Cherry On Top

Welcome to The Cherry On Top.

Today, I've got a really fun free printable for you, some new, unique templates and a look at Tuesday's blog.

Do you enjoy making cards?  Traditionally?  Digitally?  Hybrid style?  All of it?! That's me, too.  It totally depends on the project at hand.

I get asked the question all of the time, "When you do use multiple methods of scrapbooking or craft making, when do you use which form?"  Let's talk about that briefly.

Ask yourself these things: 

How much time do I have?

How much $$$ do I have for the project?

Who is the project for?

If you've got a lot of time, traditional scrap is certainly an option.  Digital scrapbooking is a real time saver if this isn't the case.

If money is an issue, you can always consult your existing digital or traditional stash.  With a digital stash, you can use it over and over.  It never runs out and there are a lot of free resources out there. Like here!  Hehehe...Printing also costs a few cents and something to be kept in mind as well.  If you make a digital card AND send it digitally, it won't cost you a penny, IF you use something from your stash.  I find traditional scrapping to be a lot more costly, but some projects call for it.

Who the project is for is a big question.  Will they appreciate all of the time, love and expense of a hand made good?  Another reason I LOVE doing digital/hybrid gifts. Even if I'm not sure, I go digital.

For me, I go traditional for very precious moments, for my mom and aunty who totally love my hand made things and for close friends.  All of the rest get done digitally.

On a side note, I do not use APPS for scrapbooking.  I barely print ALL of my pages now.  I can imagine I would do it even less in an APP.  I also have an old phone and it doesn't appeal to me.  If you are constantly on the go though, it may be a good option.

I hope these tips will help you decide.


Yesterday, we showed off this FREE card making template.  You could use it for a lot of other projects.  Check out yesterday's blog for more information, tips and ideas and get that download.

 free card making template
 free card making template from The Cherry On Top

This is a close up of the template.  The left side image is not a part of the template, but I wanted to include an idea of what you can do.  You might also note that I added another layer that isn't pictured.


I always choose a printing format that will suit all standard paper sizes and make an effort to use lighter colours or no colored backgrounds to make printing more money/ink saving.  

Here is your card.  It appears that when you save a project in PSE in a lower resolution or if you pay no attention to the resolution while saving and it automatically saves at a lower resolution, the size somehow changes.  I have no idea.  Enlighten me if you know.  

I did notice this AFTER I had the entire project finished.  I designed 4 more templates for in our shop and saved at 300 resolution and they came out perfect.  Go figure!  Hehehe...Saying that, you may have to enlarge this card.  I did and it came out really great.  You can do this in your printer and or preview program, more than likely.

right click and save to your downloads

Oh!  How cute would it be to shape a few pics to fit in the square of you and your friend?!  I LOVE that idea.

If you are wondering what collection I used for this card, it's our very own PuurFect collection and all FOUR packs are just over a buck each!

 Kreative Design Studio
The PuurFect Collection, Papers, Ellies, Journal Cards, Stackers and Templates

Here are the new, card making templates in the shop.  There are FOUR different templates in a 5x5 format.  I chose 5x5 inches so that you can place the template AND the inside page of your card on a standard sheet of paper. This way you don't have to make the card even smaller or use two pieces of paper from your printer.  I also include a 5x5 template in the set for the inside of the card.

Sentimental Sentiments card making templates

I bet your mind is working out how you can use these templates to make gorgeous cards or other crafty endeavours you may have.  Inchies, journal cards, mini albums, project life...all possibilities with these templates.

 card

Excuse the dated design of the above image.  Hehehe...I wanted to show you how you can place your pages on one page to get a smaller card all complete on one page by just folding. You would print it like shown above, fold it in half and then half again.  You could do this as well with our templates.  (This is no longer available, but those steam punk goodies are a dream and I've got some pretty fabulous inspiration there, too.)


On Tuesday, I'll have this printable template ready so you can make our card traditionally.

Next week, I'll be skipping the Saturday and Sunday blog, BUT I'm going to have a mega awesome SUNDAY blog that you will NOT want to miss.  Make sure you follow us here, on Facebook and receive our newsletter so you stay in the loop.

Thanks for checking out The Cherry!

Tuesday, February 2, 2016

How To Start Digital Scrap Booking For FREE

Welcome to The Cherry On Top.

We are often asked, "How do I start digital scrapbooking?"  What an excellent question!  We can totally get'cha running and all for free, too.  That's right!  You don't have to spend a single cent to get started digital scrapbooking.

Read further about the various kinds of software, supplies, tutorials, links and of course in Cherry fashion, we'll give you a ton of free stuff to get you started and you'll be hooked on digital scrapbooking, too.

First, let's look at the differences as well as the commonalities between traditional/paper scrapping and digital scrapbooking.

The aesthetic is completely the same and you can apply most of your techniques to your digital layouts and projects.  Don't forget, that you can create just about anything digitally.  Just like you can with paper and even both when you go hybrid.  Hybrid is when you design your project digitally, then print it out and shape, glue and fashion up your finished project.


This a traditional scrapbooking, tag mini album.

I totally layer up in the exact same manner with my digital projects as I do my traditional ones.  Learning to shadow in digital is a skill you'll have to learn, but no worries.  There are actions that do it for you and you can also use templates and transfer/copy the designer's shadow to your design.


This is an example of a digital layout.

As in traditional, when it feels like something is missing, I layer up and keep adding.  Just like I do in my digital layouts.  We often joke about using elements to cover mistakes.  I do it in pictures, digitally.  Putting a flower over some unknown who is in my nearly perfect picture.  Hehehe...

Of course, an enormous positive point to digital scrapbooking is your cost is minimal, depending on your software.  You also never run out of supplies.  If you fall in love with a paper/background, you can copy it as much as you like.  Same with that fabulous flower you've been saving and afraid to use because it's so pretty.  Hehehe...There is no mess.  No glue and your glitter doesn't go anywhere you don't put it.  You don't need any space and you can scrap on the run without dragging all of your supplies with you.


Another digital layout using a template.

Let's talk about time.  Digital scrapbooking/crafting can be a huge time saver.  There are so many goodies out there that are half finished or designed to make scrapbooking fast and easy.  Some have the shadows all ready.  Designers have what's called a quick page,  All you have to do is plug in the pictures.  You can find albums that are completely finished.  Add your photos and send to your favourite printer and that's it. 


You can take all of the time you have or make something, literally, in minutes even seconds.  Designers often sell gorgeous built up borders, clusters, word art and even stacked papers.  Add a couple of bits, your pictures and your finished.


Free stacked Princess Papers can be found here.  We plan on releasing all of the goodies, for free, eventually.

We design templates at The Cherry and they are really great for getting started.  You'll get a super idea about what kinds of shadows to use on your layouts as well as learn balance and aesthetic in layouts.  They are great for when you don't even know where to start or when your mojo is on low.


Here's a blog on with more on templates.

The basics:

OK, the obvious.  You need a computer, lap top or tablet. Of course, the better your internet, the quicker your goodies will download.  You'll need a considerable amount of storage on your computer because files can get pretty large.  Windows or Mac typically doesn't even come into play as a potential problem when it comes to digital scrapping.  I'm a Mac user and have never had a problem.  

A printer is ideal if you want to print out your layouts or projects.  I print almost everyday.  So make sure to consider this if you plan on printing out what you design. I'll blog about printers more in detail another time, but I'll quickly say that a lazer/LED printer is the way to go for when you want to print a lot.  I used to never print because of the crazy cost of ink.  My hubby bought me a printer that's ideal for printing in large quantities.  With my Brother printer, I can print over 2,000 pages before I have to refill!


This is an example of a hybrid.  Designed digitally, printed and assembled.

We'll take a look at software in a nutshell.

PSE or Photoshop Elements is a super software program to get started.  It's what I'm currently using.  It is a bit pricey at about $100.  Photoshop has been around for 20 years. So if longevity is a concern of yours, it's a pretty safe choice.  Photoshop is also an option if your very comfortable with computers and are not intimidated.  I always tease my scrappy sisters by saying, I'm still wearing my little girl under panties, by using PSE.  Hehehe...PSE is a bit more user friendly than PS when it comes to beginnings.

Corel PaintShop Pro is another very popular program.  It's really a matter of preference as far as I can see.  Some designers and other crafty chicks love PSE and PS while others are all about the PaintShop.  Though, both are at the higher end of the pricing scale.  These three are THE most popular for scrapbooking and designing.

My Memories Suite is another option and one I often tell folks to get started with.  It's mega easy to use.  So, if you're not uber wise with all of the technical computer stuff, then this would be a great option. They've been around for quite a few years. They have their own store, gallery and forum, too. No other software provider can say that, as far as I know.  They also have totally awesome customer service.  The kicker is, there is a free trial available.  You can play for an entire 30 days before you decide to buy.  Now, get ready for the cherry on top!  It's one of the cheapest software programs out there, too.  You can also find numerous tutorials and videos on their site as well as around the net. We can provide you with a coupon to save even more money.  Use this code STMMMS18837 and save $10 on the already low price of just $39.99.  They give a lot of freebies, too!  Here's the link for the free trial.

Before I know about digital scrapbooking, I was using Power Pointe because it was already on my computer and I was using it for designing slideshows and activity sheets for my high school students.  That's how I even thought about scrapbooking on the computer. I went out cruising the web, not even five years back and found the wonderful world of digital scrapbooking/design.

I went right for that free software from MyMemories, then bought the real deal and nearly two years later, bumped up to PSE.  I'm still there and have so much to learn before I take the even bigger jump into Photoshop.

You can use your digital program for so much more than scrapbooking.  You can edit your photos, design invitations, book marks, cards, boxes, stickers, planners, tags...the options are endless!


 tot free book marker
 This is a bookmark designed digitally and printed and laminated.  It's also free.  Find it here.

 tcot
 This is a greeting card, designed digitally.  Print and fold and you're finished.  It's free, too.  Find it here.


 tcot
This is my favourite, up-cycled Christmas card box gift.  All done digitally!  5 4x4 layouts and tags.  Find the tutorial here.


These are lovelies designed by my gal Paty Greif Digital Designer.  The things you can do, eh?

I still like to get glue and glitter on my fingers and I make the time to do both because they are still quite a bit different, but that creative, artsy aspect is in both.

Here's an example of a digital layout, printed at 8x8 and inserted in a standard scrapbooking album.  You can see the entire album along with tutorial by clicking on the image, below.


 hybrid mini and bow tutorial

I printed out my son's very own book.  He loves is so much.  I made this entire book from start to finish in an afternoon.  Find out more on how to make books like this, right here.


 tcot book tutorial

I'll leave you with one of our most recent hybrid projects and a favourite as well as popular.  It's these tea envelopes designed with Alexis Design Studio's Spot Of Tea digital kit.  Get the free envelopes here and click on the image to see more gorgeous goodies from Alexis Design Studio.


 sbg

There are a couple of blogs like this one explaining how to get started with digital scrapbooking as well as videos.  Here are some links that might help you further.

http://aliedwards.com/2010/01/getting-started-digital-scrapbooking
http://www.designerdigitals.com/digital-scrapbooking/GettingStarted.html
https://www.youtube.com/watch?v=sM91VckZjQg&gl=BE
http://www.makeandtakes.com/5-digital-scrapbooking-tips

Oh, how about a couple of free, digital goodies to get you going?  Check out our Free Digi Scrap Stuff board on Pinterest and download until your heart's content.  Be sure to check out our blog.  We have freebies on nearly every scrappy edition.  Our Facebook Page provides our fans with freebies every single day, too!  All of our goodies are for Personal Use ONLY. Meaning they are just for you and are not to be sold our claimed as your own.

Feel free to ask any questions you may have.  I've got scrappy sisters all over the world that can help. Thank you so much for stopping by The Cherry.

Friday, April 7, 2023

Birthday Card Design and Some Free Printable Cards for Kids and More

Awesome designs and fonts from Plus.


Welcome, artists and crafters to The Cherry On Top.


Did you know birthday cards are the most popular cards on the market?  They outsell all other cards and yet it’s still so hard to find just the right one.  Today, we’re going to fill your head with all kinds of birthday card ideas and we've got a free kid's card for ya, too.


Creating Birthday Cards for Kids


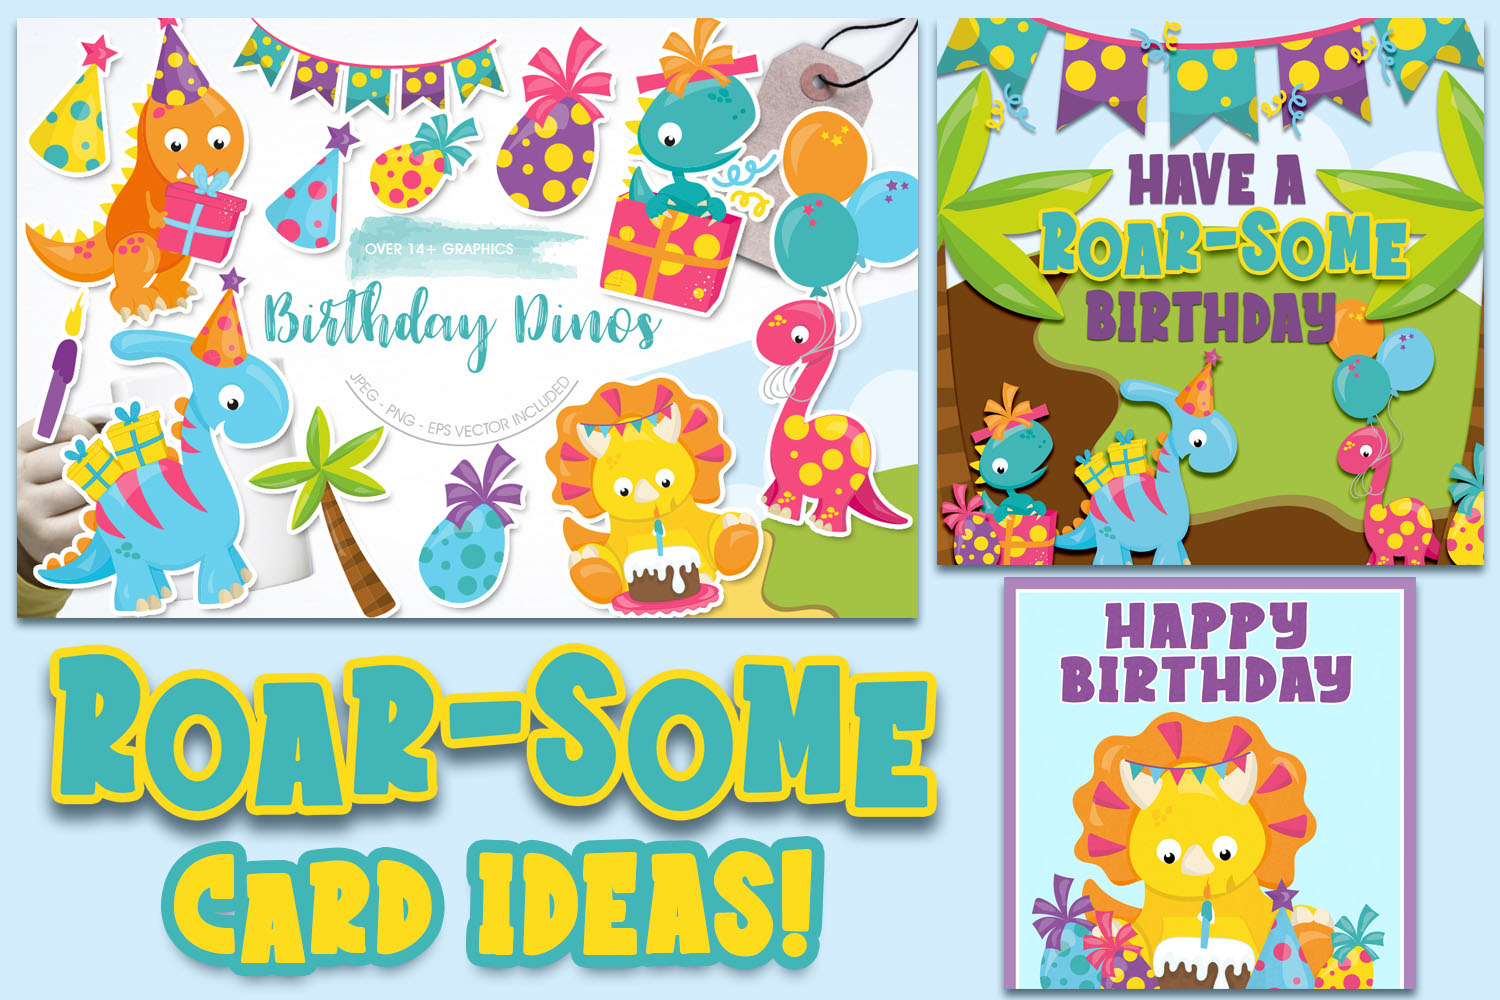
In the first image, you can see how I used a pack of digital elements and a cute background that was also included, to make a few different cards for kids.  The designer used a great array of gender friendly colors.  So they can be used for boys or girls.  Of course, with a little software savvy, you can alter colors, add textures and customize them to perfection.


I used an easy to read font that included its own, unique path!  I’ve never worked with a font that did that before and I love a big, chunky font, too.  It’s in Plus and waiting for you to play with it.


For one dino card, I used shadows and for the other, I did not.  When you design your own cards, you have so many options.  It might even save you time and money because you won’t have to run out to a store.


Designing a card is a whole lot like scrapbooking!


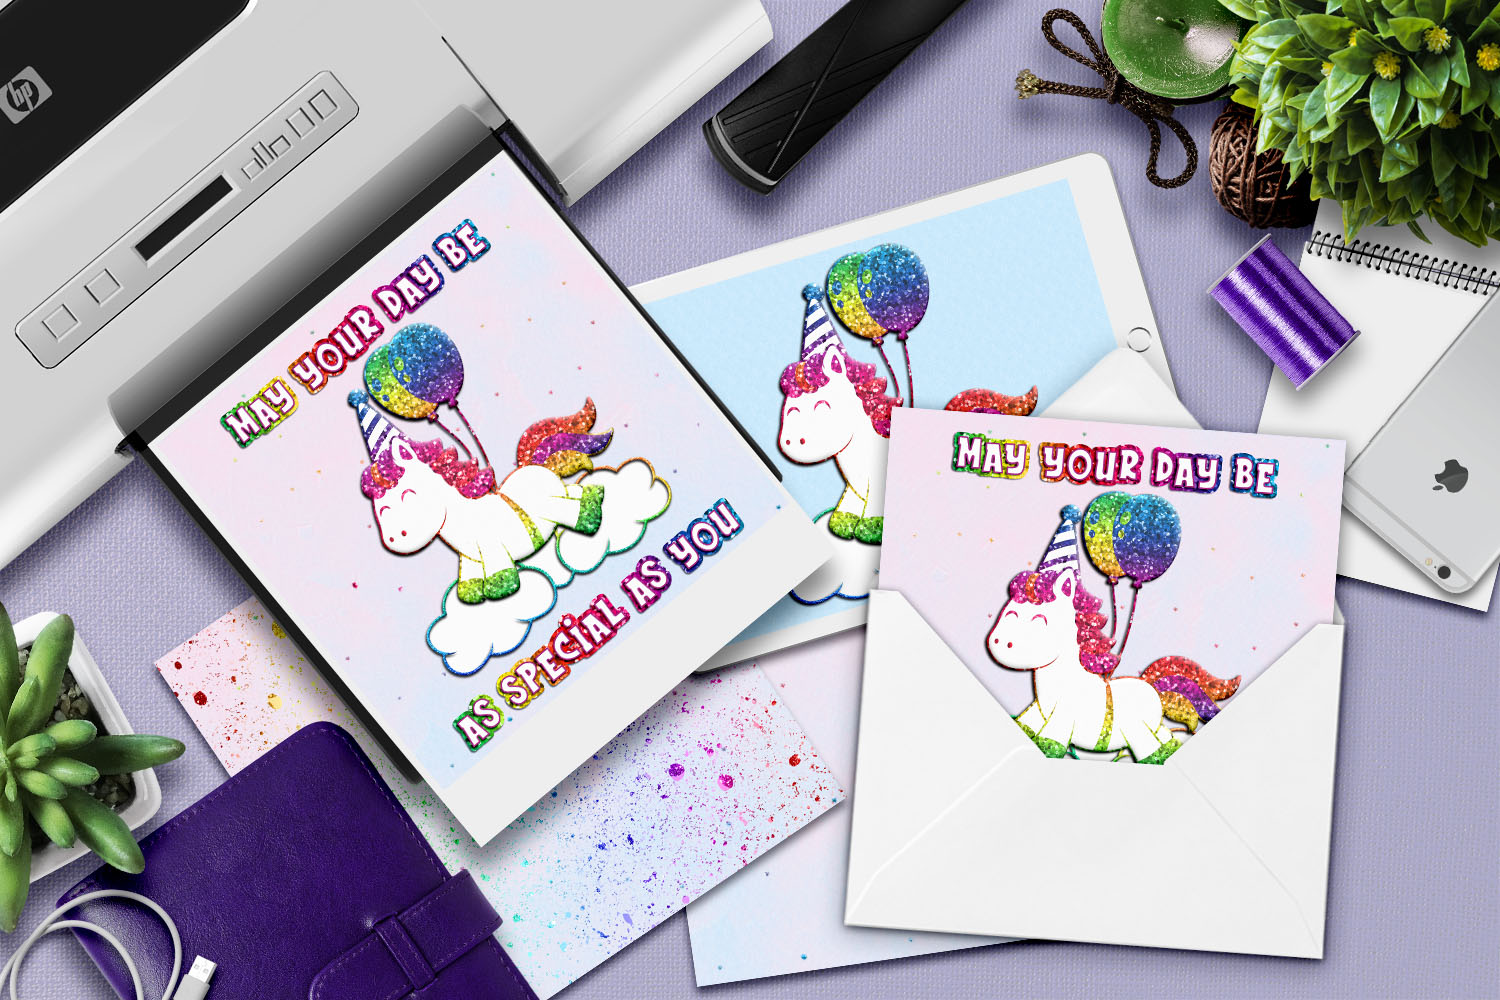
Unicorn design from Plus, The Machine Font, glitter splatter and a great mockup.


Man, did I have a blast designing this glitter glammy unicorn card!  Again, I used a design from Plus which was just an outline.  I added several layers to the back or underneath it and filled them in with a brush.  Then, added rainbow glitter paper, a bevel and intense shadows. 


Engaging cards are ideal for children.  It’s also a great reason to keep it simple.  This strategy will also save you time.  When you design your own birthday card, you can size it just how you like as well.  Don’t forget the envelope!


Take a look at the next two birthday ideas for Baby’s 1st Birthday.


Absolutely beautiful illustrations.

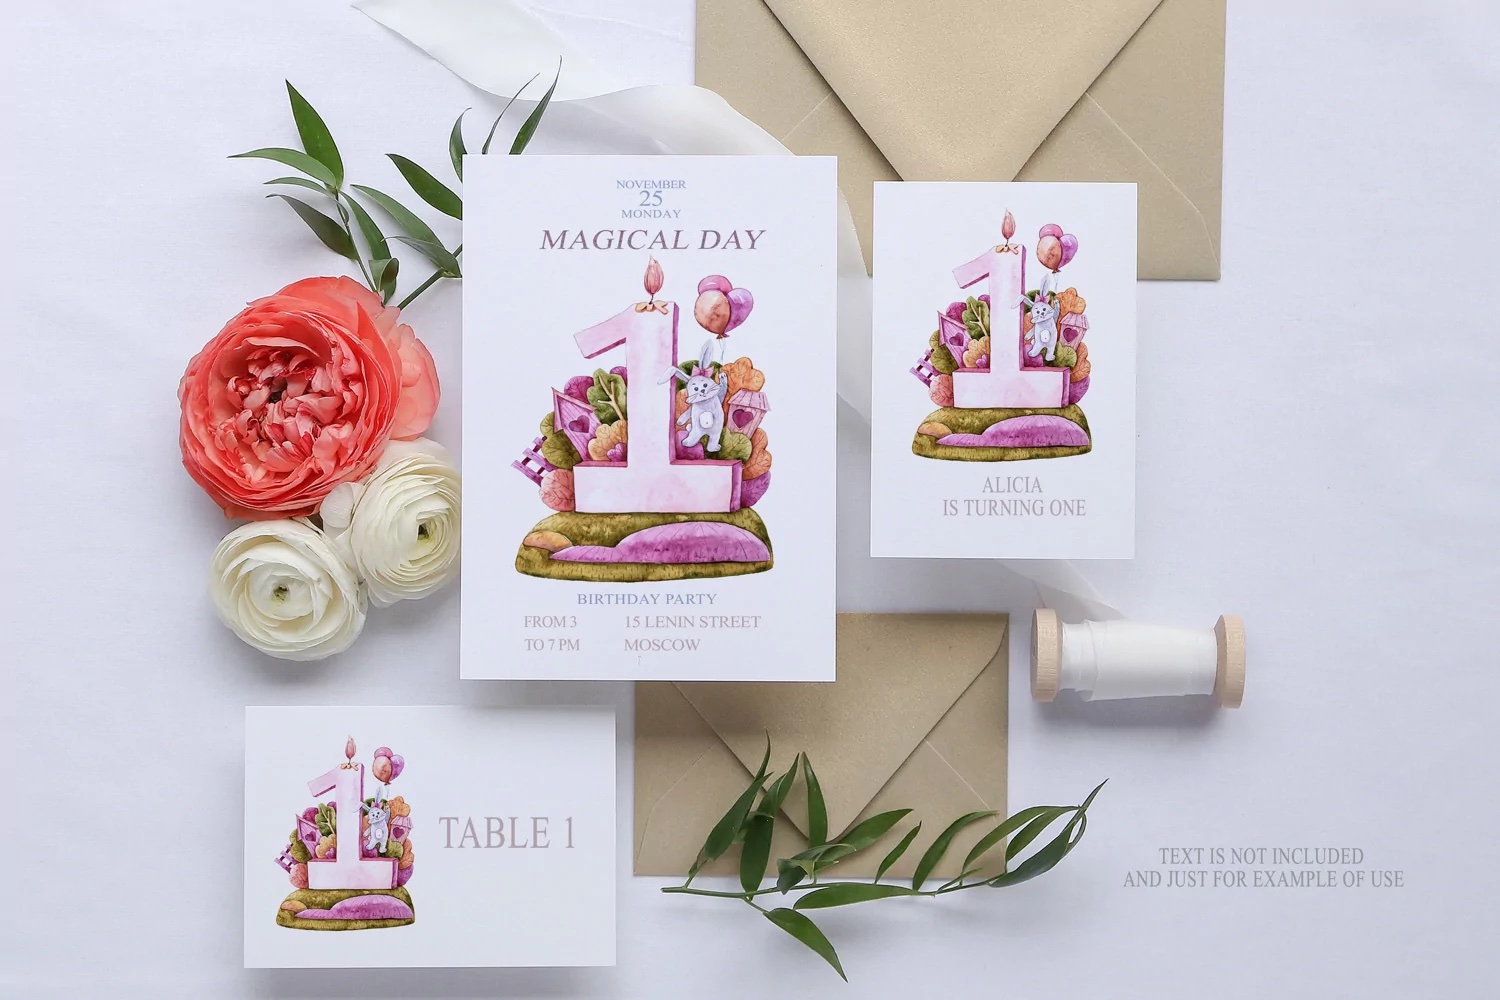
Here's a design I created with a first birthday in mind. It's available in Plus.

first birthday


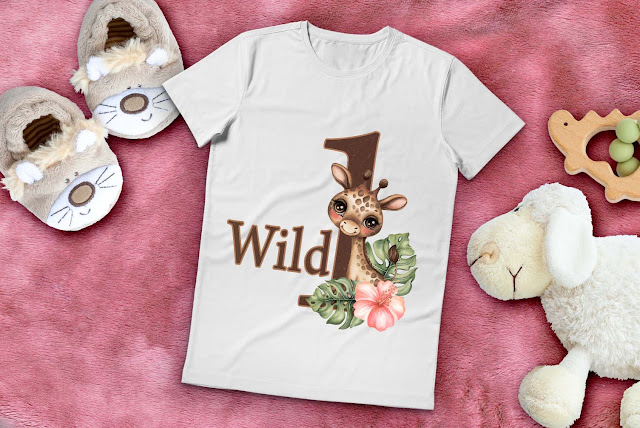
We’ve got some insanely talented designers in Design Bundles and Plus.  You could use both designs for an invitation or a card to give.


Cards that are ready to go!


If you know the child well, you can search for designs or cards that will really please them.  Some kids just love cars, trucks, dinos, princesses, unicorns...and Design Bundles has them all!  Consider the kind of toys the child likes and see if you can find a design with it.


Age and Gender Neutral Birthday Card Designs

I’ve got a huge stash of birthday cards for all ages and genders.  Ya never know when that pop up invitation comes or you just remember at the last minute.  That sure happens a lot with me.

It’s ideal to have some birthday scrapbook papers, birthday stickers and celebratory elements in your stash whether digital or printed. If you find yourself short on envelopes, you can use templates and make your own or you can design the card using very rigid paper, without a fold and simply put the writing on the back.


Sending it digitally will require no envelope!


Let’s take a look at some age and gender neutral digital scrapbooking papers and patterns.


Super birthday papers for cards and more!


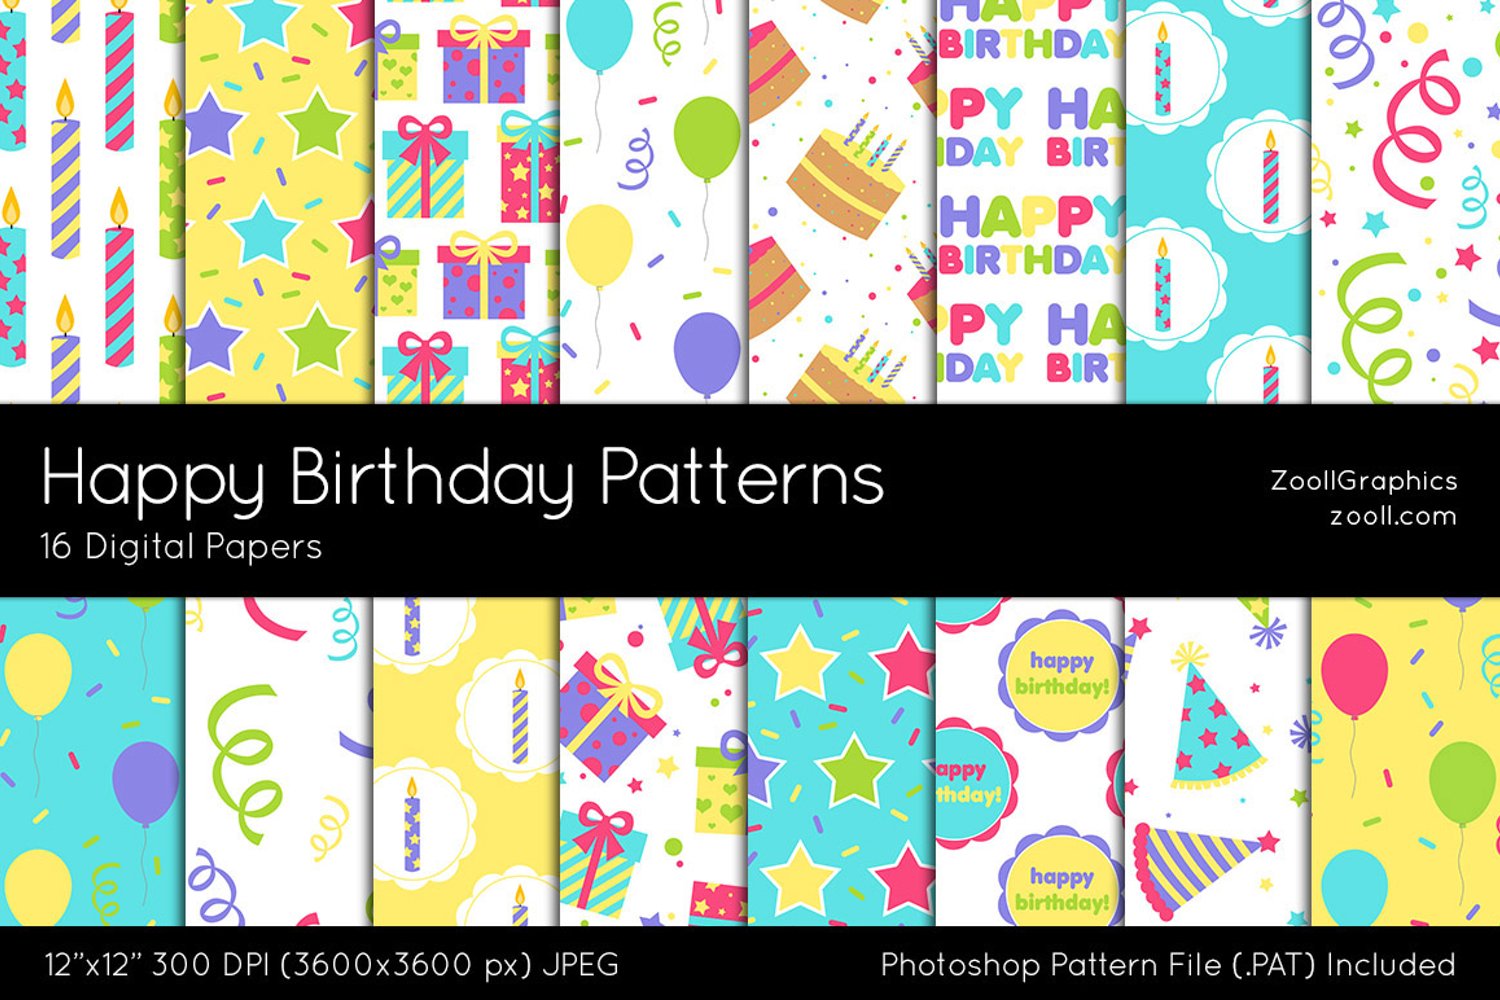
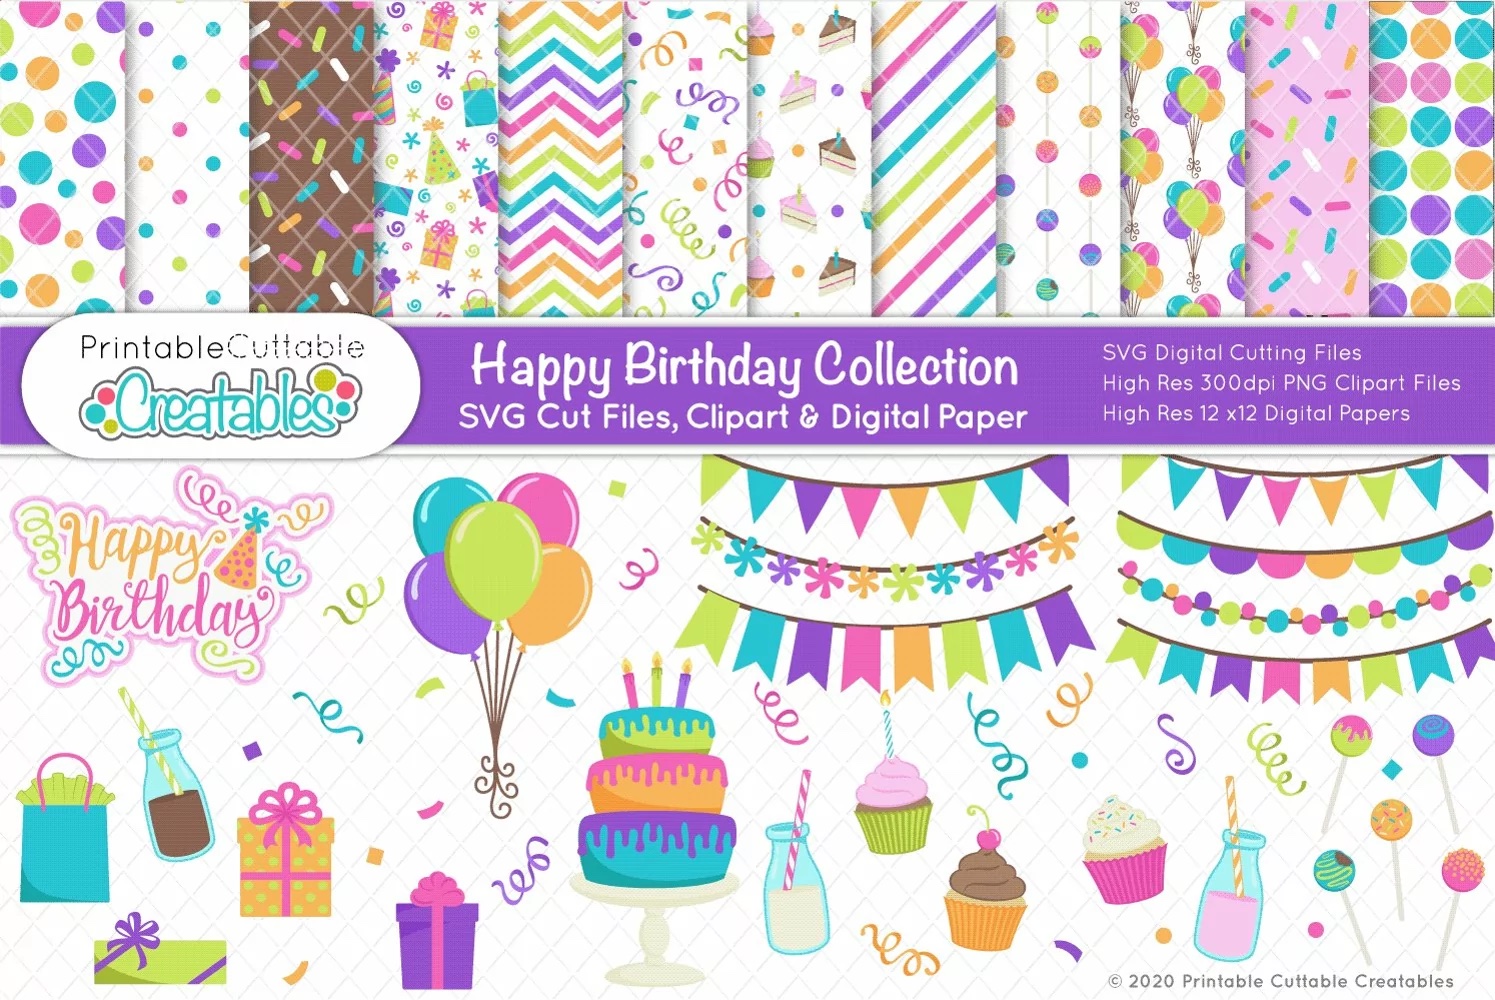
The best digital paper for birthdays will look something like this. These patterns are bright and would be great for absolutely anyone.


Versatile, bright and jovial designs for birthdays and celebrations.


A pack like this would be perfect to design birthday cards, invitations, stickers...If you can get a pack with papers and elements, you can really design a wonderful card.


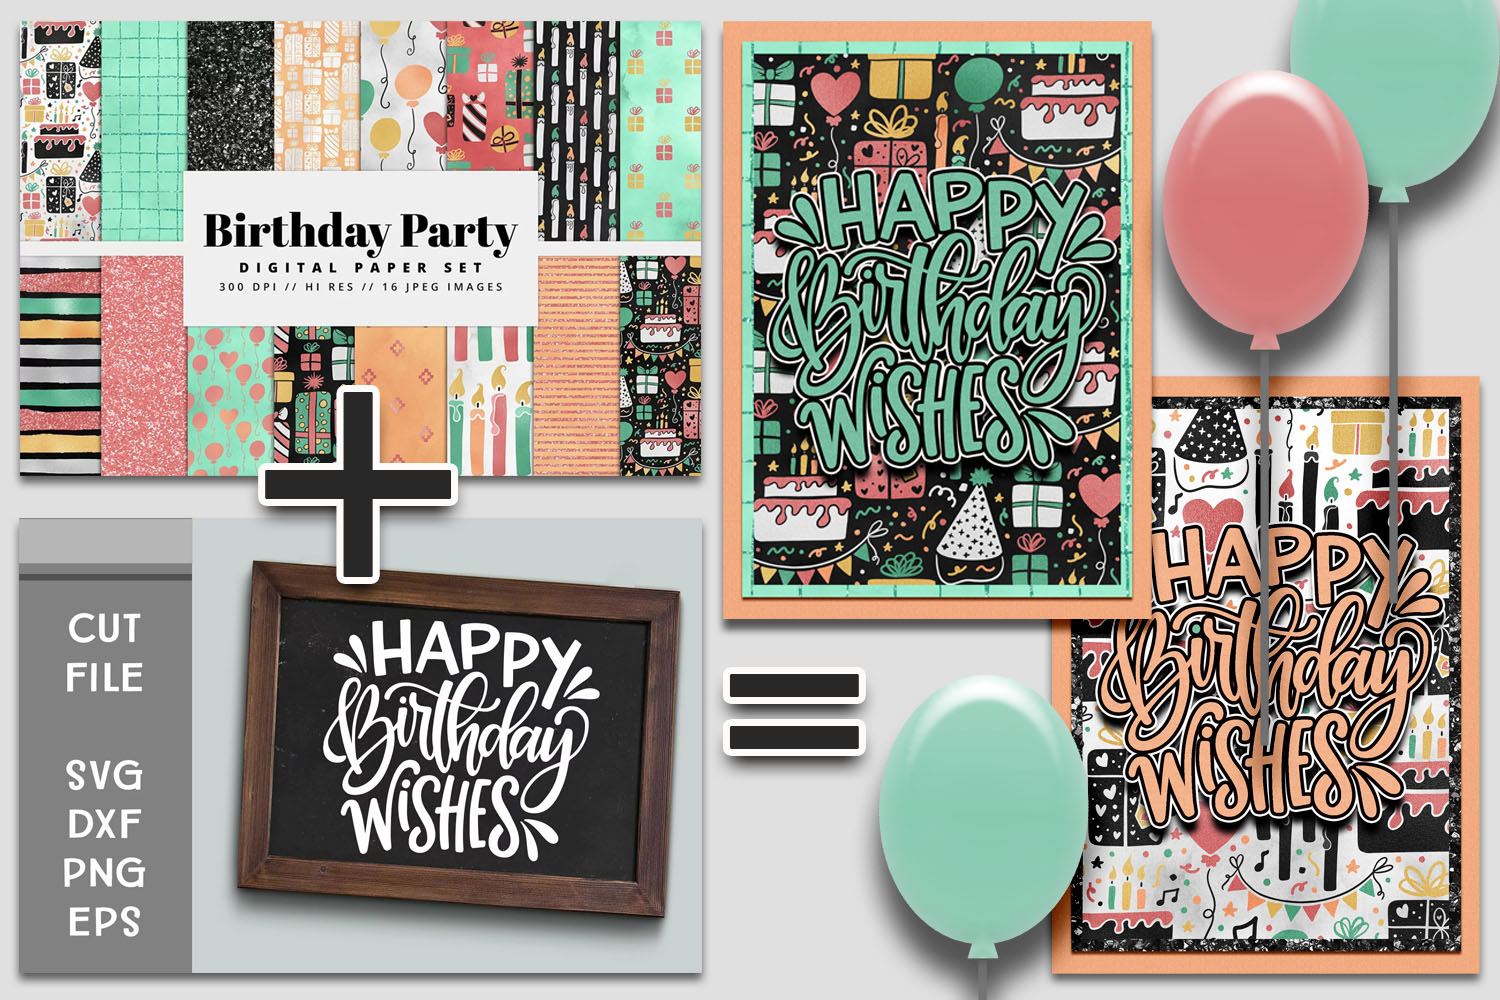
Fresh and modern, digital papers and cut files for birthdays and more.


birthday printables
Some of my designs in Plus.


Another option that’s super easy and fast is pairing up a paper pack with a cut file for birthdays.


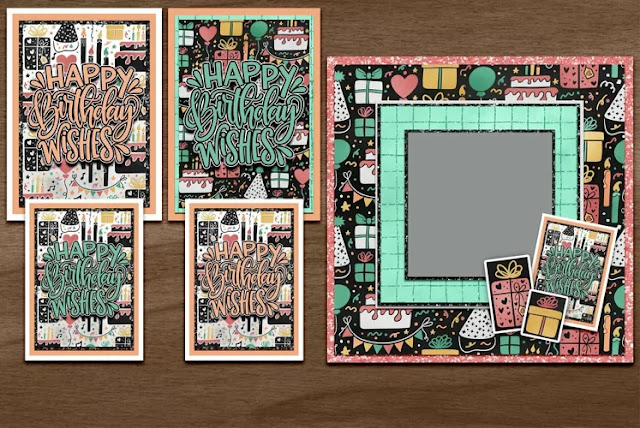
See how I cropped the birthday papers, layered them up and added a Happy Birthday Wishes cut file to the top.  I added two outlines and an intense shadow for contrast.  I just used the paint bucket to fill or color the cut file and added some texture with digital styles.

Seriously, a card like this takes mere minutes to design and print.

Designs from Karen Schultz


It certainly is challenging to find mature, beautiful birthday designs for a card.  Just use any design you like and include a birthday wish or sentiment on it and BOOM! I loved the texture on the ribbon and the paper.  I thought it’d be nice to include a photo on my mom’s card. This card below is an old freebie. Click here or the image to download.


Designs from Karen Schultz


You can design generic cards with sentiments like these.  If you do go digital, save the layered file and make changes as you need per recipient.


Designs from The Cherry On Top.

If you can’t find anything that tickles your fancy under a birthday search, try searching under party or even New Year or wedding and you’ll get some great elements and papers that are perfect for a mature birthday card.

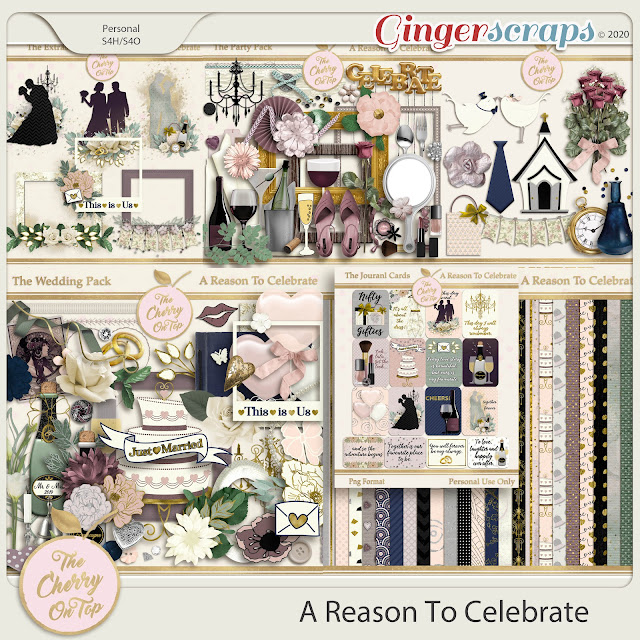
A birthday is definitely a reason to celebrate, right? Oh! Hey! I've got an entire collection that I designed for my niece's wedding called, A Reason to Celebrate, which will also be in an upcoming blog.


If you're a Plus fan, type in Wedding Scrapbooking in the search and a bunch of my packs will come up. You could pop over to GingerScraps where you can still purchase my Personal Use goodies. You can get all of the goodies in one huge bundle or buy them by the pack.


wedding layouts


Cool papers and designs from Plus.

Just look at all of the wonderful birthday cards I could design using items from Plus.  Perusing all of the fantastically creative designs will feed your creativity, too!

Here's your free child's birthday card.

free printable card

I sure do hope we helped you decide on making your own cards.  It’s such a fun hobby.  You get to hold something in your hands if you do print it out.  It’s also something to give to someone which feels really great for you and the recipient.


Thanks so much for checking us out.  Please, do join us in our craft-tastic community and sharpen your crafting skills with videos from Design Bundles and The Cherry.


Happy card making!