
Welcome to The Cherry On Top.
We've got another blog chock full O' fabulous scrap-a-liciousness. There are new templates in the GingerScraps shop. These have to be one our most versatile sets of templates to date. Of course, the team made them shine. Enjoy their page layouts and get inspired. I've got links to some really great freebies and a few more pictures with the hybrid Perfect Page Project along with another hybrid project that might interest you. Especially, in this time of gift giving and or preparation of said gifts.
Enjoy another scrappy filled entry from The Cherry.

I just had to play with these templates. I did scrap up three of them and will definitely hit up that third one in the near future. Let me show ya what I've scrapped as well as some alternative uses for them.
Perhaps you recognize GS Creations frogs? I probably own at least half of her shop at SugarHillCo. Many designers are a fan of Gaye's. Aimee Harrison is one said fan and it was her collection, Frogg'n Around that inspired me to design these templates. I fell in love with Aimee's color palette and the borders she provided in that collection.

I thought it'd be really handy to have page templates with huge borders that could also be used for just the borders and not just any kind of border, but ones that can be flipped, turned around and twisted and juxtaposed to offer the utmost variety to your pages. I love templates that I can use over and over again and these will definitely be one of those packs.

Wow, right?! Alexis Design Studio's FREEBIE in the mini kit challenge at GingerScraps is unbelievably gorgeous is it not? I'm even a bit impressed with the way my page turned out AND it scrapped up so fast. If you are going to use really large borders, that take up a large part of your page, then there really isn't too much more to do, right?
The layout in its basic aesthetic is just that, basic. A couple of straight lined layers, a few pictures and two lovely clusters and you're done. In the page above I used the template showed in the preview while the one below, is with the "optional" photo spot I provided.

This photo spot isn't the easiest of spots to fill. Hence, why I chose it as an optional spot. However, this very long spot can sure be perfect for just the right pictures like this one of me admiring this old, old house in Beilstein, Germany. So quaint and cozy.
Now, imagine...this page...ditch the photo, ditch all of the papers, ditch the corner cluster and perhaps, move a butterfly or two directly over the cluster and what you've left is a gorgeous border. Save it as a png and use it again somewhere else. Turn it to the right or even put it at an angle. Shrink it up if you like and or turn it in to a stunning book marker. Keep reading to find out just how to do that. It is so easy and it could make a great gift, gift tag or party favor.
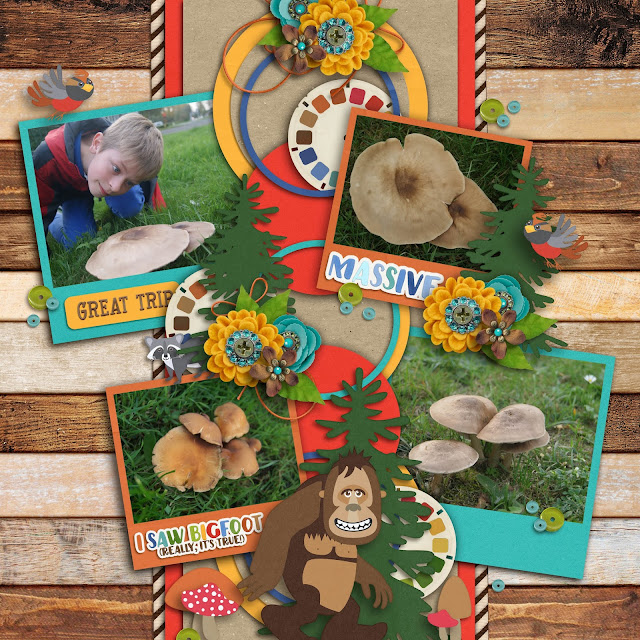
Border Blast templates from TCOT/Clever Monkey Graphics Newsletter Freebie
Did you recognize my JJ? He loves nature and was very impressed with these large mushrooms we found whilst traipsing through the woods. I used a FREE kit from Clever Monkey Graphics. I got it when I signed up for her newsletter. So now you know what you have to do to get it as well.
Here are some pages from my awesome team.

Border Blast templates from tcot/Secret Garden from Aimee Harrison


Border Blast templates from TCOT/Kastagnette

Border Blast templates from TCOT/fabulous goodies from LouCee Creations


EDIT! Hehehe...I added this page with the third template and I used Clever Monkey Graphics new kit, Harvest Of Gratitude. The page may have lost the whole border thing, but that's ok. There is a coordinating freebie further down. So keep on scroll'n!

My grand opening sale ends TODAY so you can still get these new templates at 40% off, but only TODAY! (Last time I checked it wasn't on sale at 40%, but I'm on it!)

Look who is back with Just So Scrappy and Ooh,La La! I scrapped up Katie's new Buffet kit, So Very Thankful with my, Tag! You're It! templates. I couldn't wait to scrap this one. I did have to play a bit with those glass jars for just the right look. I messed with the opacity and shadows until I was content...ish hehehe...
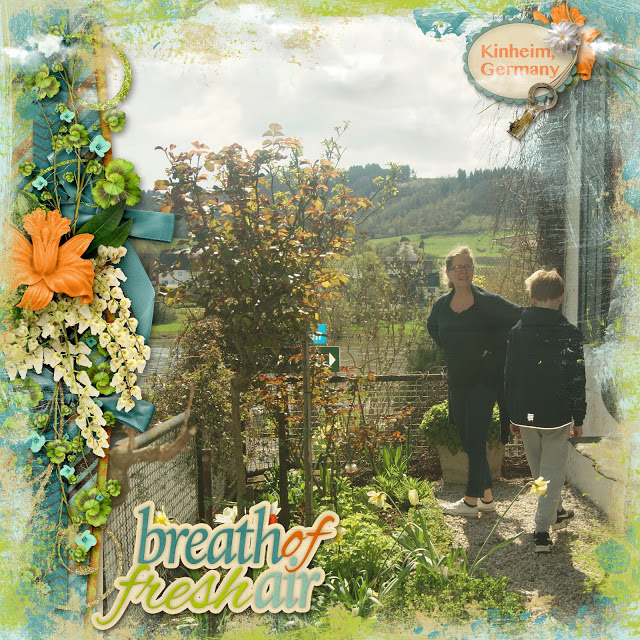
This page below, is an oldie but a goodie. I wanted to show you just how easy and fast you can scrap once you've got your border. All I did was add a huge photo for my background, slapped in that border (already designed with Aimee's Fresh Air collection), Aimee's edges in the collection, her pre made word art and a tiny cluster for my journaling. That's it! Scrapped in under 10 minutes!

Months ago, I started the Perfect Page Project. If you recall, I scrapped up this page digitally with Made By Keuntje's template and the Kit Cart's kit, Never Grow up kit. The kit is linked up to the first image. It's beyond fabulous!

I wanted to be able to easily print my sheets so I designed the page to be 8x11 inches and of course, my background paper was also 8x11, but no worries. If you don't like this page size, you can always use a 12x12 card stock and either center it, put it closer to one side and journal or add a few strips of coordinating papers on the empty side. There are a lot of options with that.
If you want to see the first part of this tutorial on how you can make your very own Perfect Page printables, click here.

Just look at the depth I was able to achieve! I had a few elements adhered with huge glue dots from Zots. (These are the best glue dots I've ever used. Mine are so old and they still stick like crazy.) For the highest of dimensions like Tinker Belle and the kids, I simply cut tiny pieces of foam tape and for each "layer" up I added yet another piece. So the little blonde there was stuck to four pieces of double sided foam tape! Hehehe...I did have to make a few subtle changes in my cluster arrangement, but all and all it came out pretty darn good.
Of course the cutting part was the longest part. There are so many things you can do to save time, though. Print out the diamond shape on black paper. Save your images in a format that you can use in a cutting machine and another idea is to save your clusters in layers and just cut out and glue the merged clusters in layers to give your pages that extra dimension that looks so darn cool.
If you give a project like this a try, show it off in our group. I'd love to see it! I do plan on providing a free Perfect Page kit in the near future. Keep your eyes out for it!

Printable goodies from the Kit Cart (not the ones I used!)
Here are some freebies around DigiLand this week and beyond.
Freebie in the group.

Freebie in the group.

Freebie in the group.


I hope you enjoyed today's blog. We'd love to see you in our group and over at GingerScraps.
Happy scrapping!


